
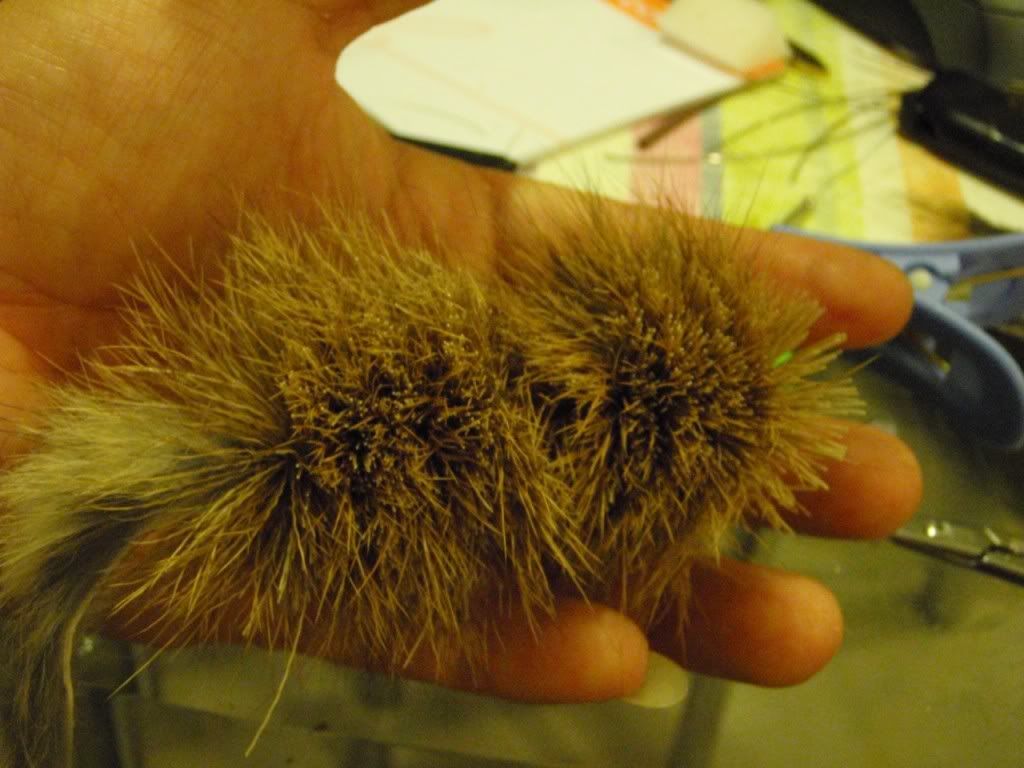
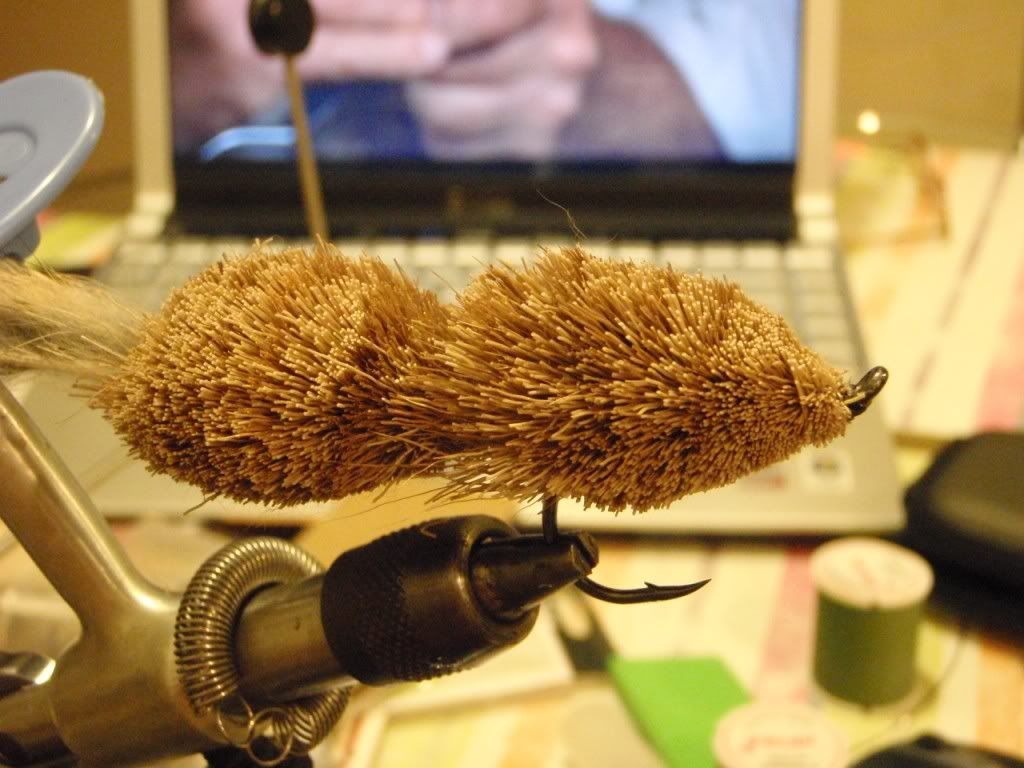
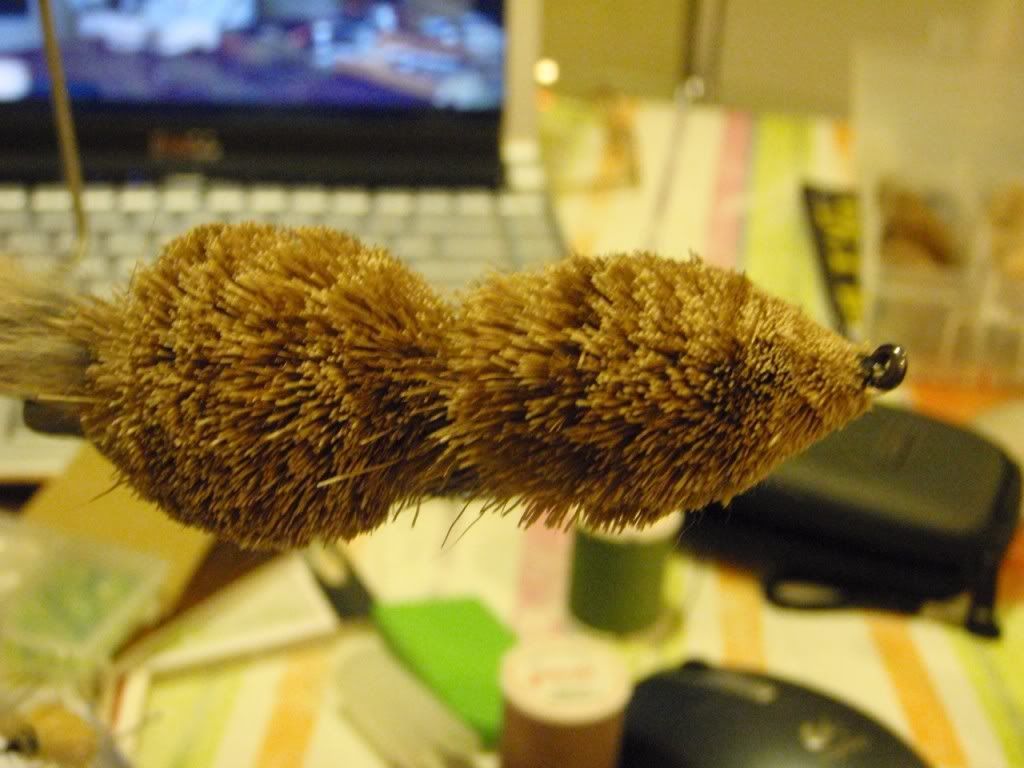
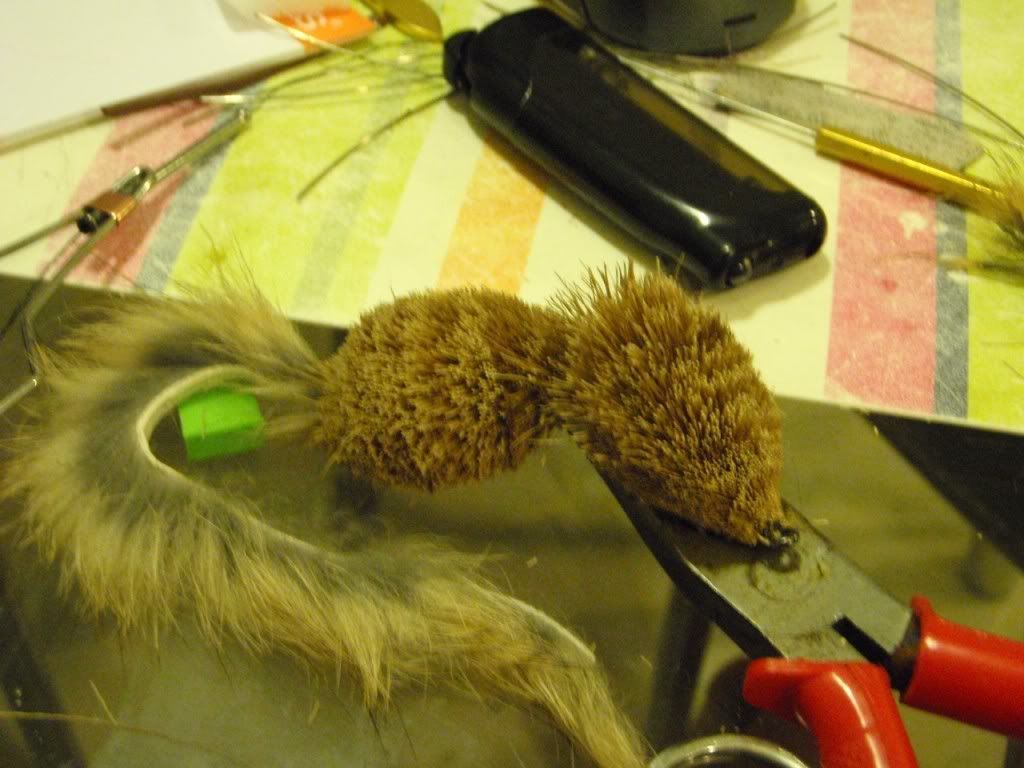
Dron.fly escreveu:Tikus fly


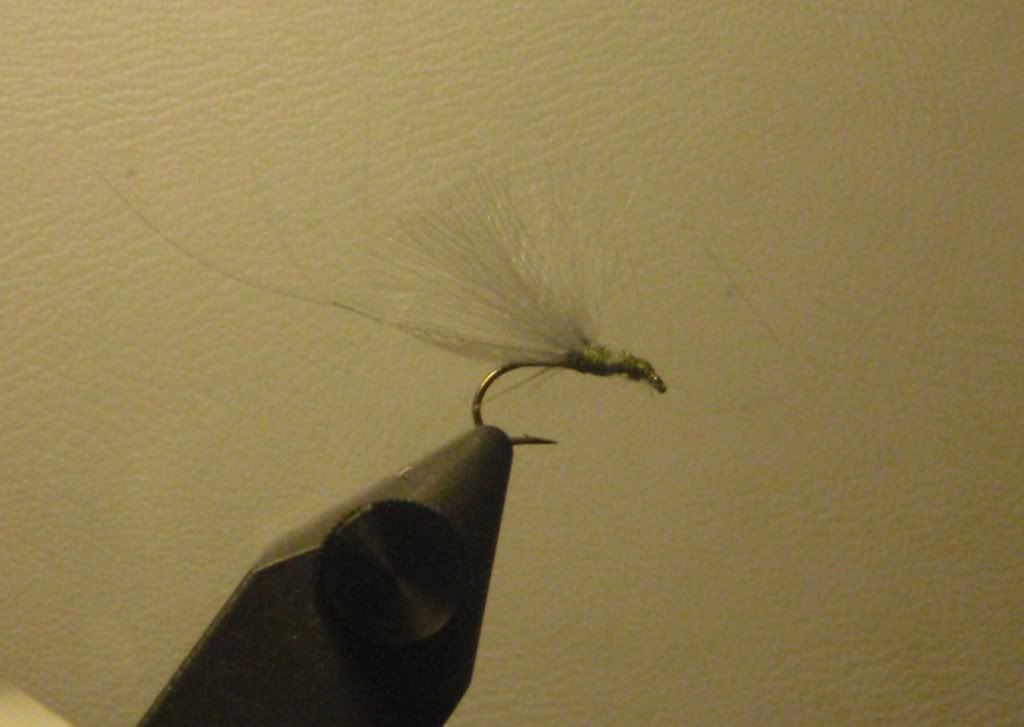
Dron.fly escreveu:La Mirage... this pattern was originated by Agostino Rancallo from Itally...
Similar Sample
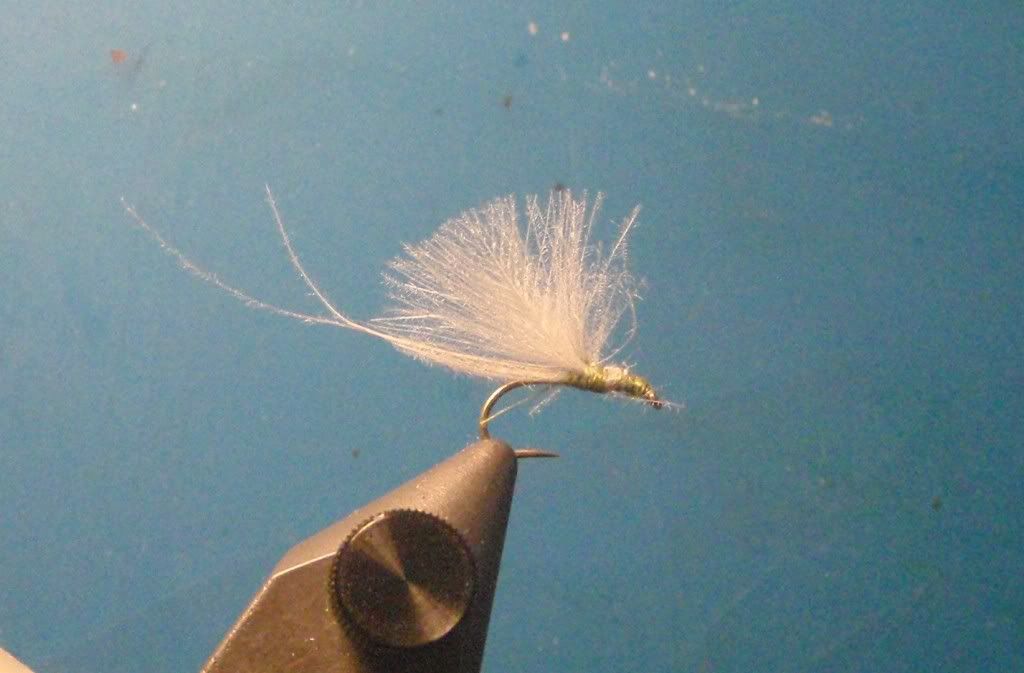
Dron.fly escreveu:La Mirage... this pattern was originated by Agostino Rancallo from Itally...
Similar Sample
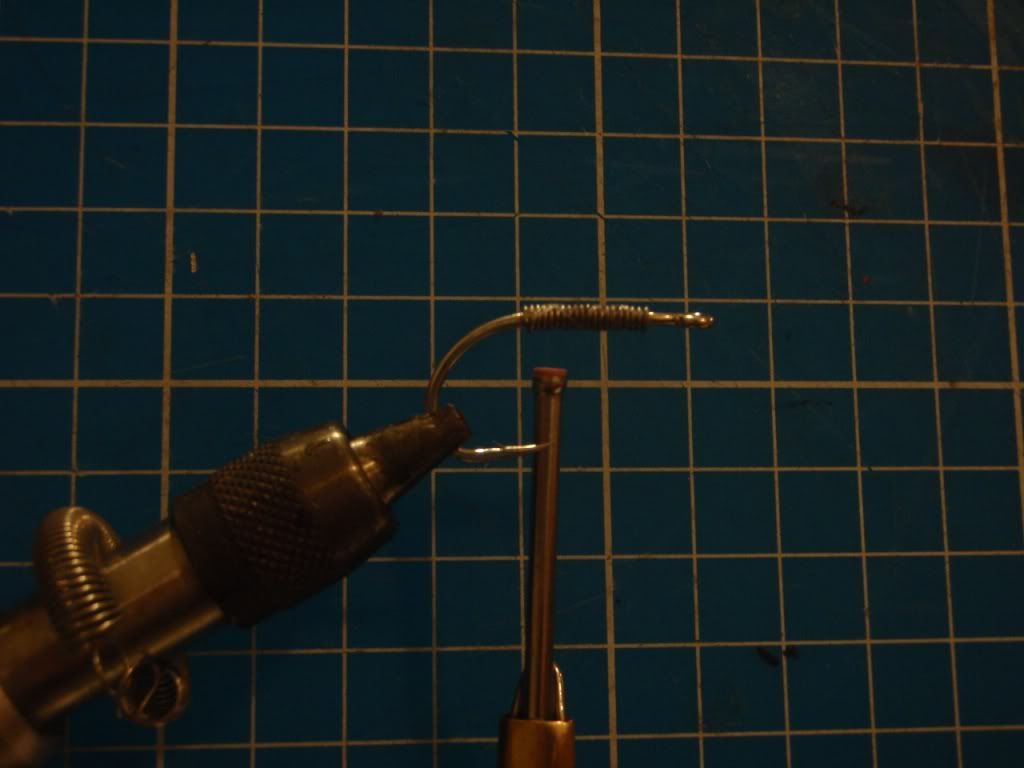
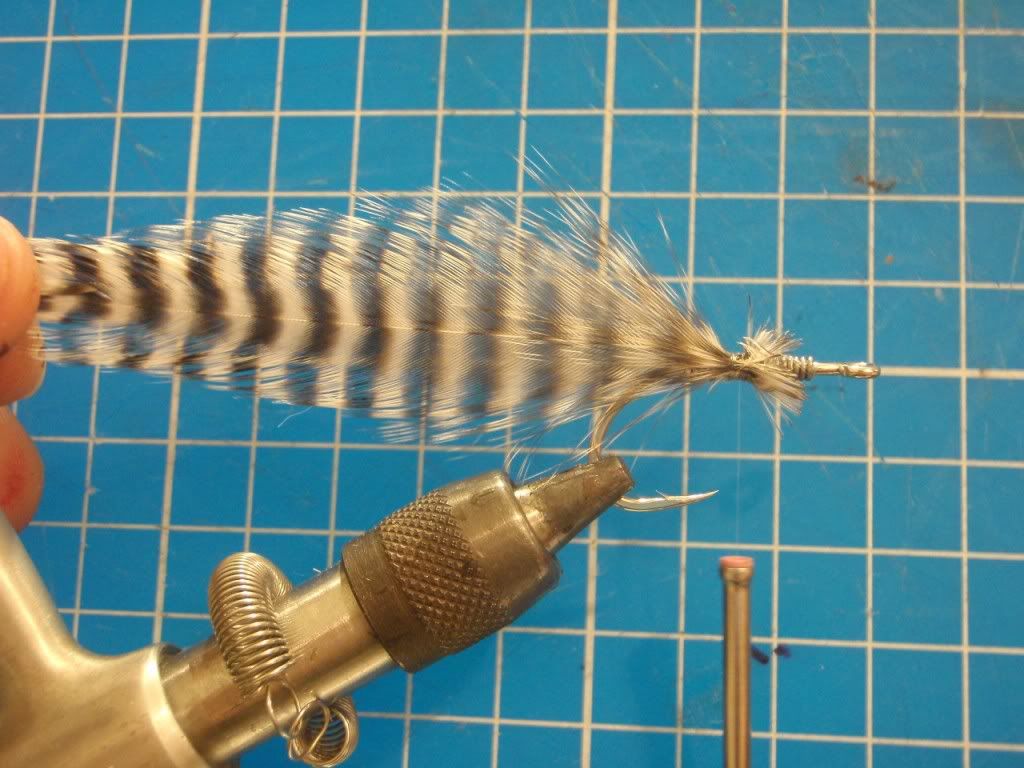
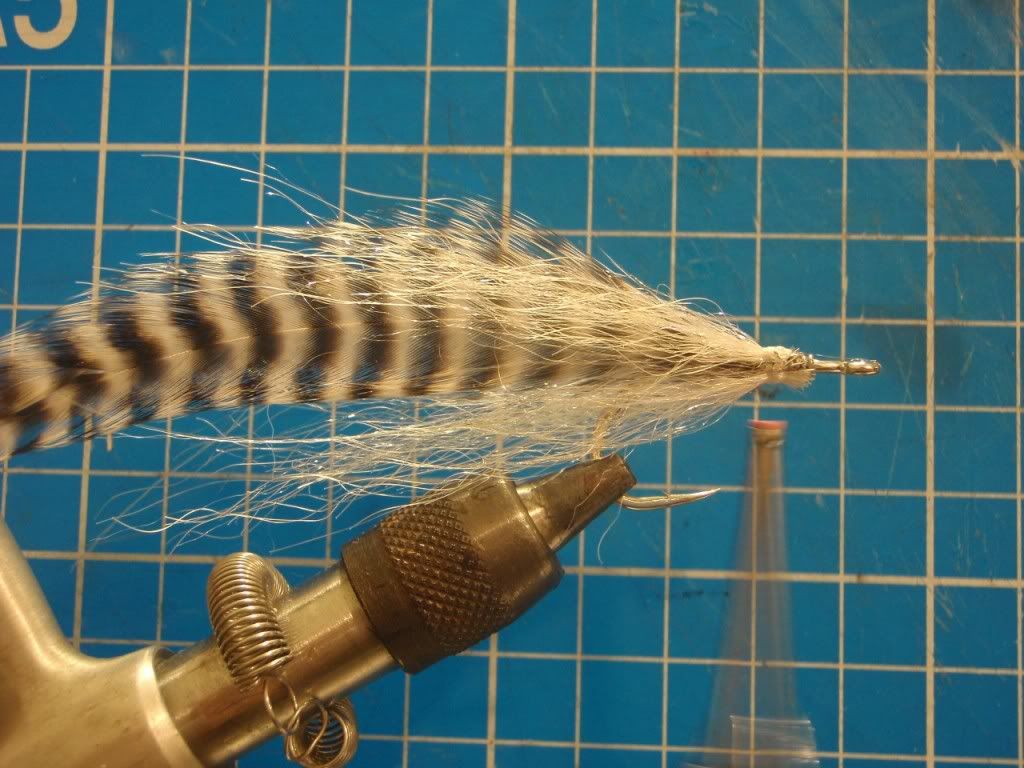
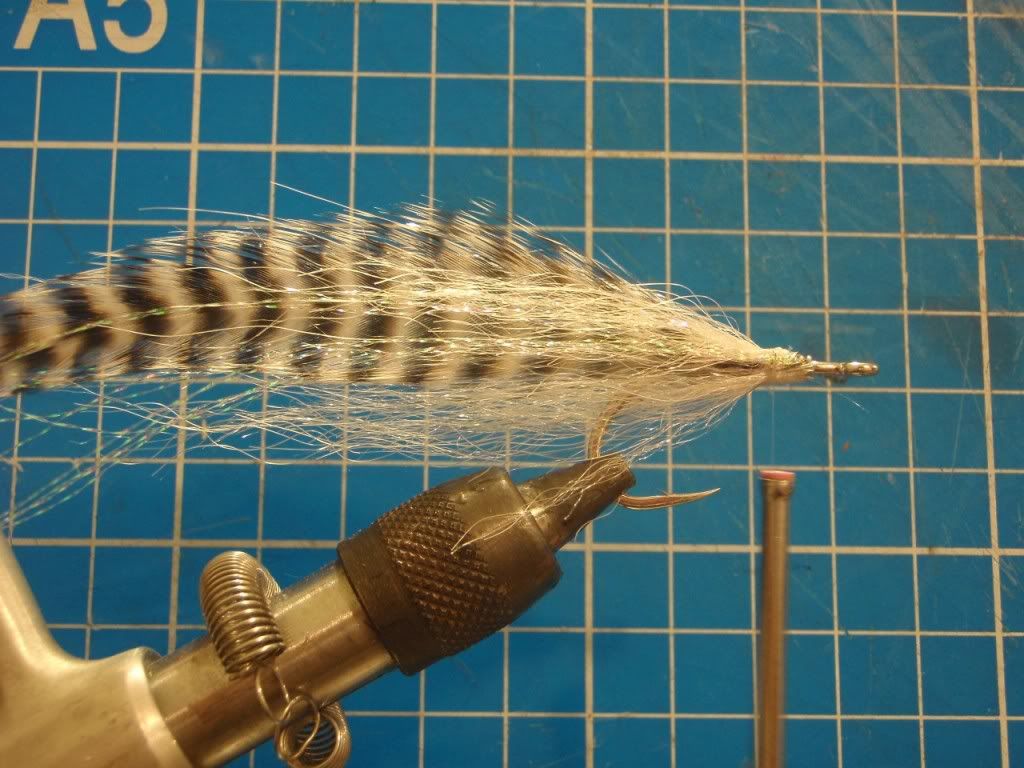
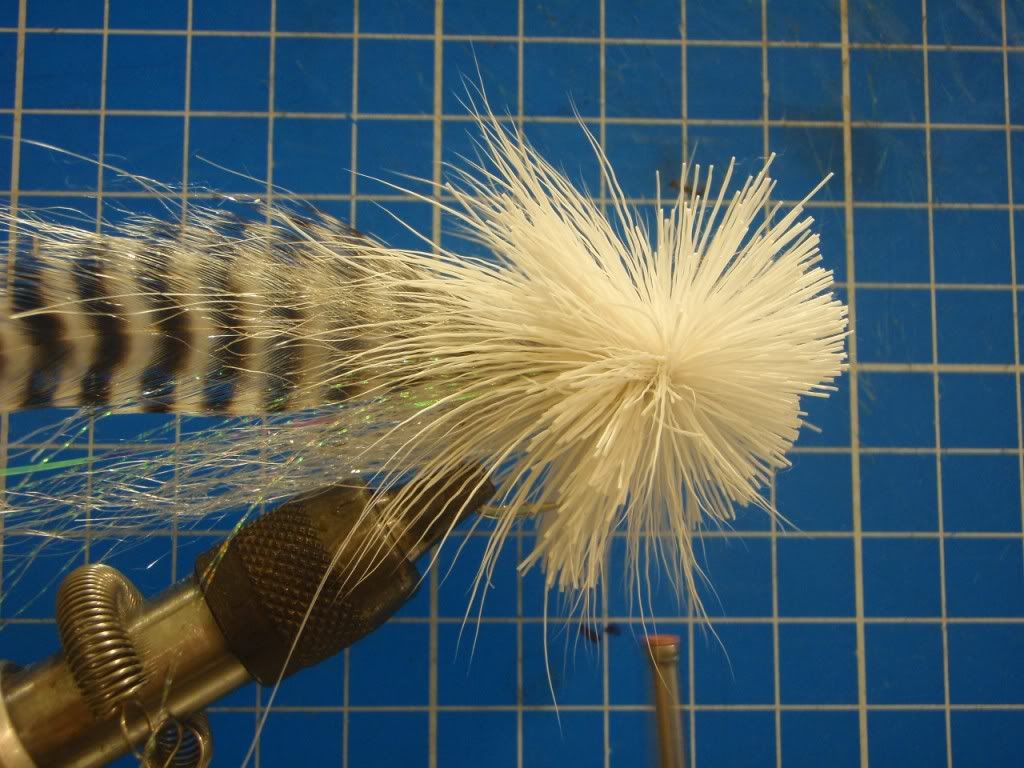
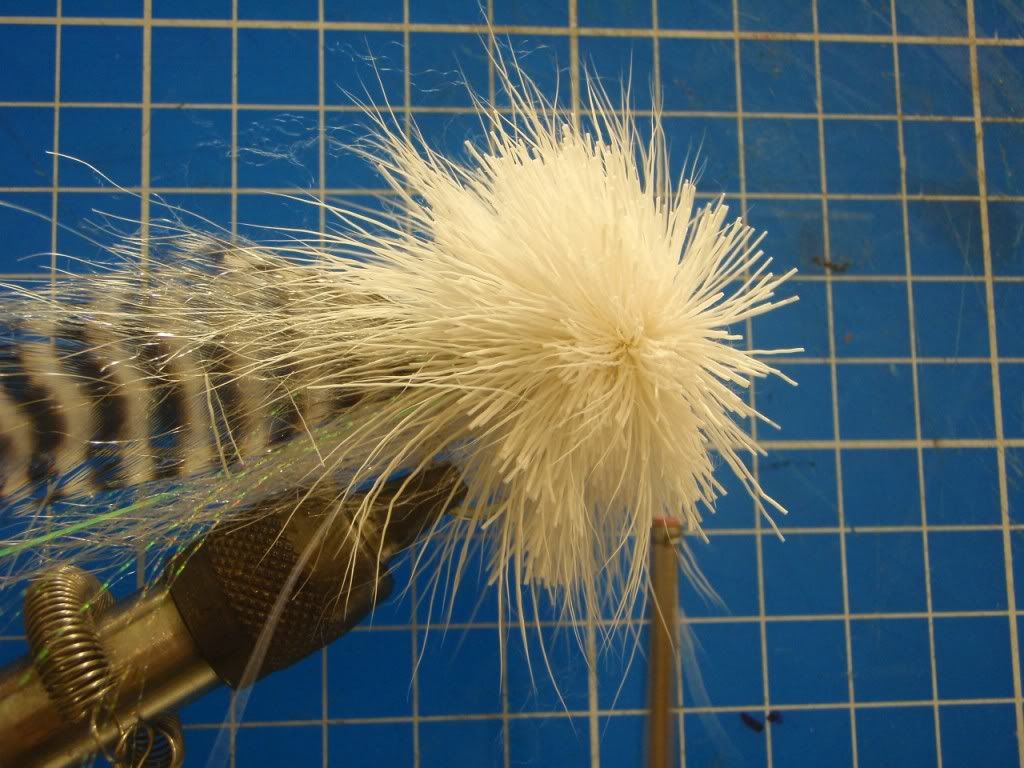
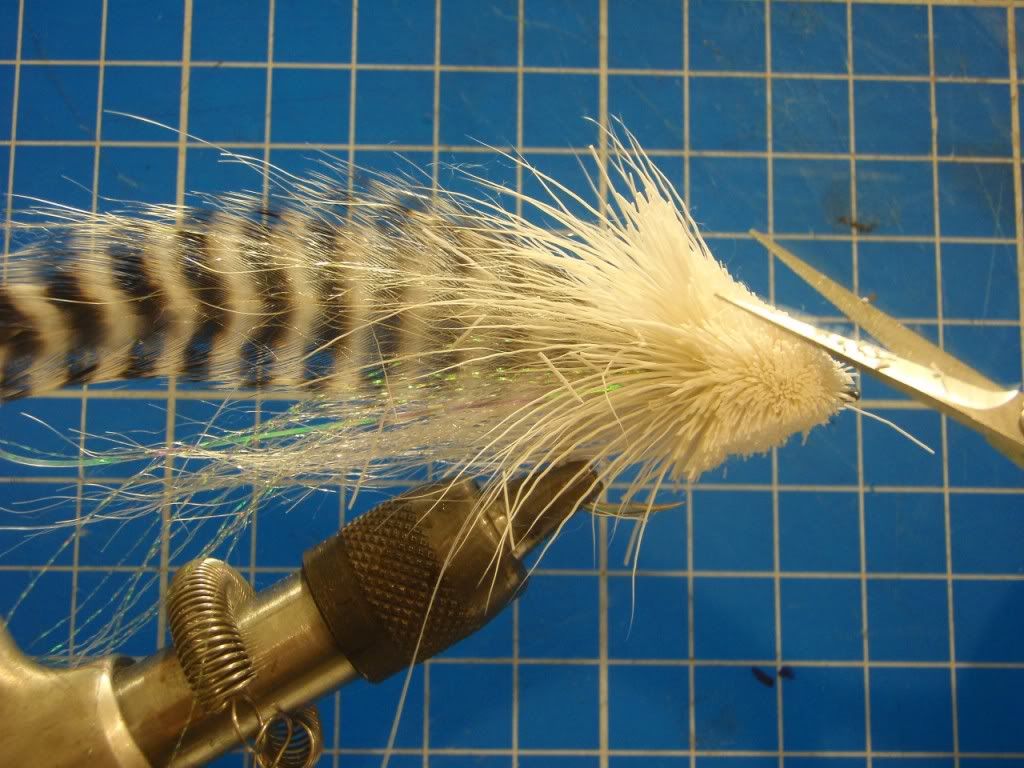
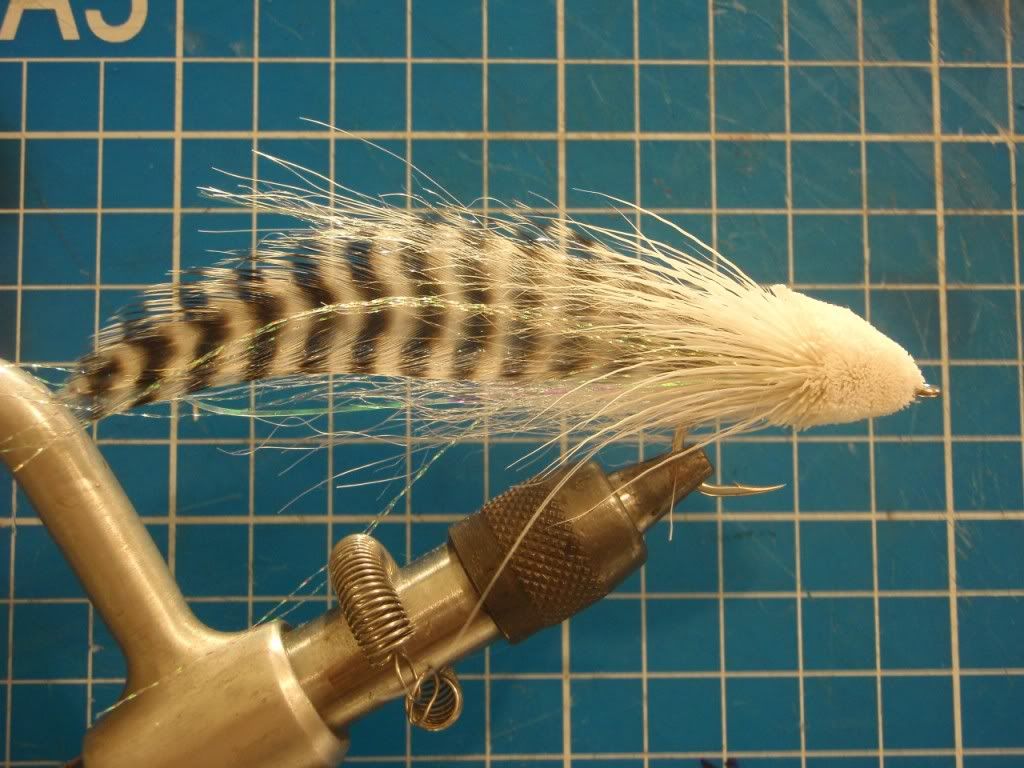
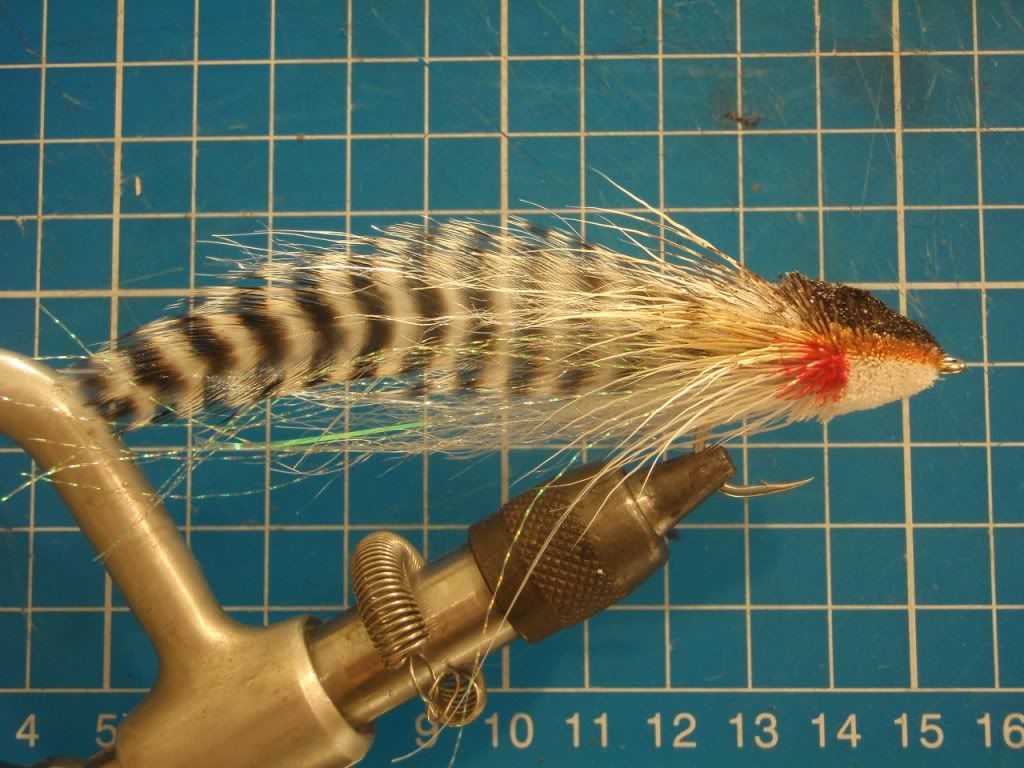
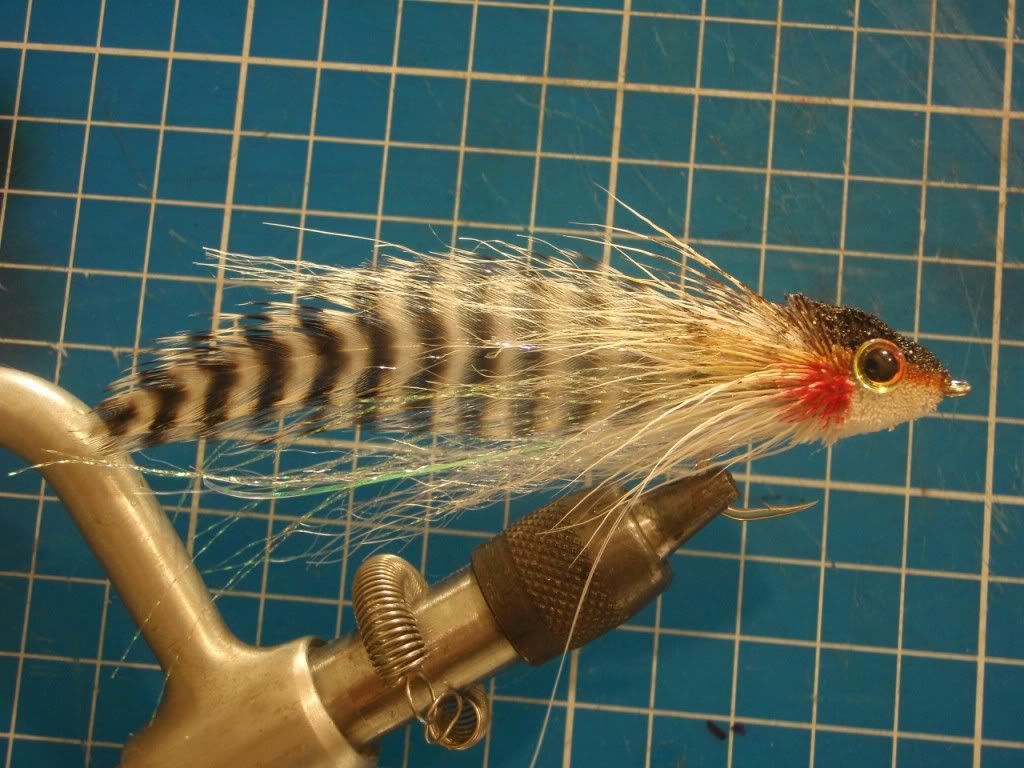
Dron.fly escreveu:The Muddled Minnow.... ....
Happy Tying...
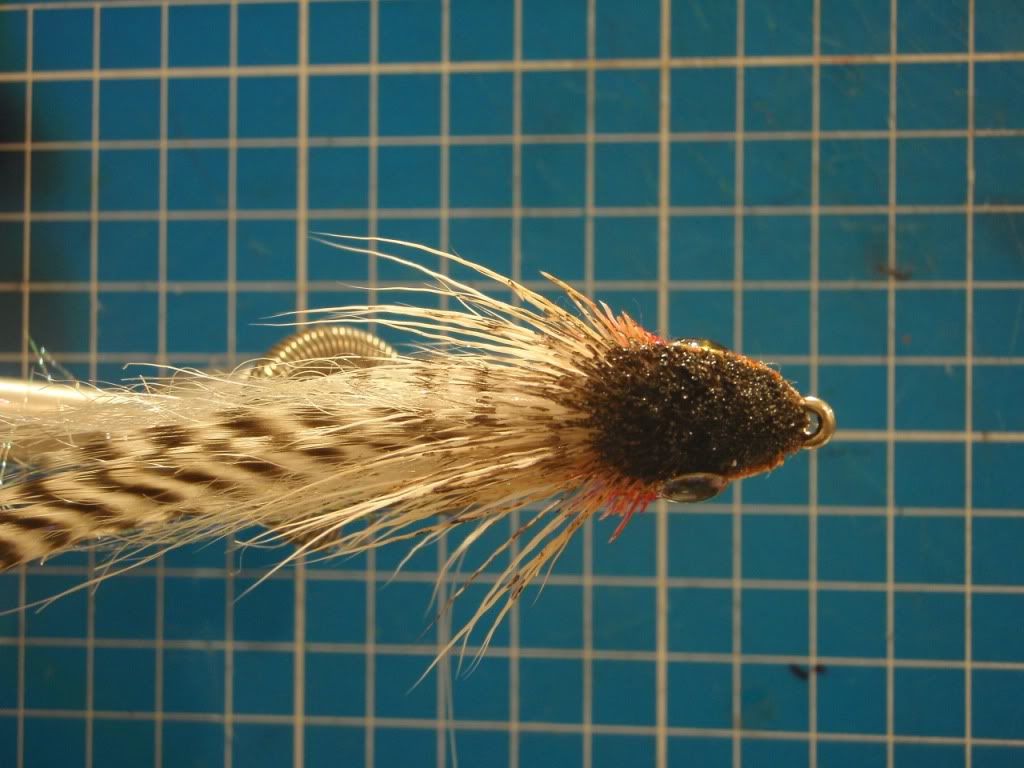
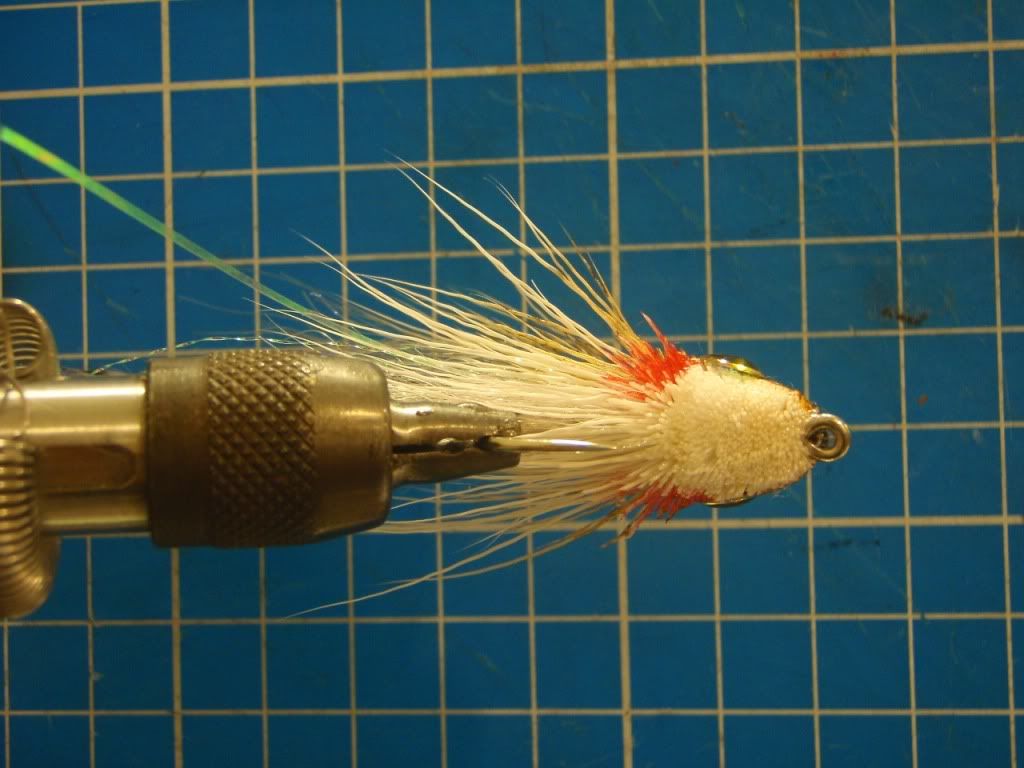
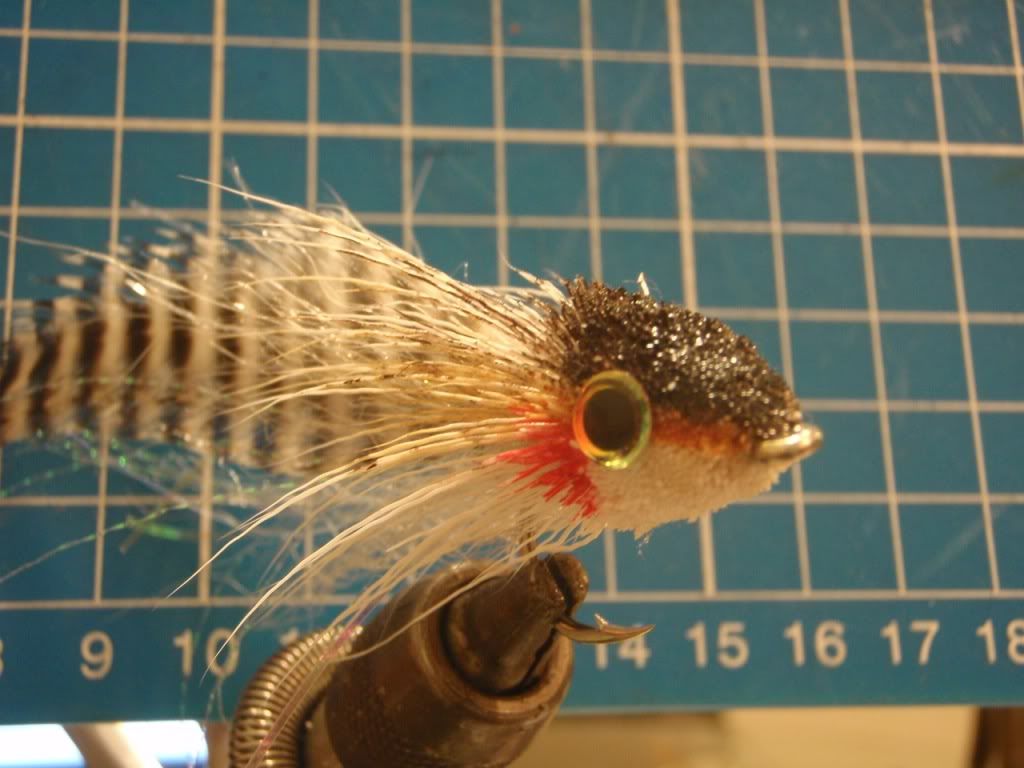
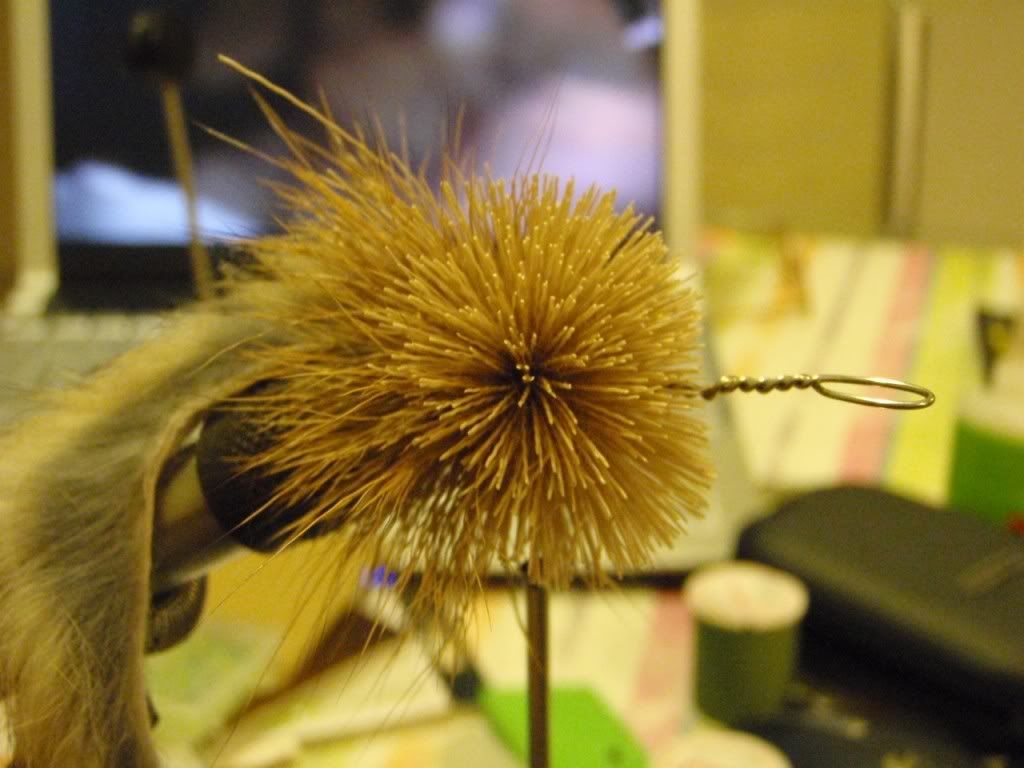
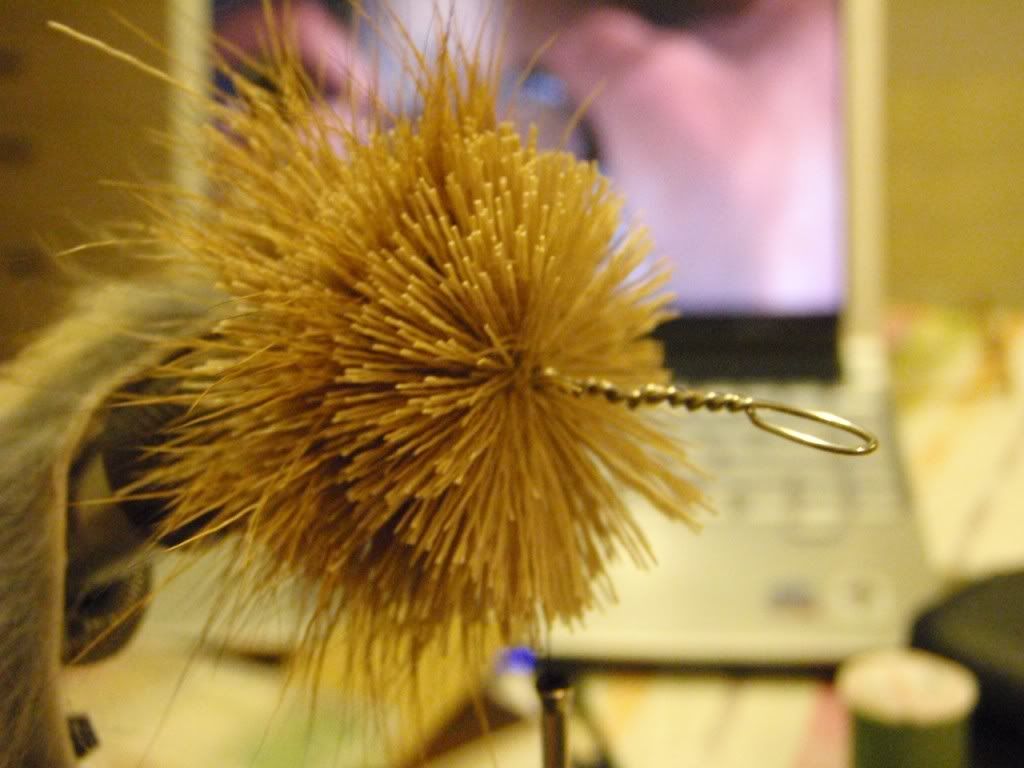
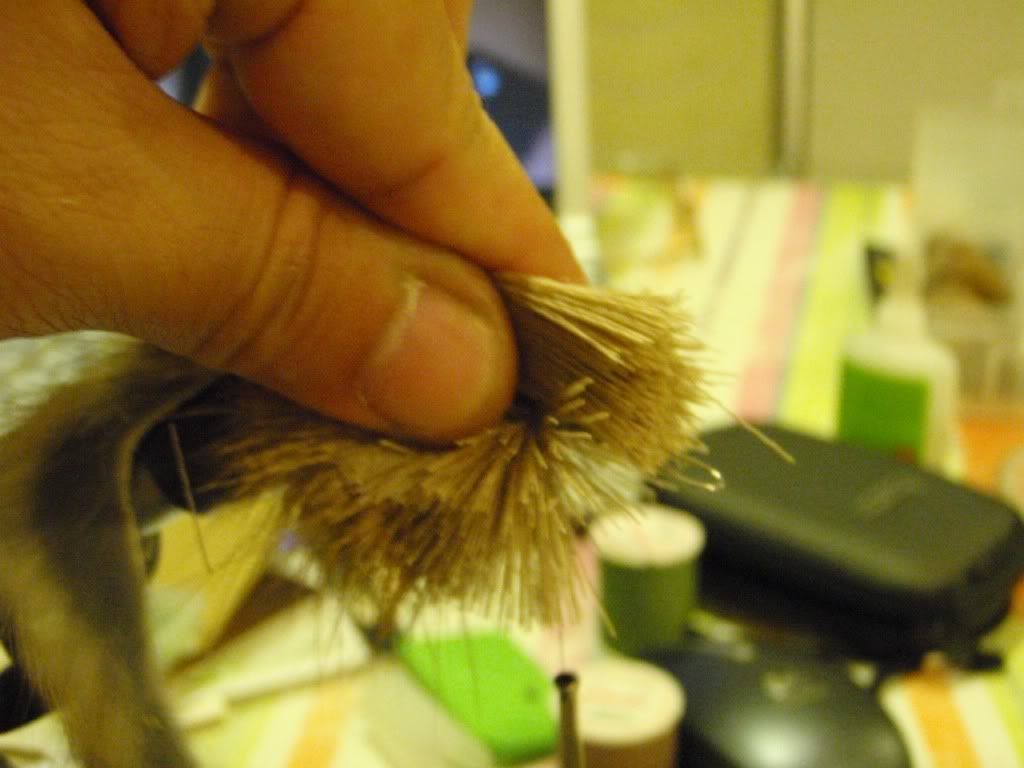
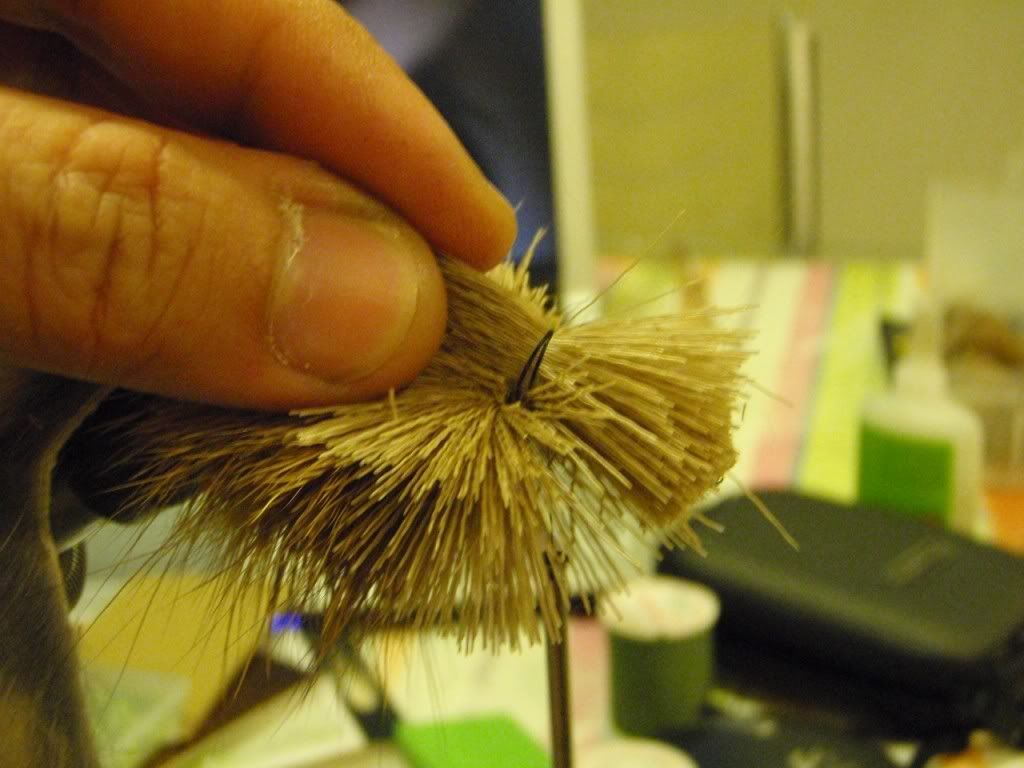
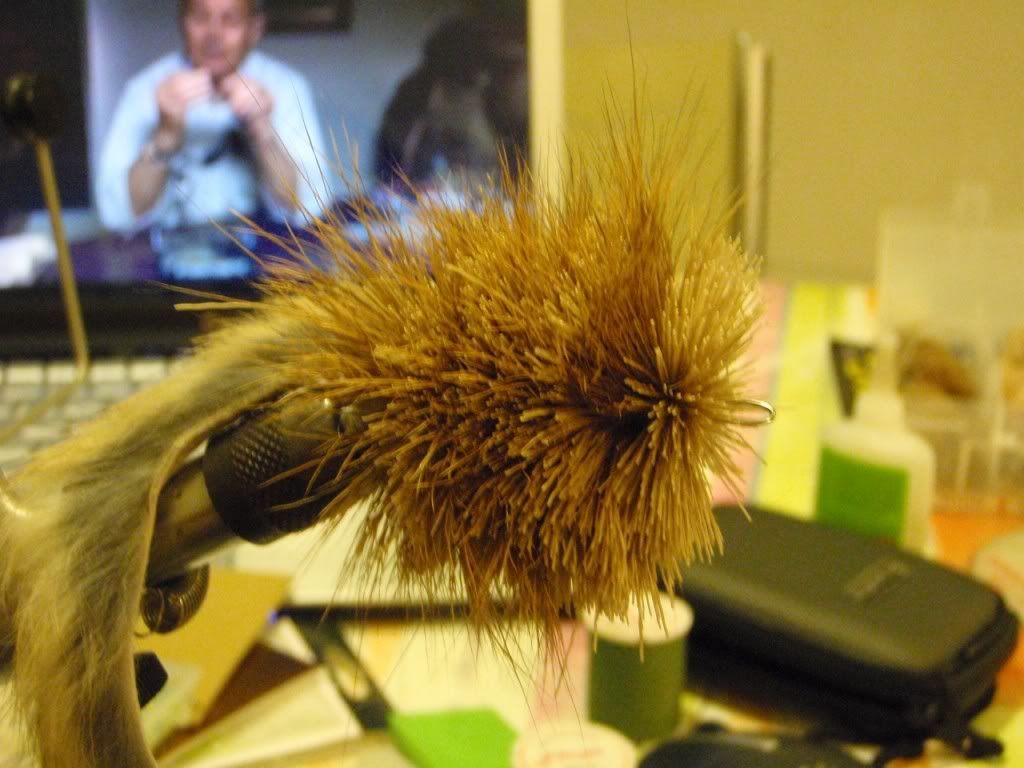
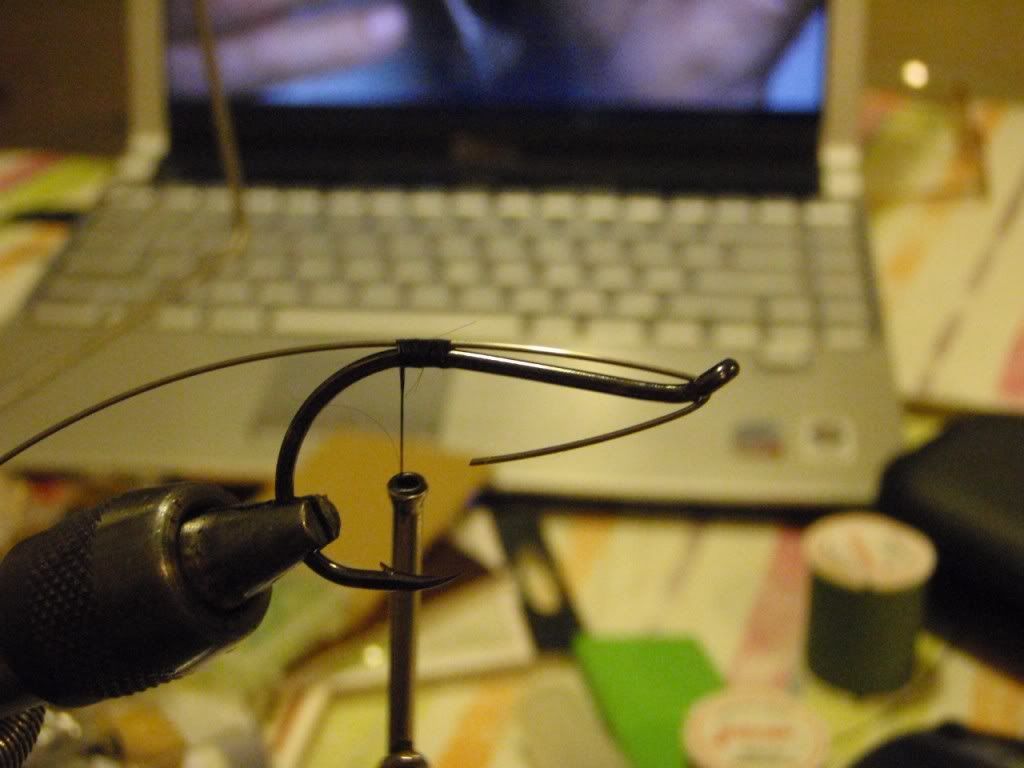
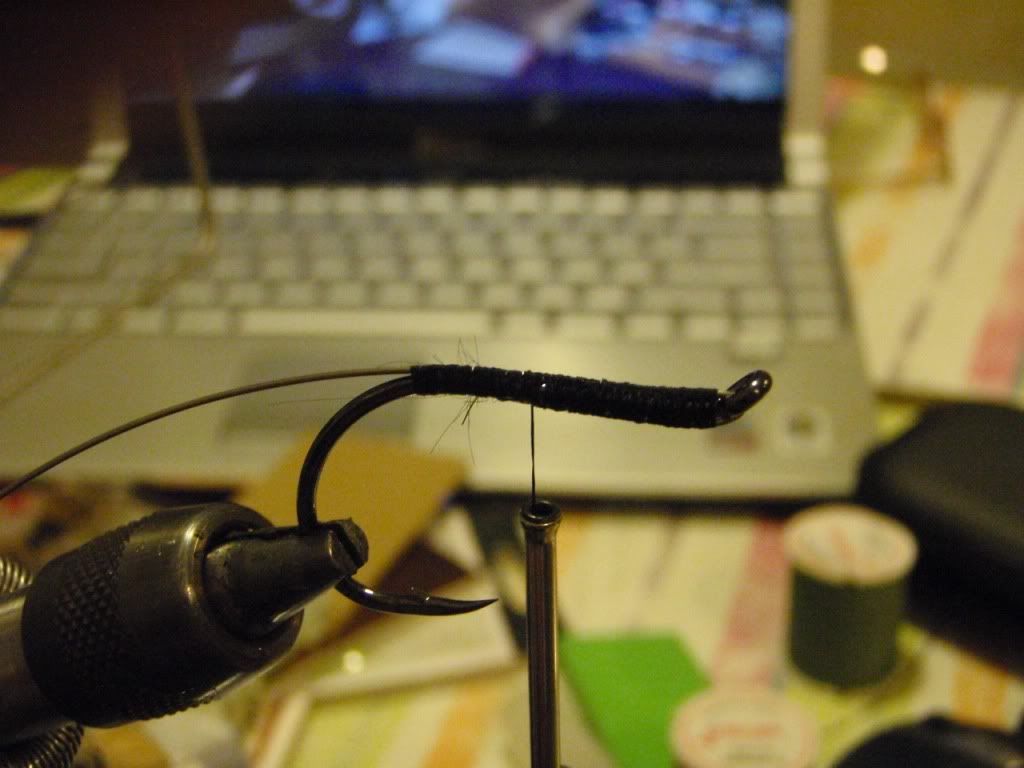
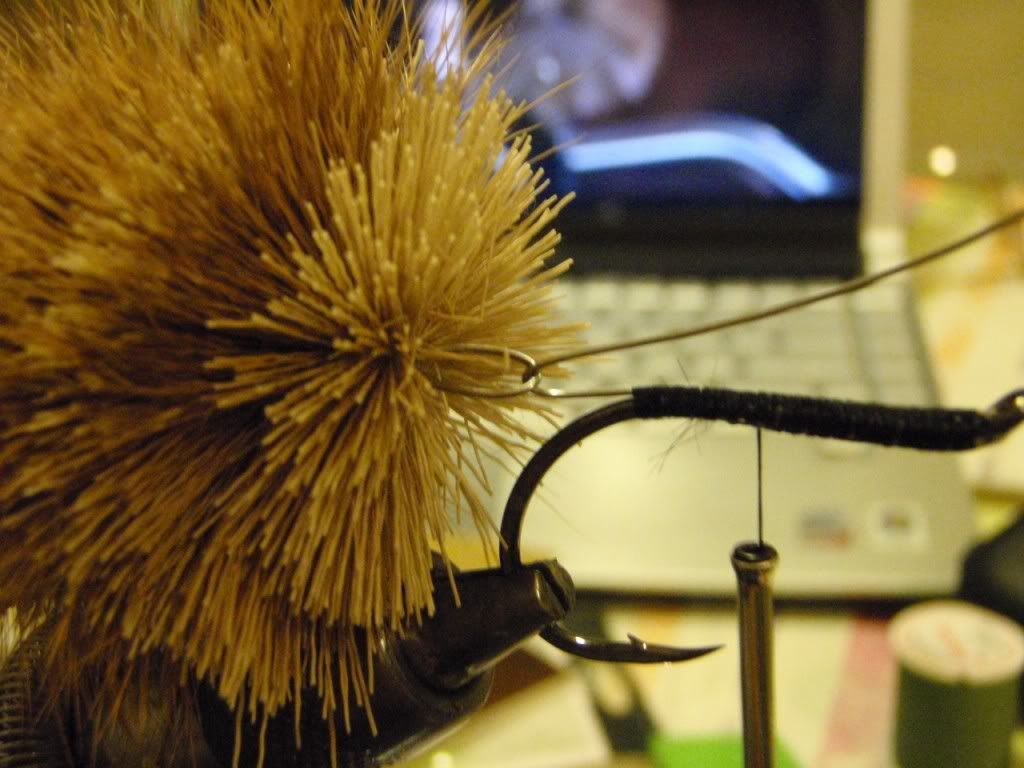
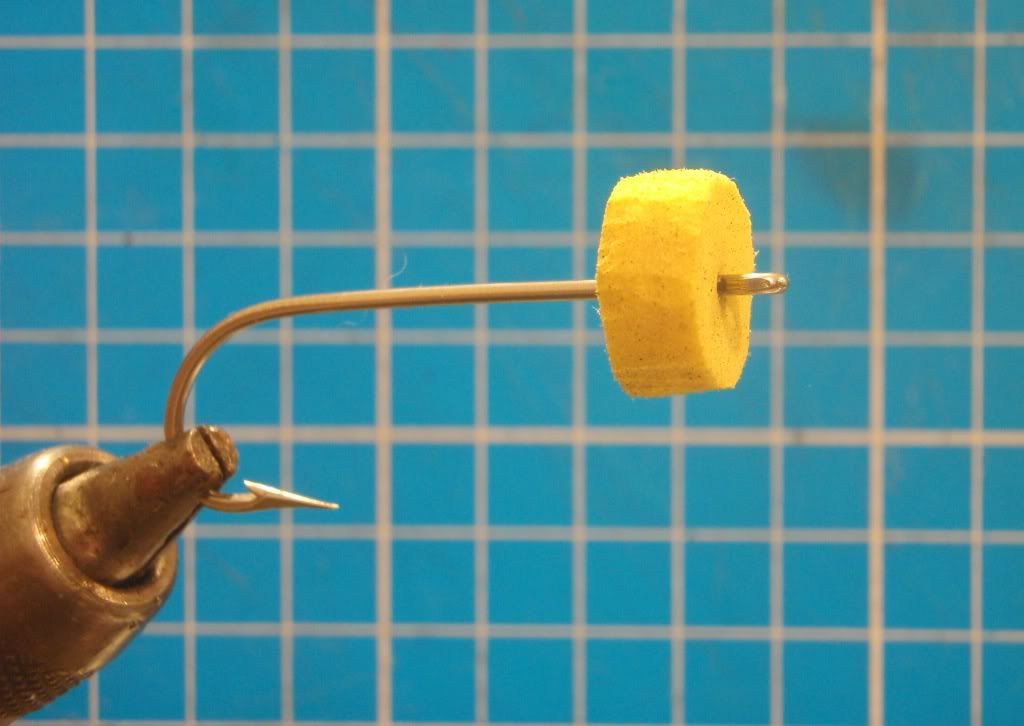
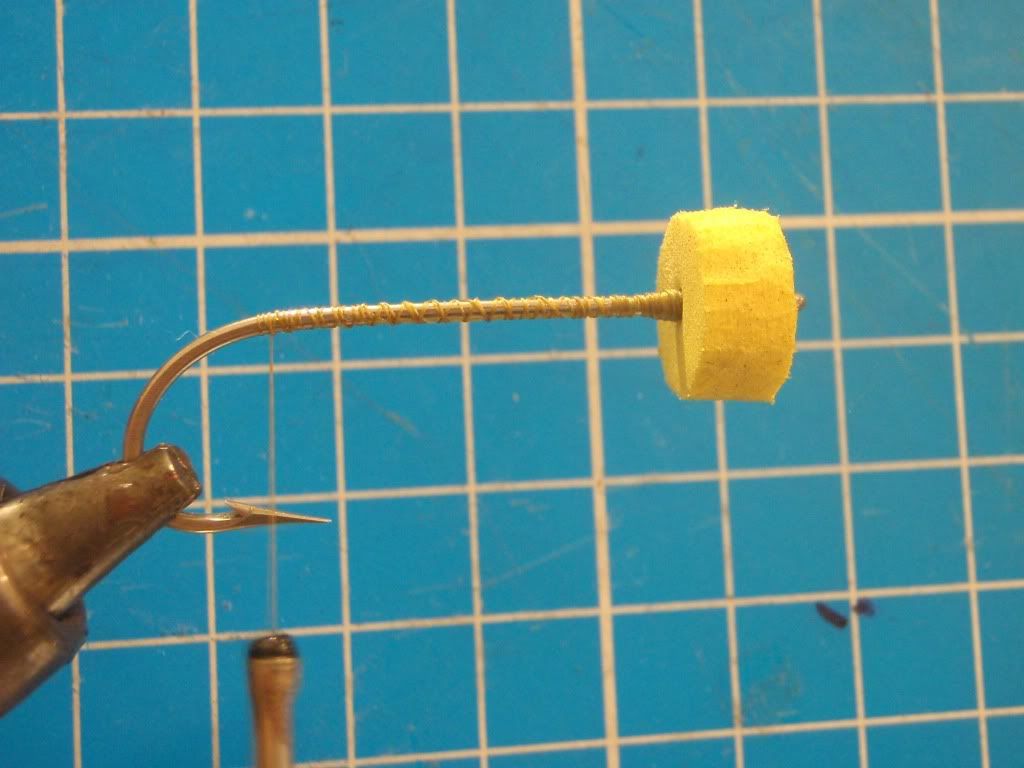
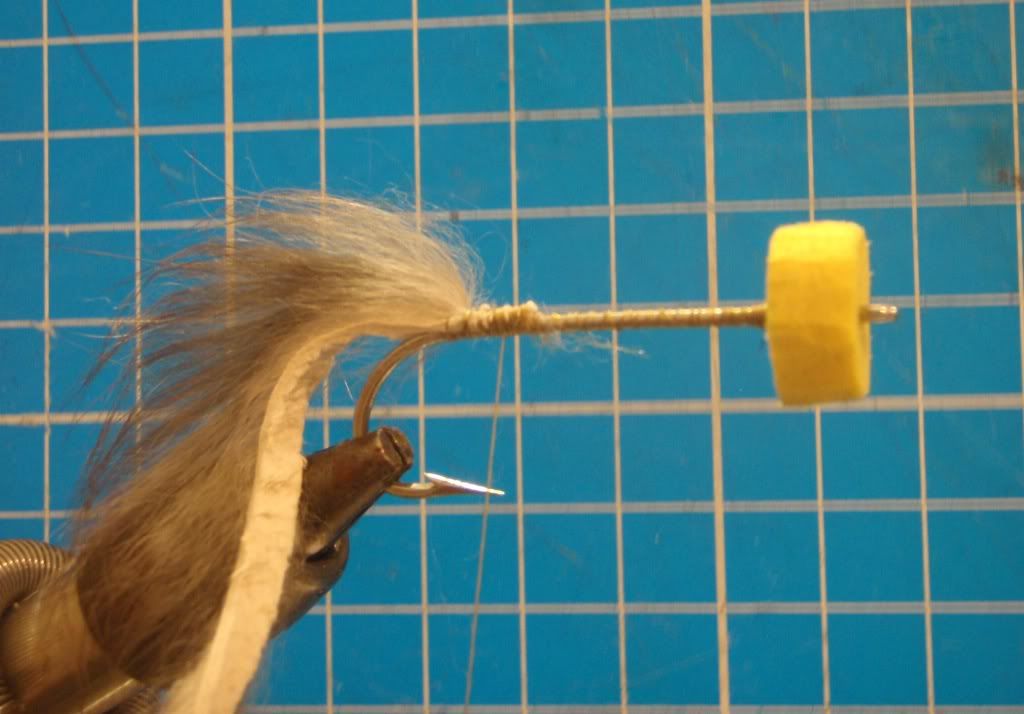
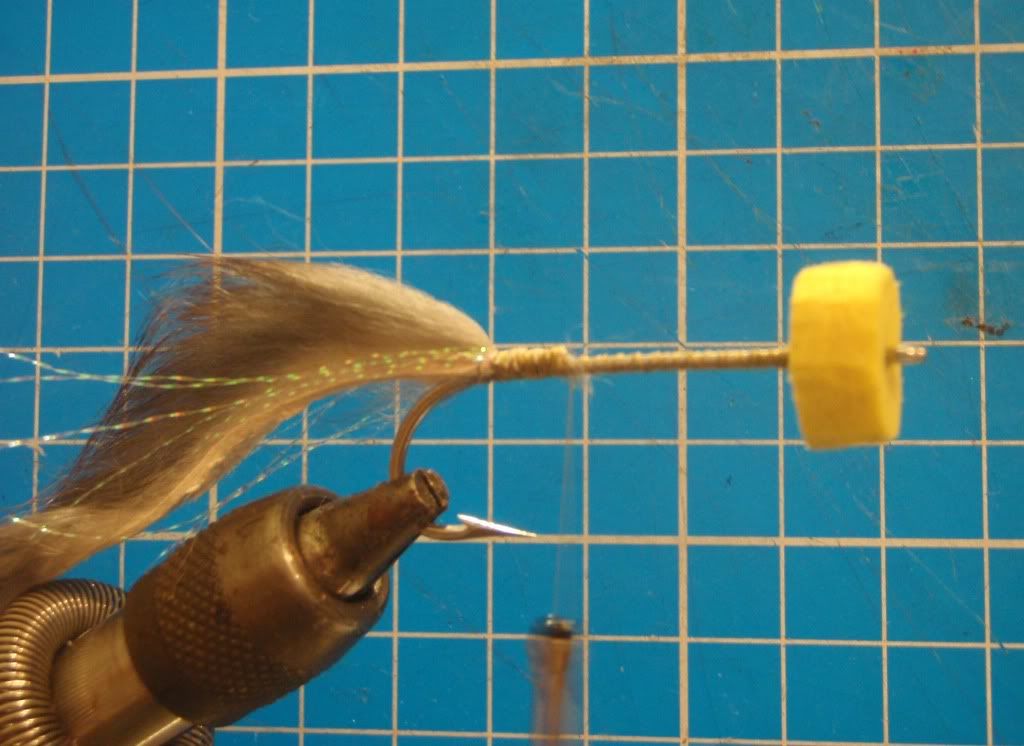
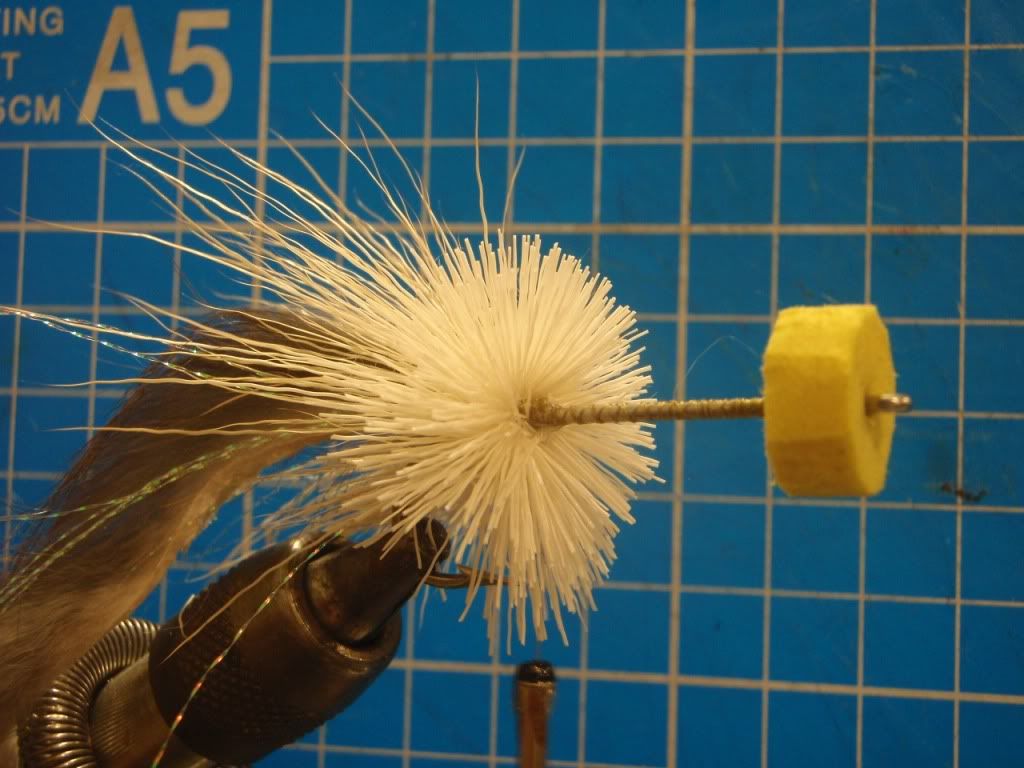
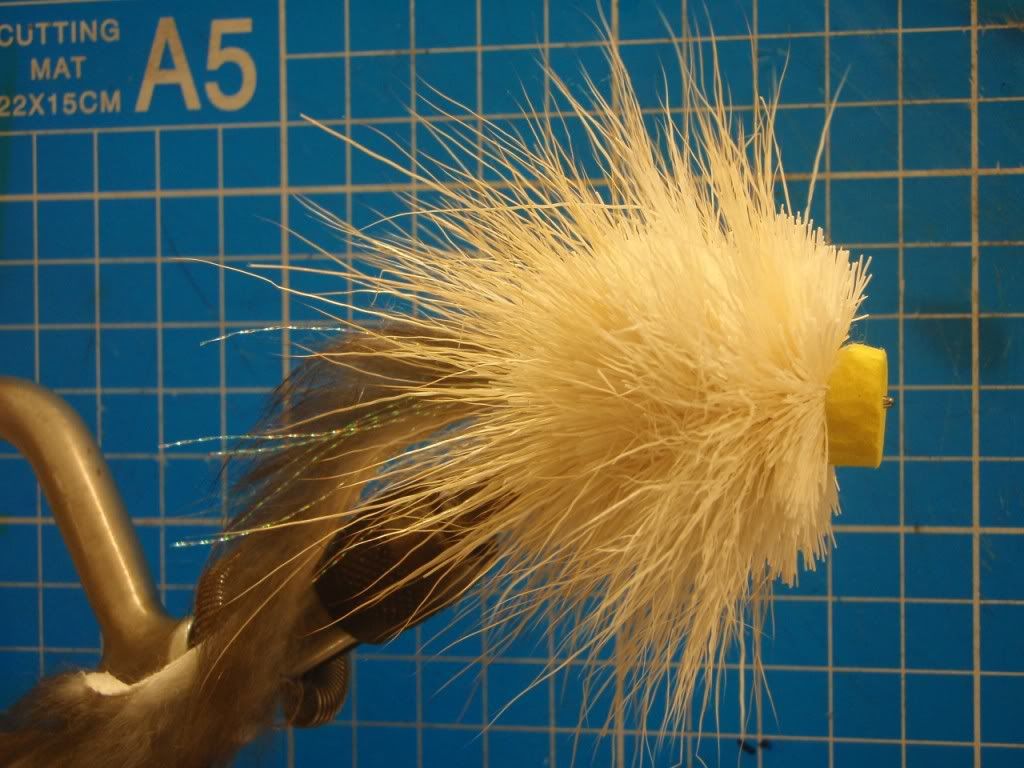
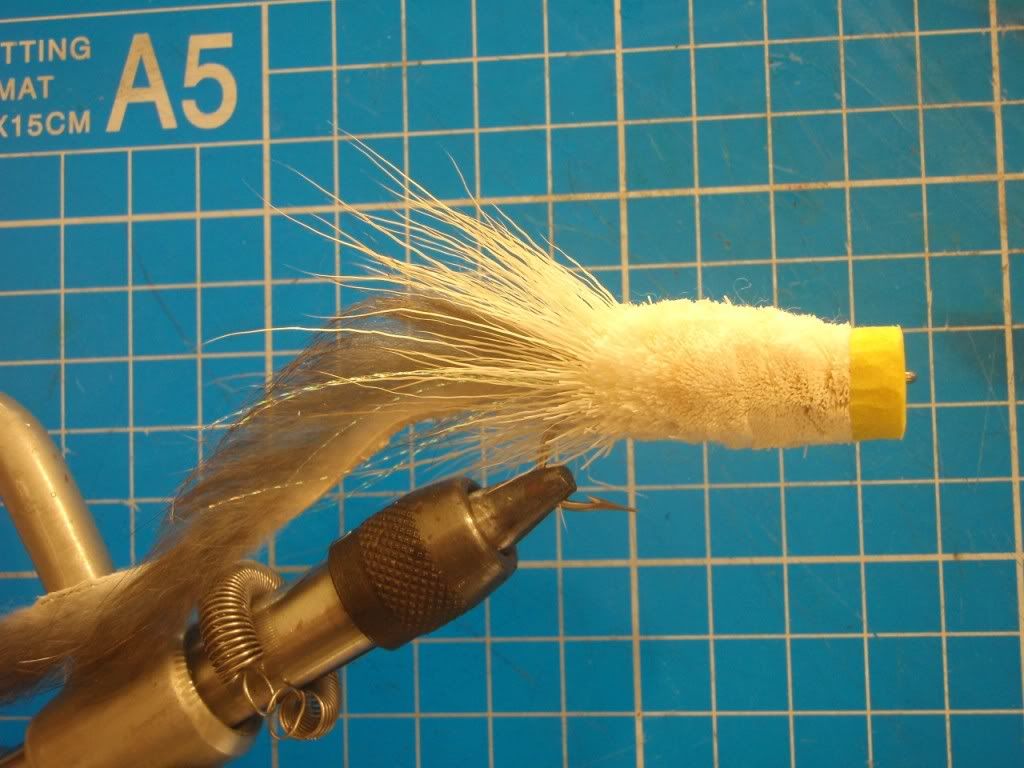
Dron.fly escreveu:Dear Hair Pencil Muddler
Without the foam head... you get this....
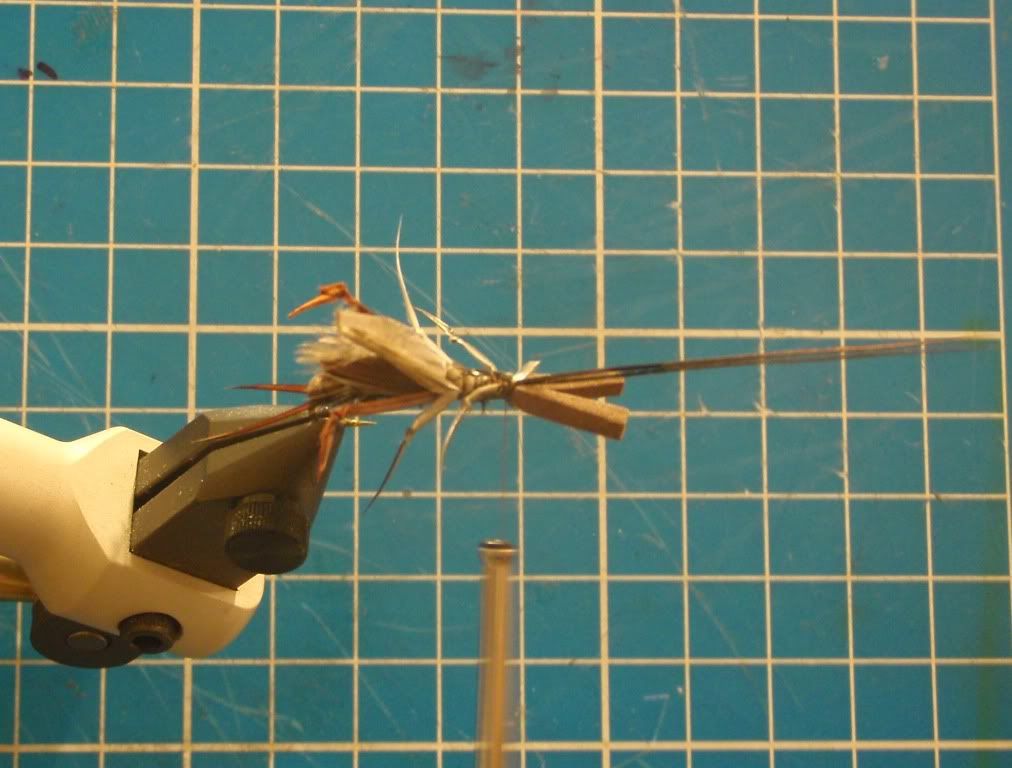
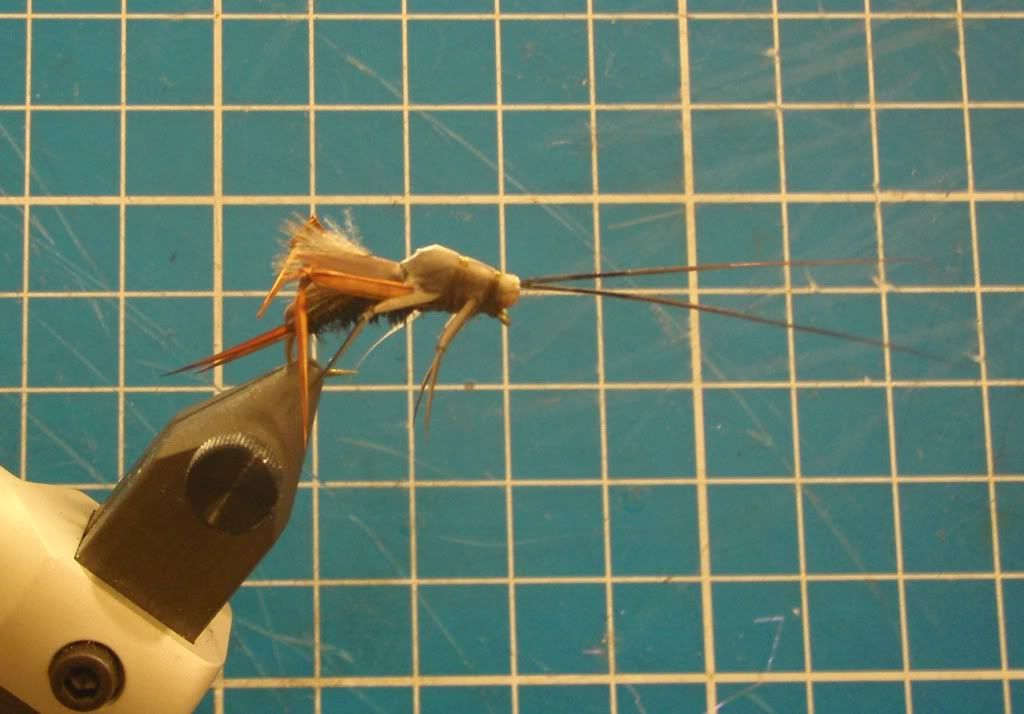
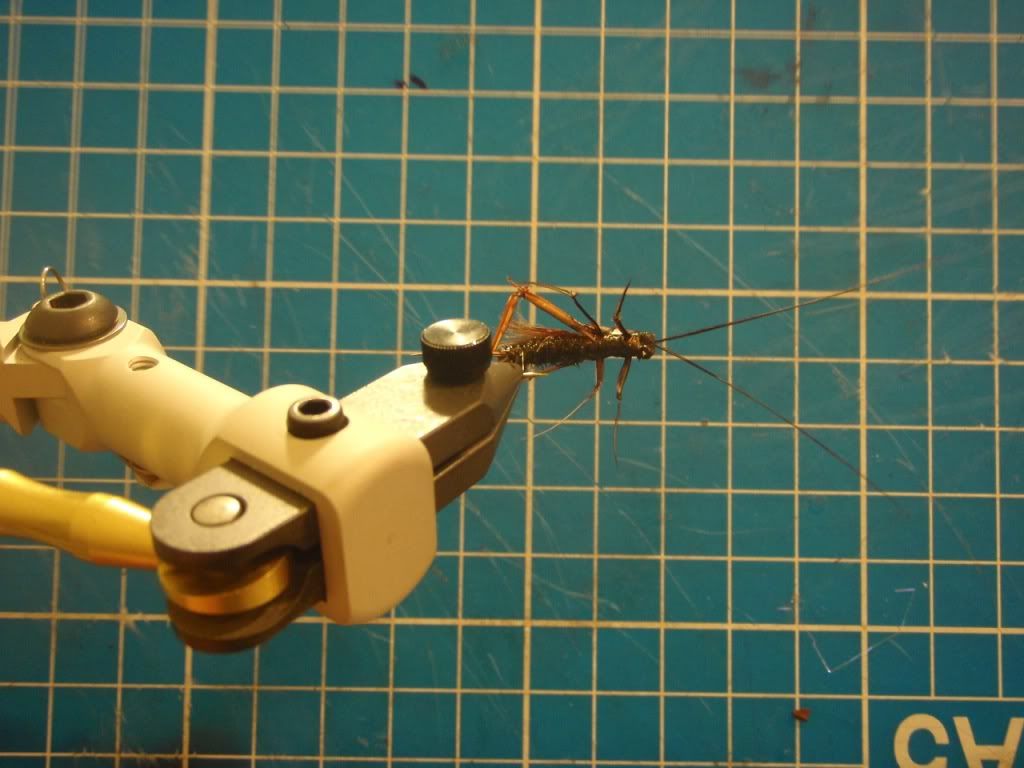
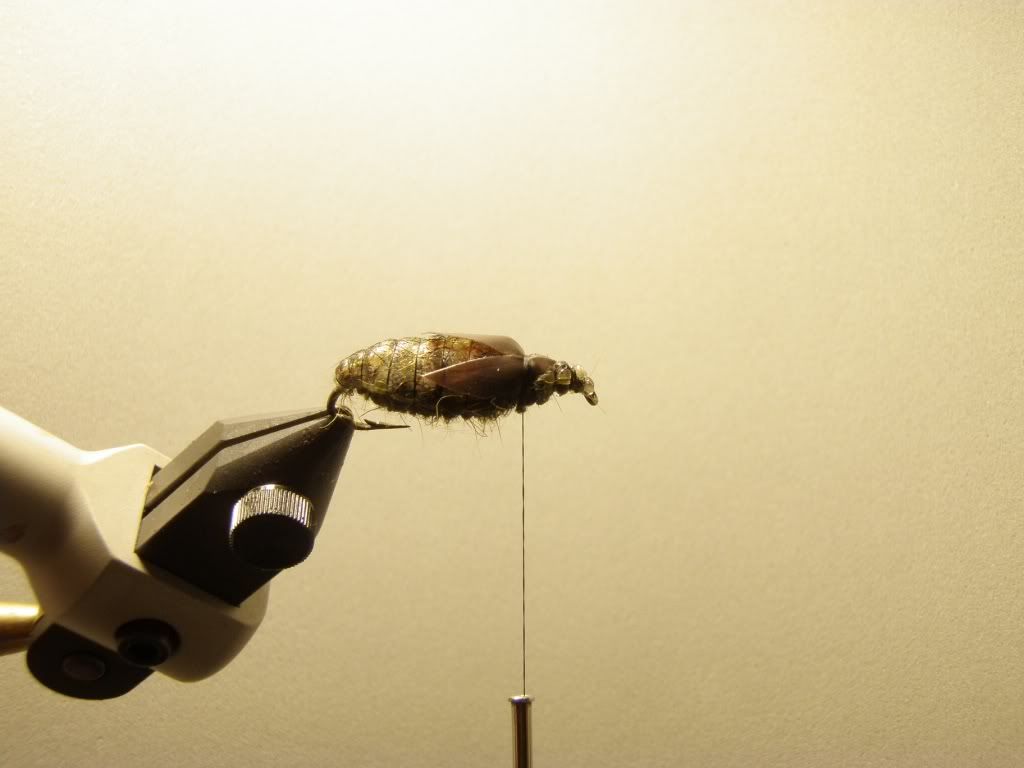
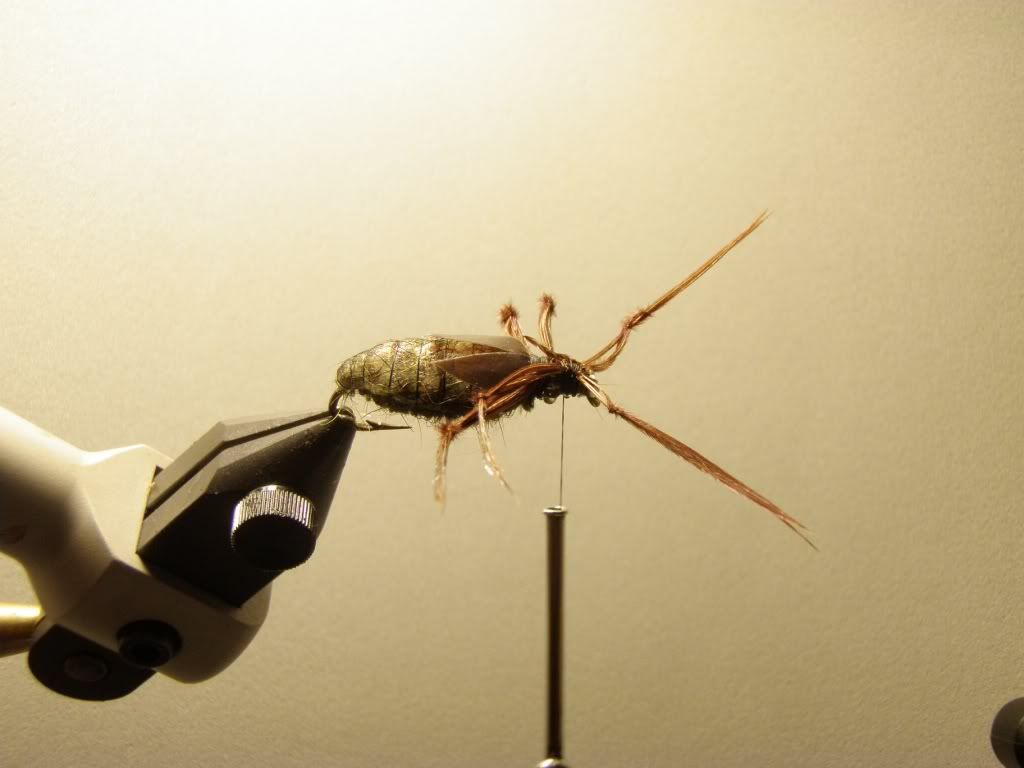
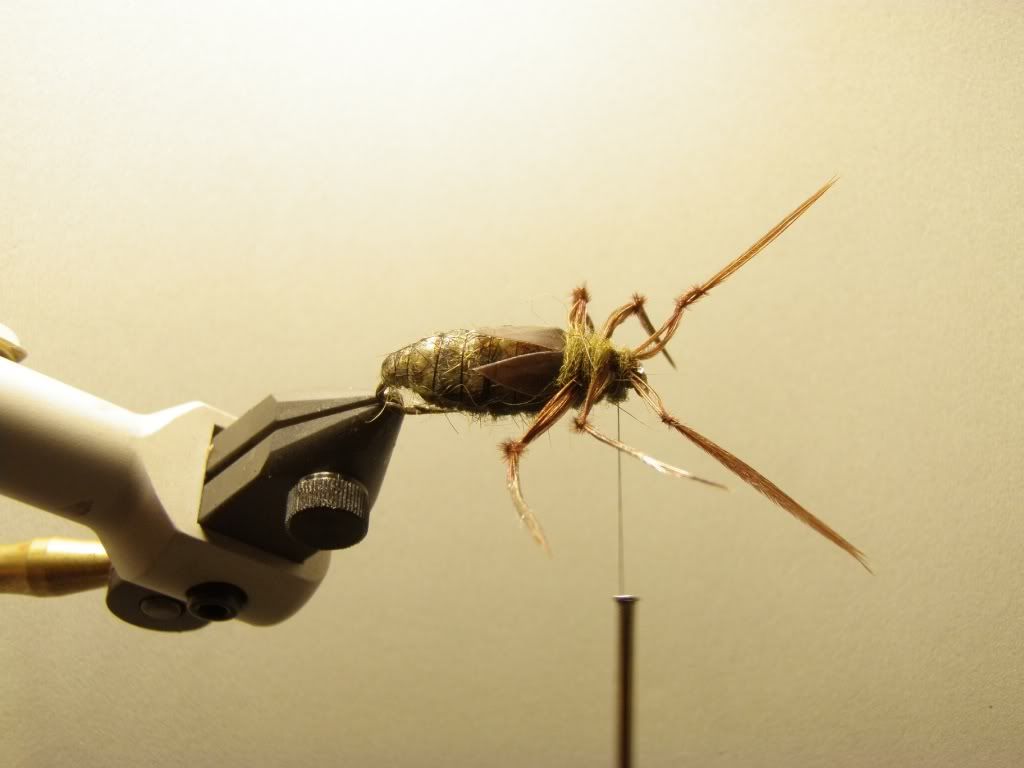
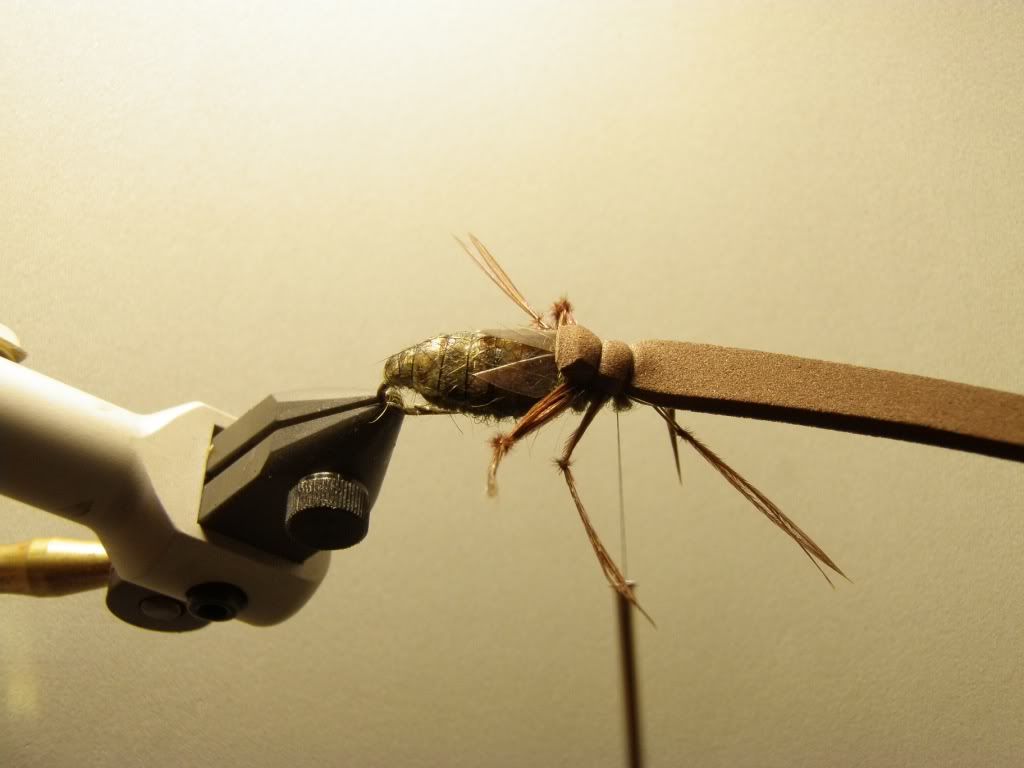
Dron.fly escreveu:My Cricket Fly....
Material:
Hook - TMC 2302 size 10 - 6
Peacock Hurl
Foam
Goose Biots tie as legs and cerci tail
Black buck tail as antenna
Magic tape sandwich a dark brown colour heckle as wing ( tape wing )
Tan colour CDC ( optional )
Brown colour thread
Marker pen
Happy Tying..
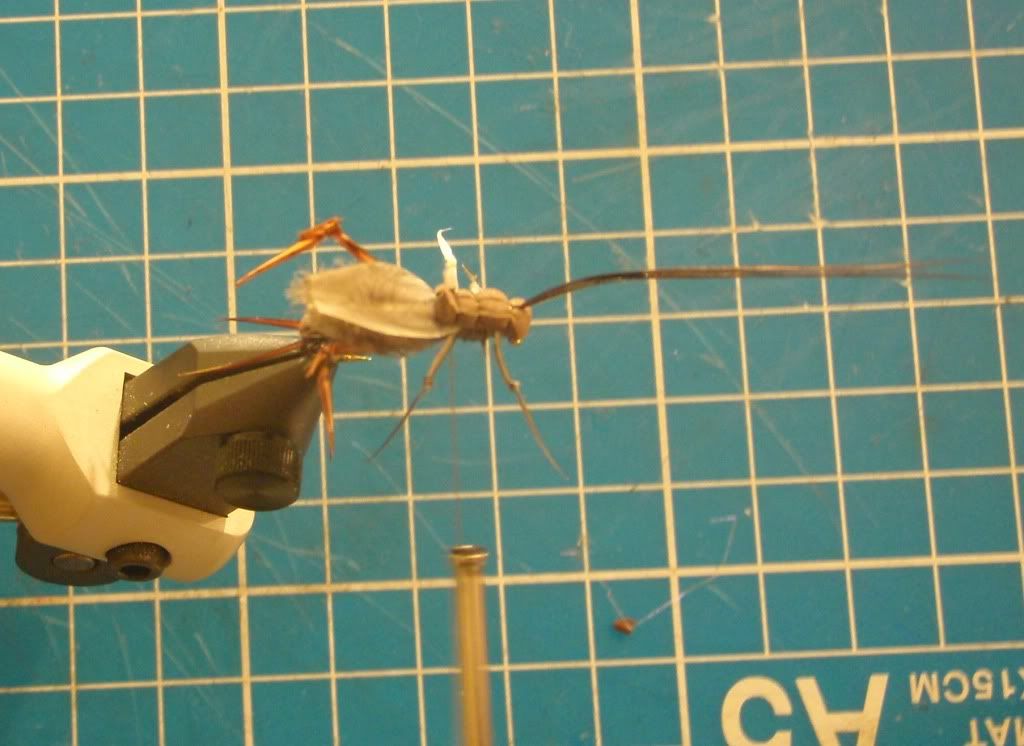
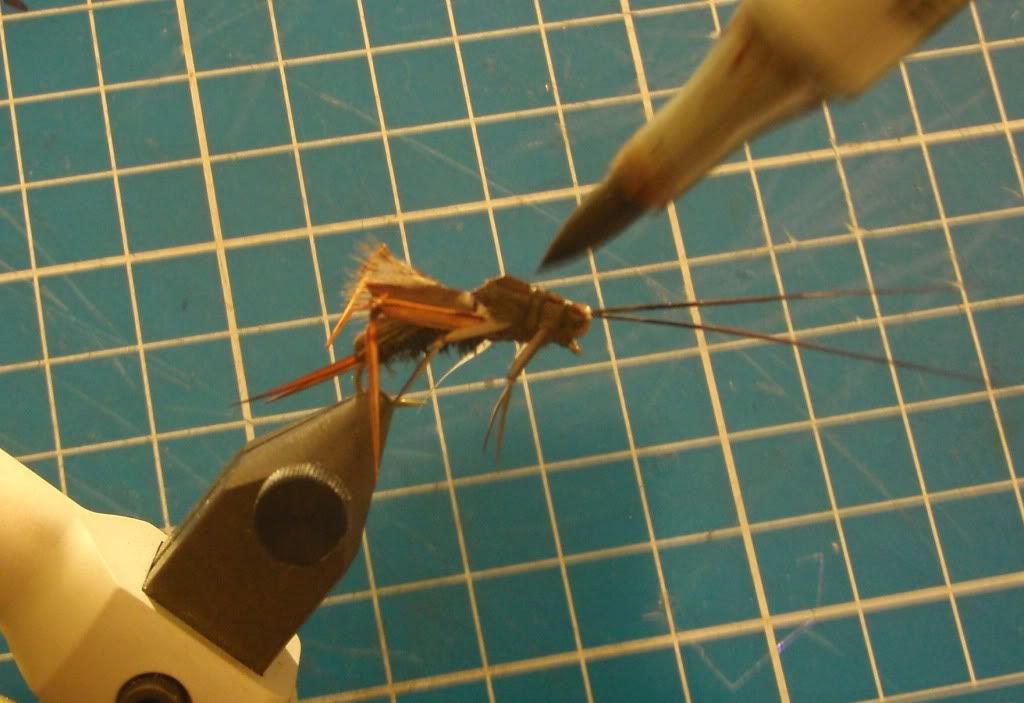
Dron.fly escreveu:Cricket Fly Version 2.... .... with more foam body and float better.... ... I call it "Cricket V2"
The legs are tie from 'pleasant tail' fiber.... ...
The body are foam
the thorax and wings are tape wing from 3M magic tape
This cricket fly pattern have manage to land a lot of Jelawat at Bukit cherakah....
Cheers.... .... Happy tying.... ....

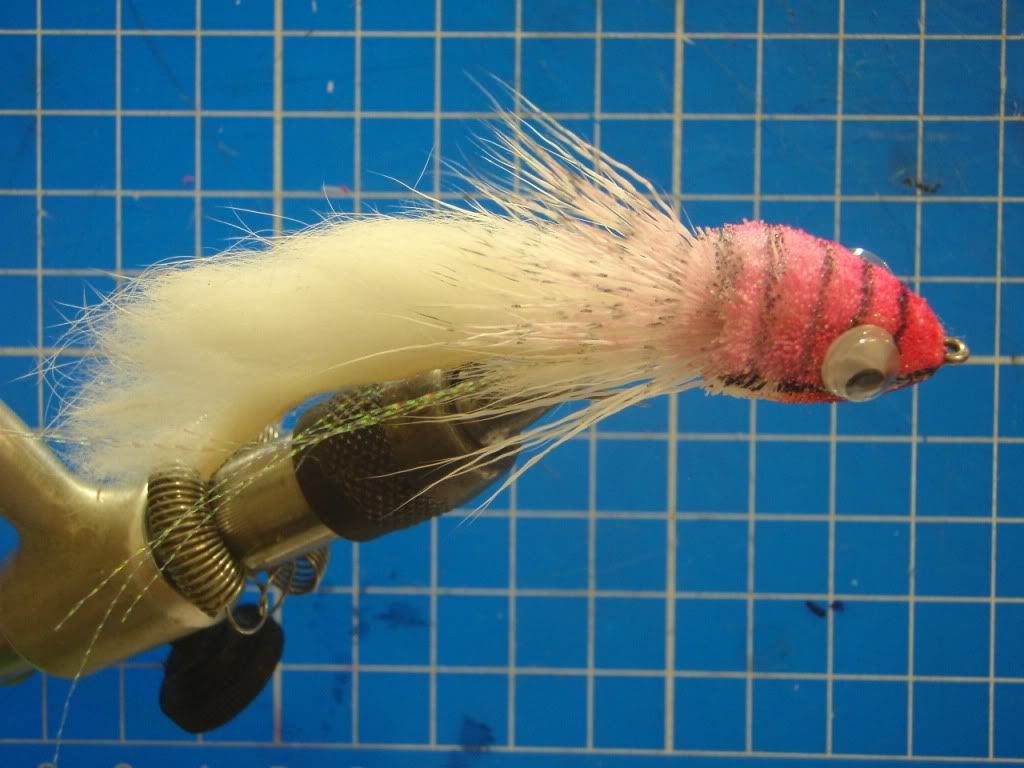
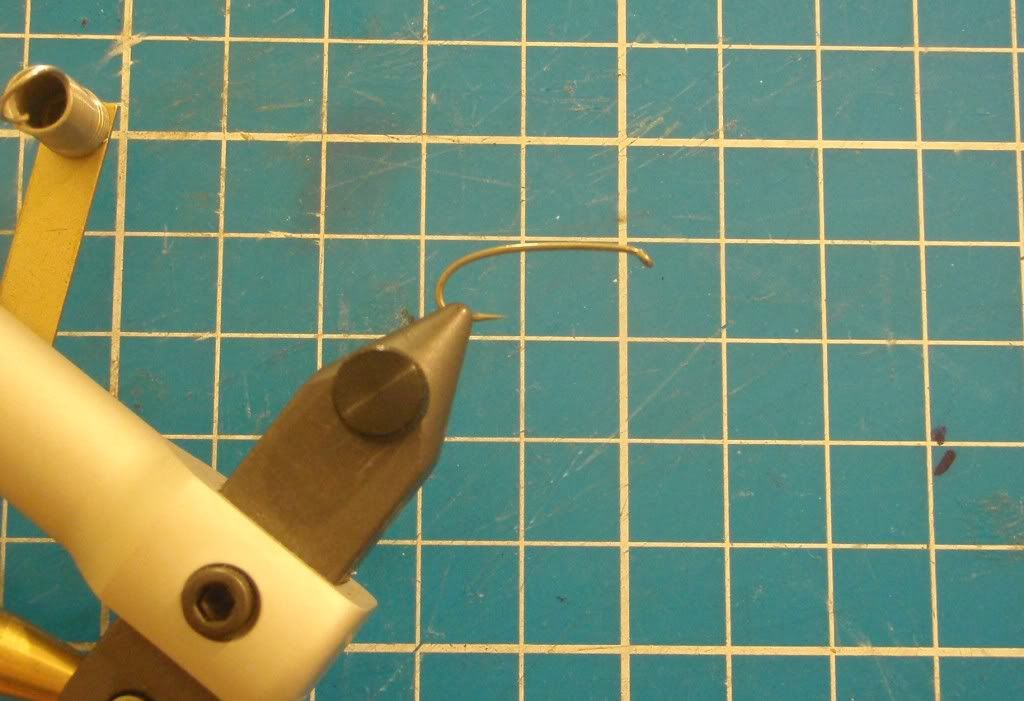
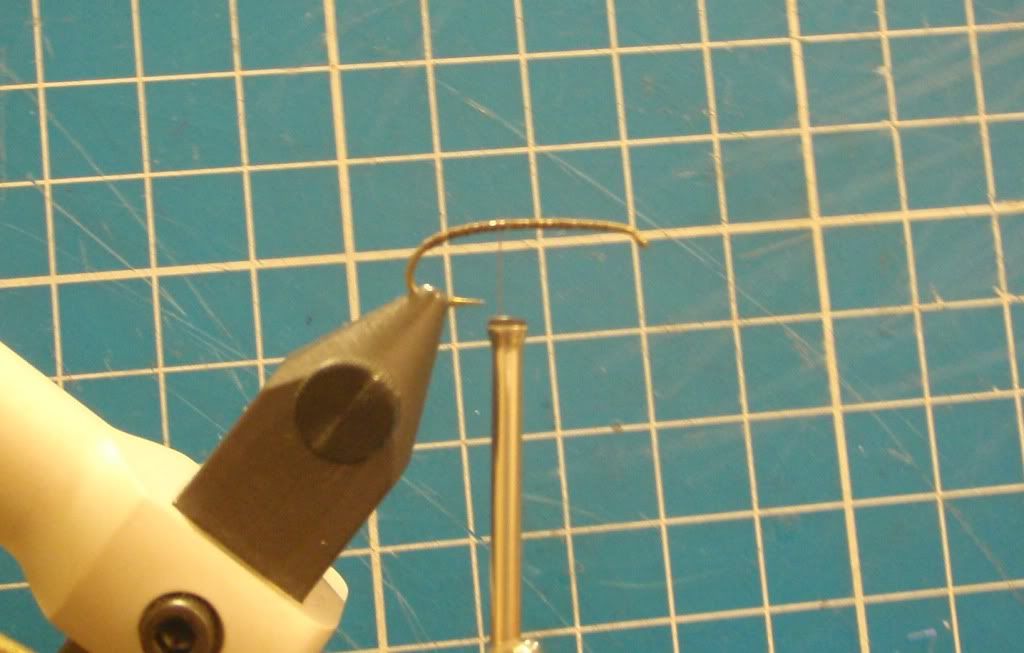
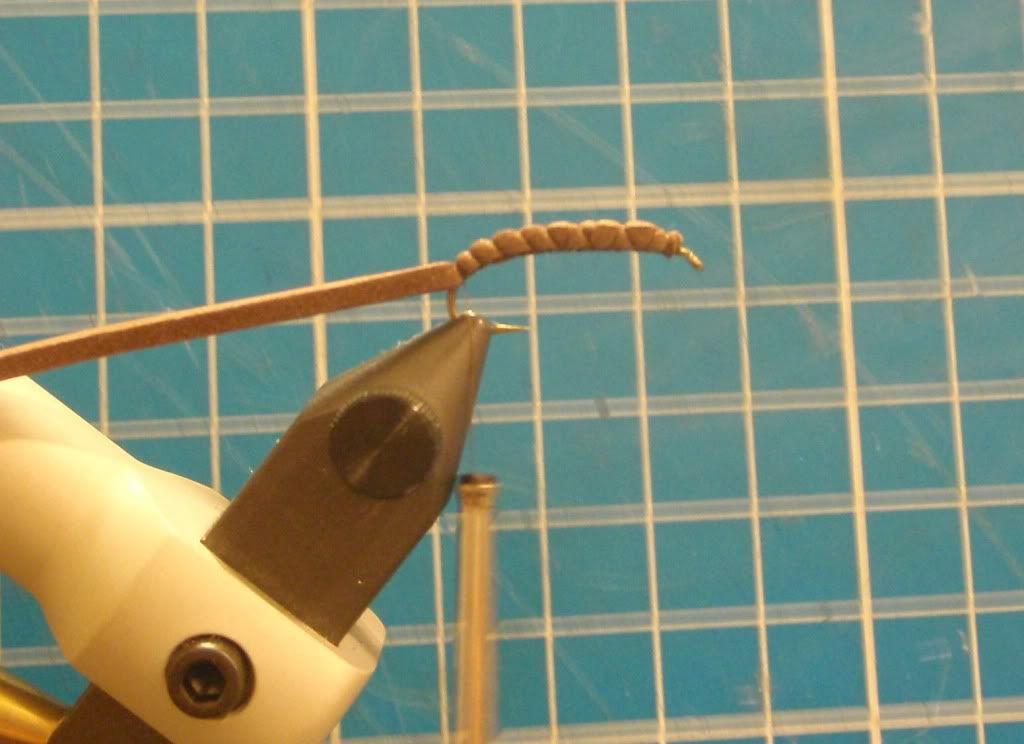
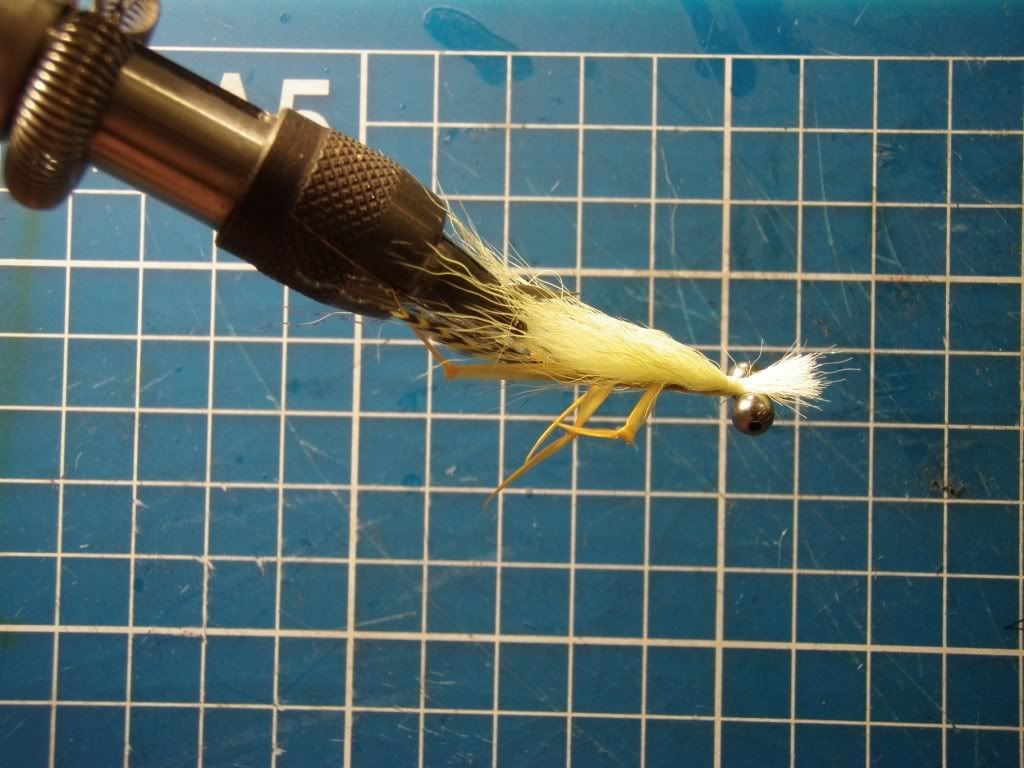
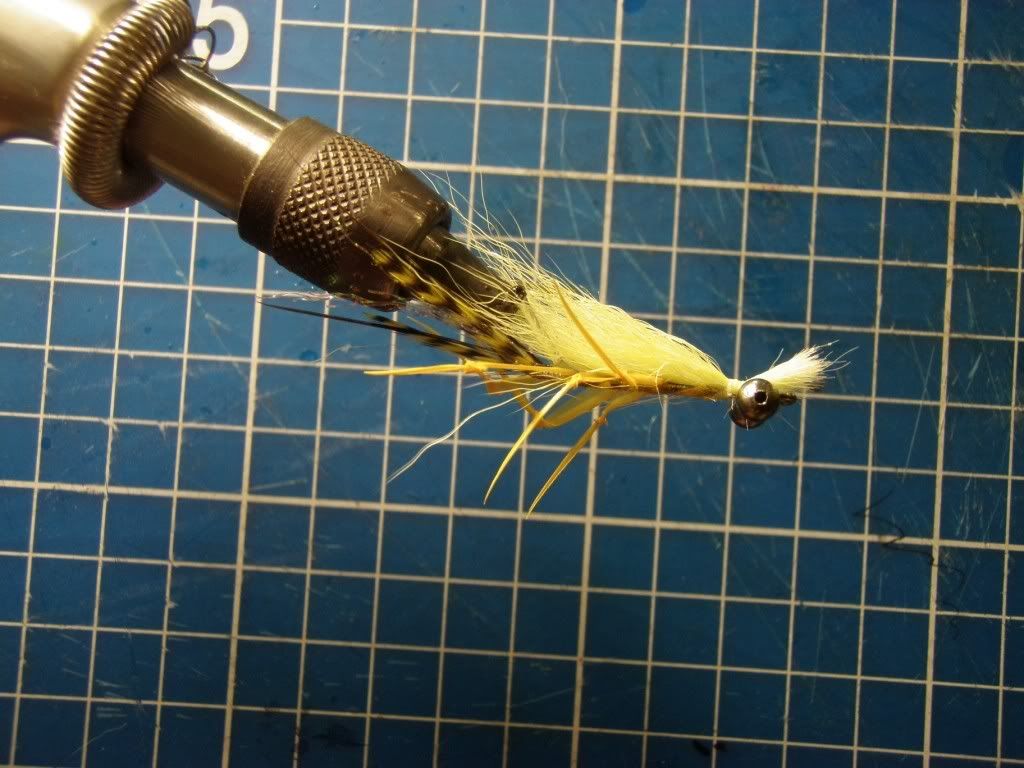
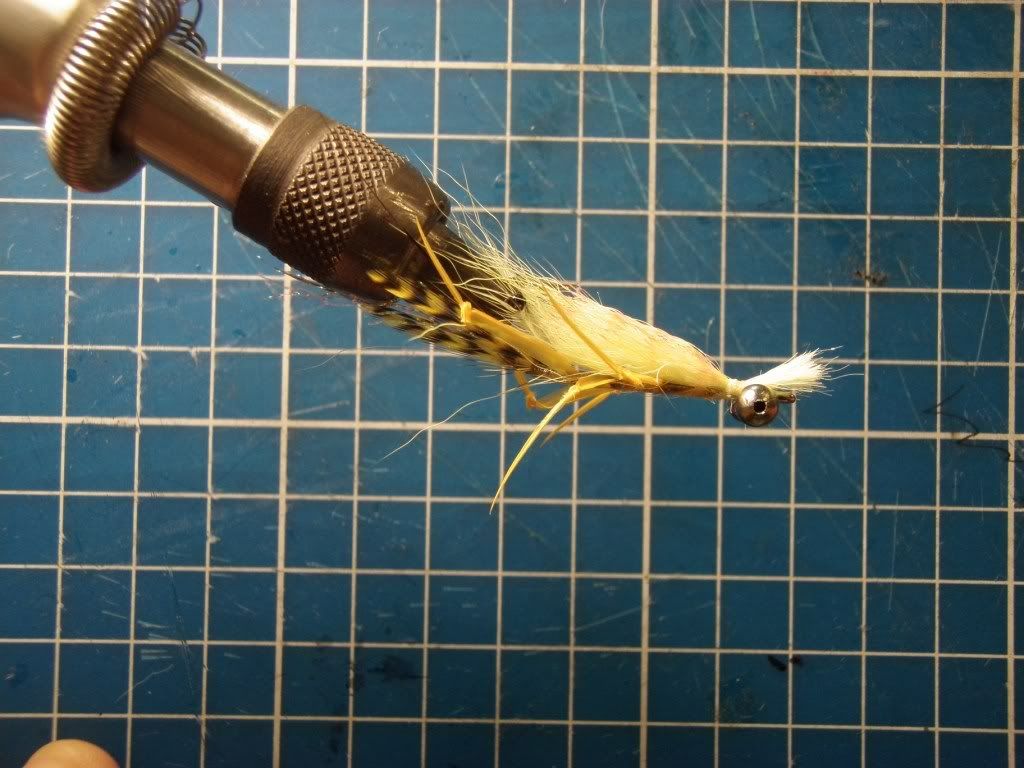
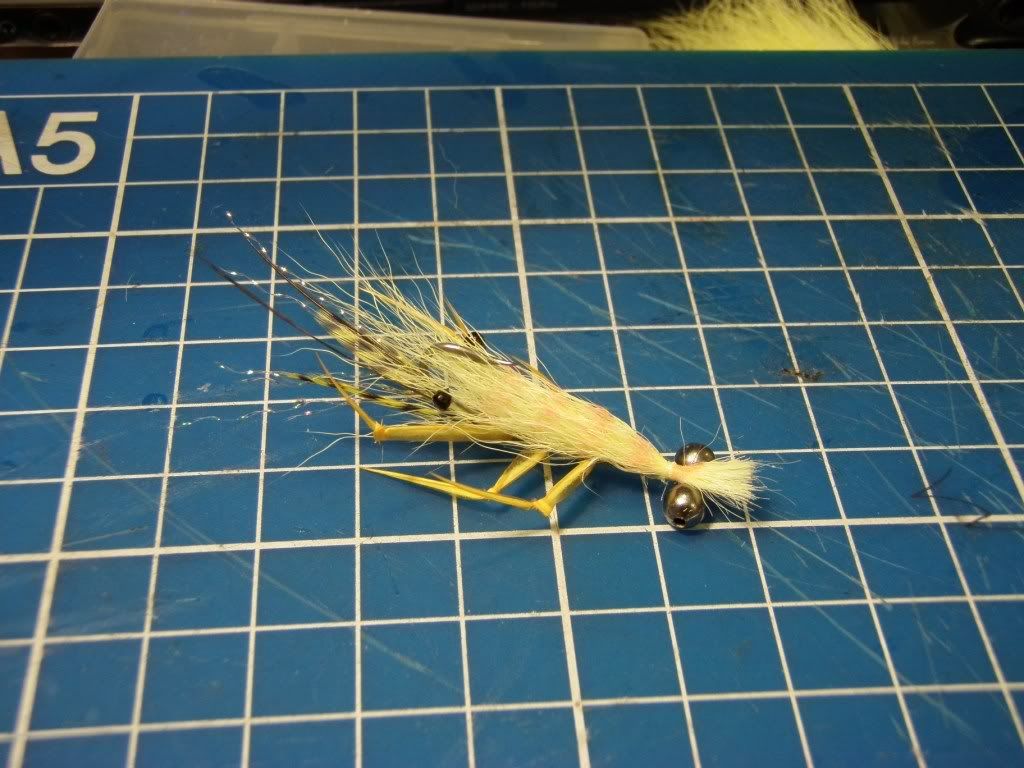
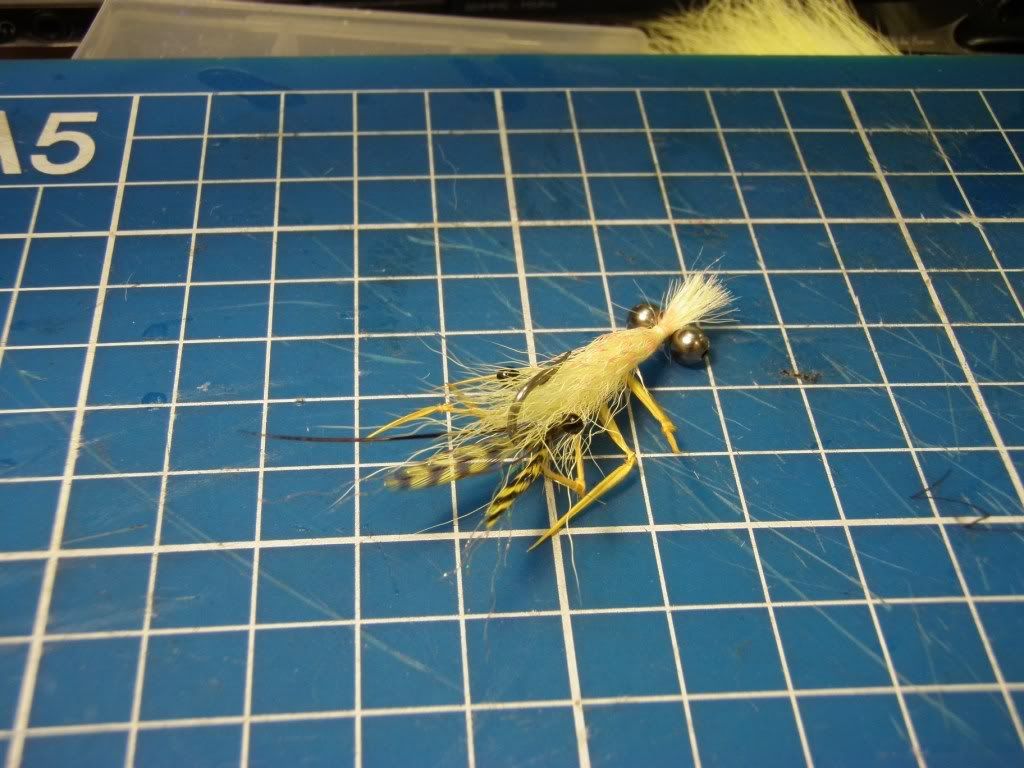
Dron.fly escreveu:Salt water pattern.... ...' calf shrimp '
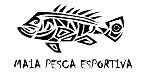
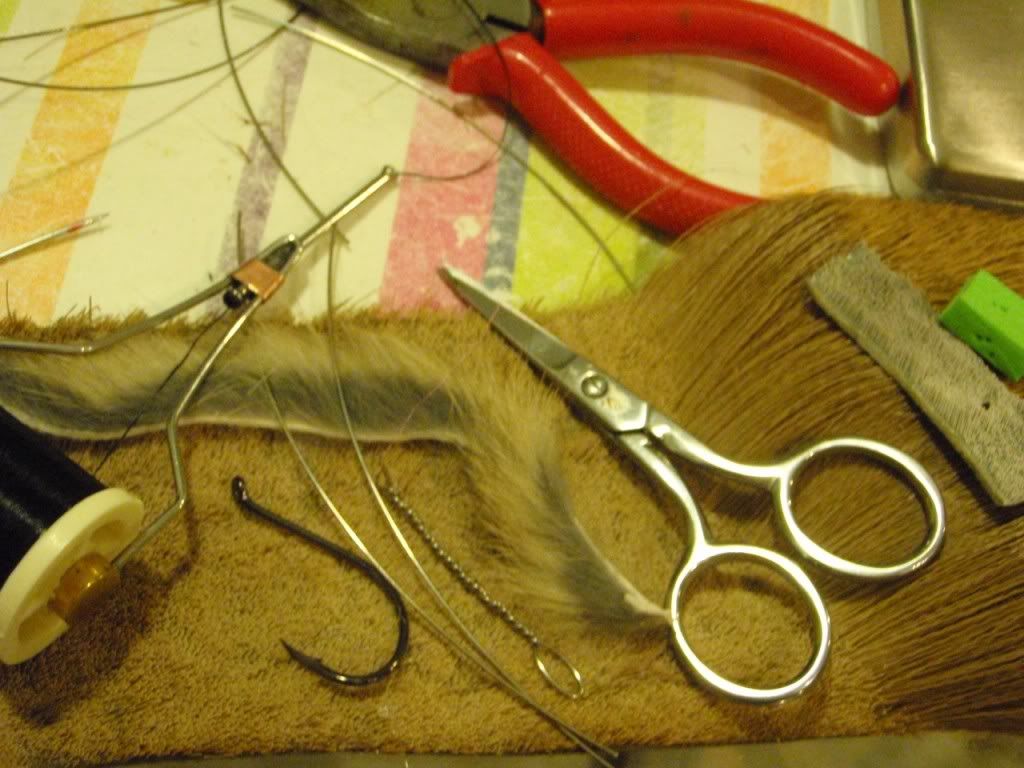
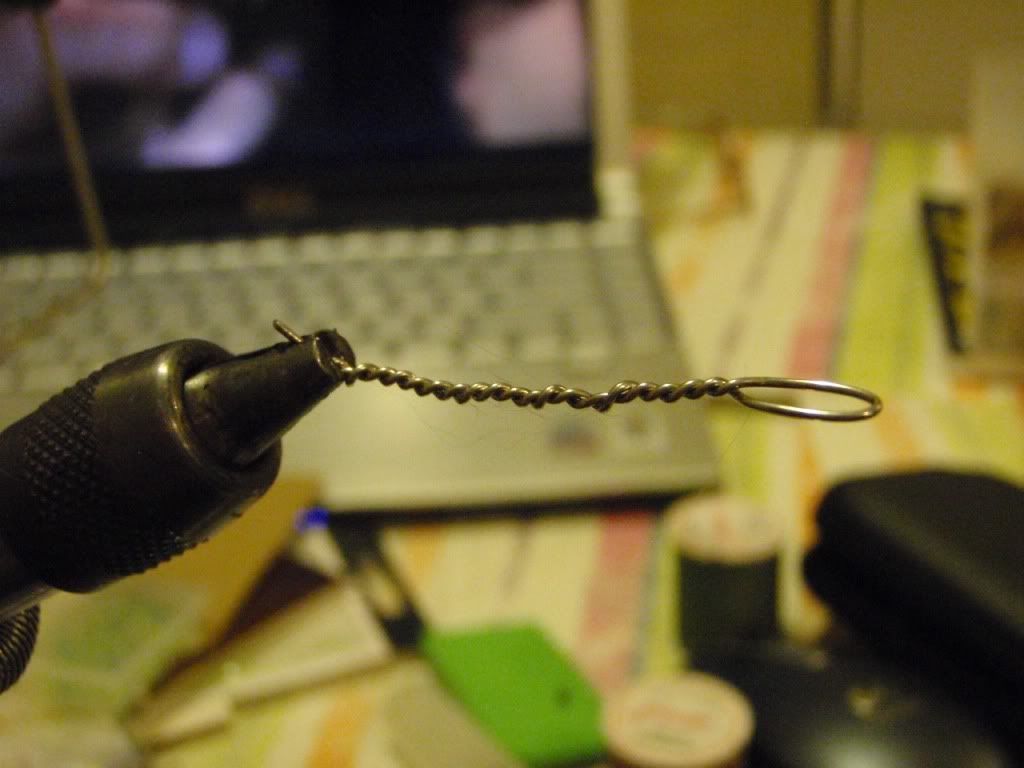
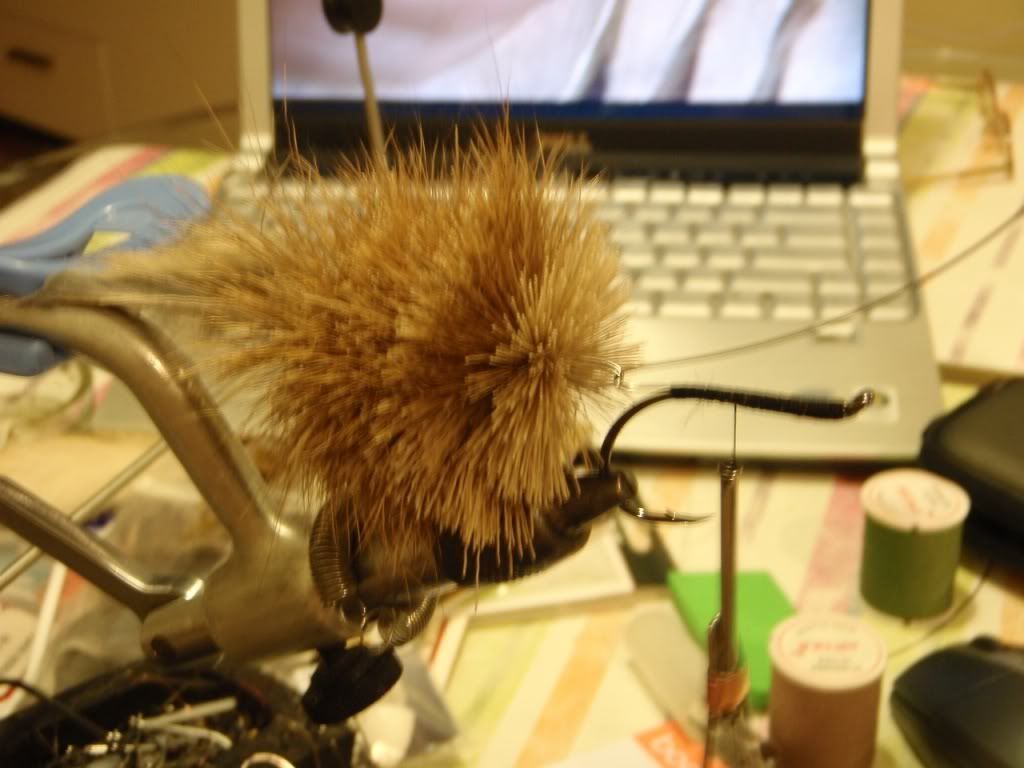
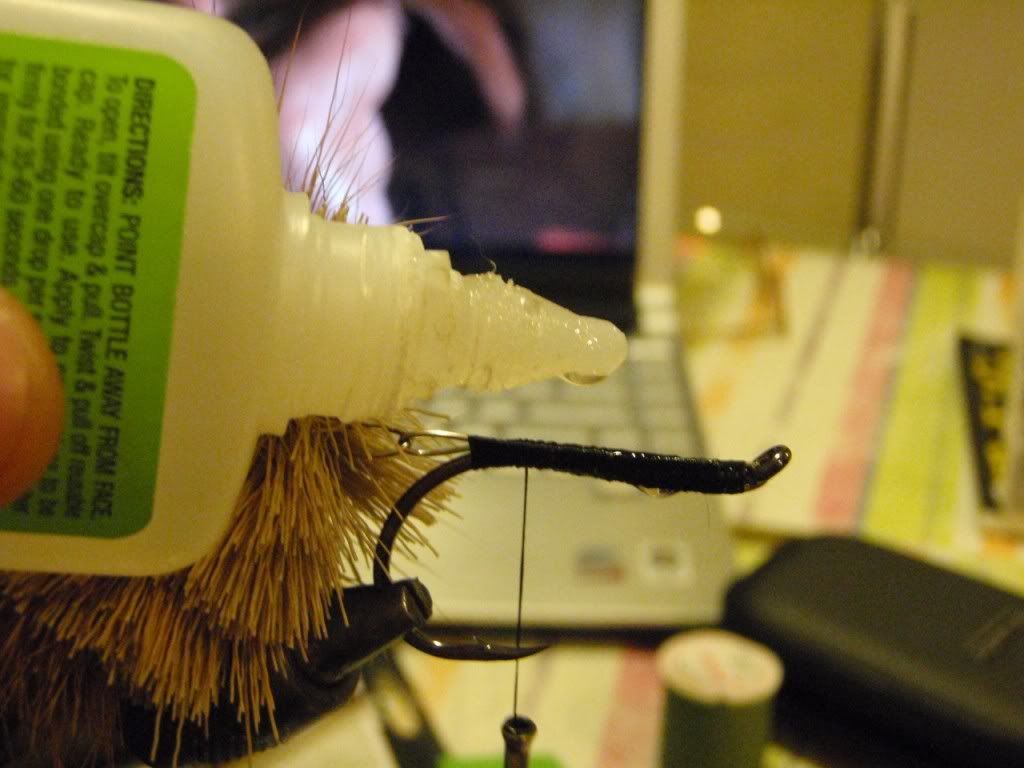
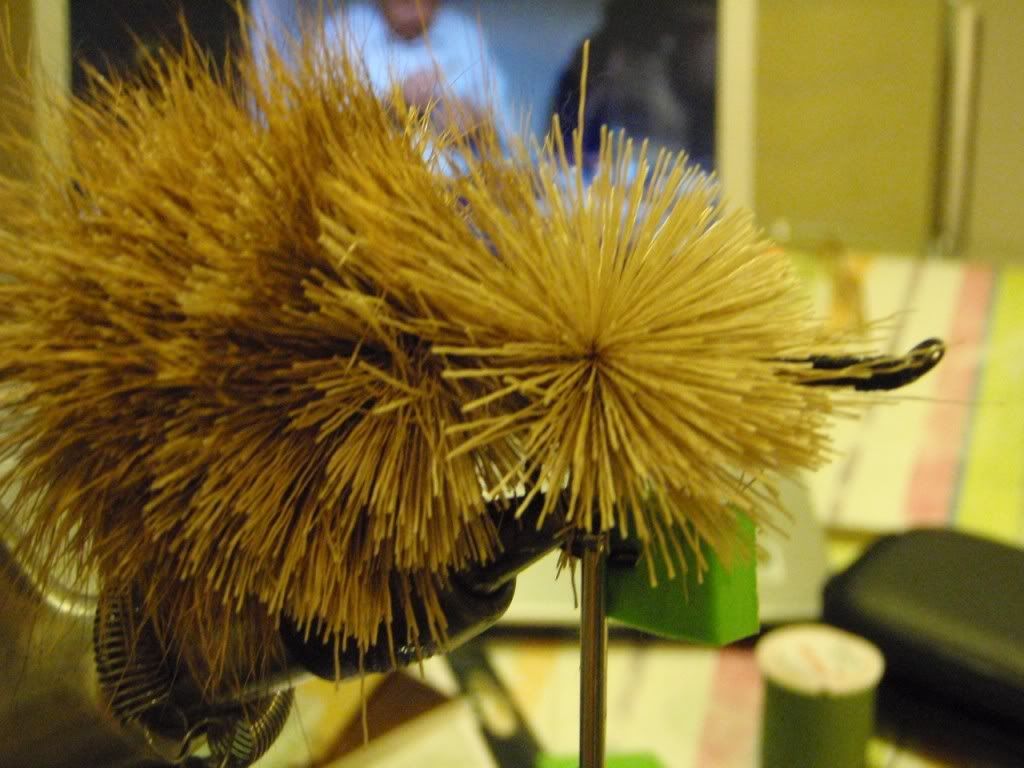
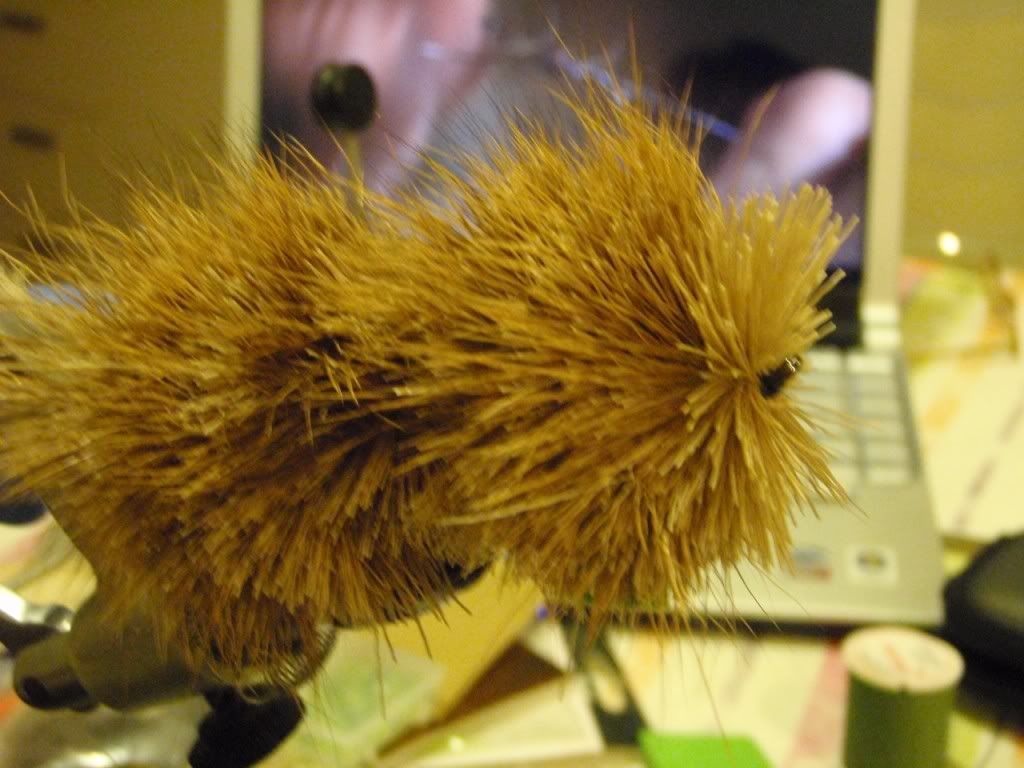
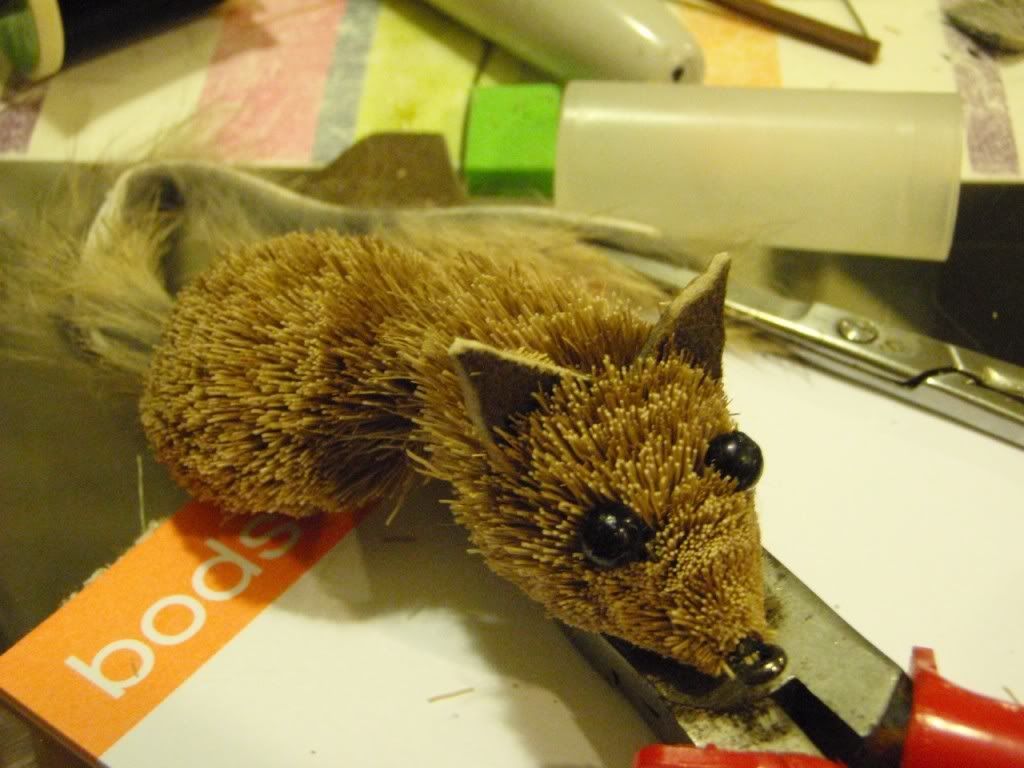
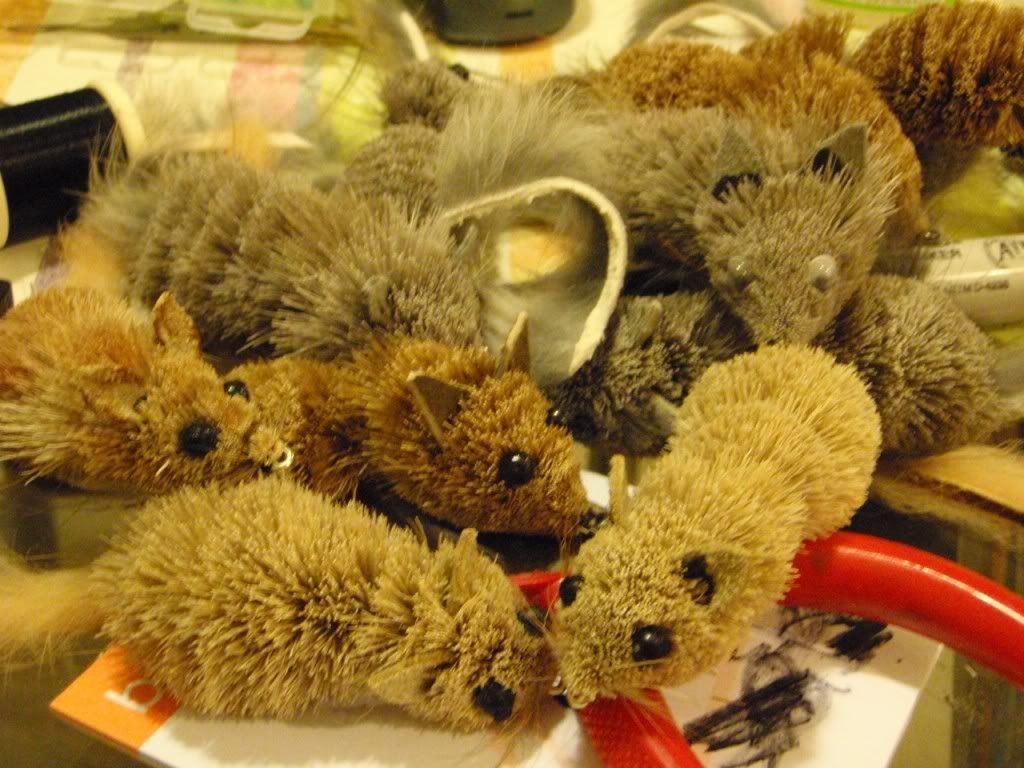
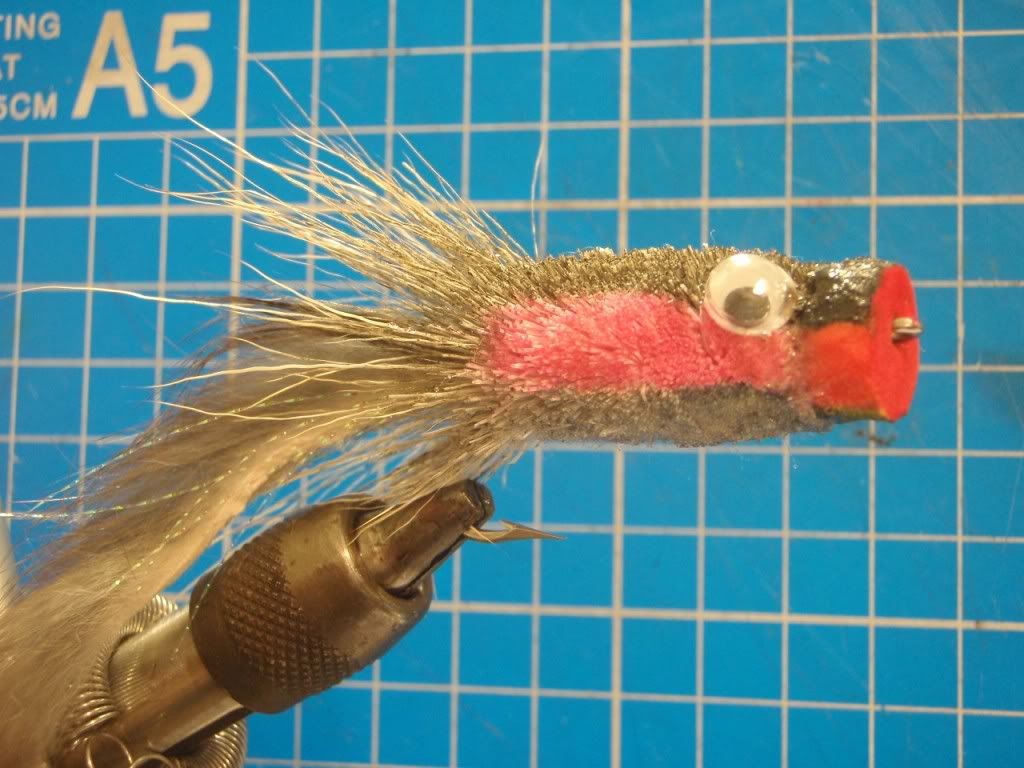
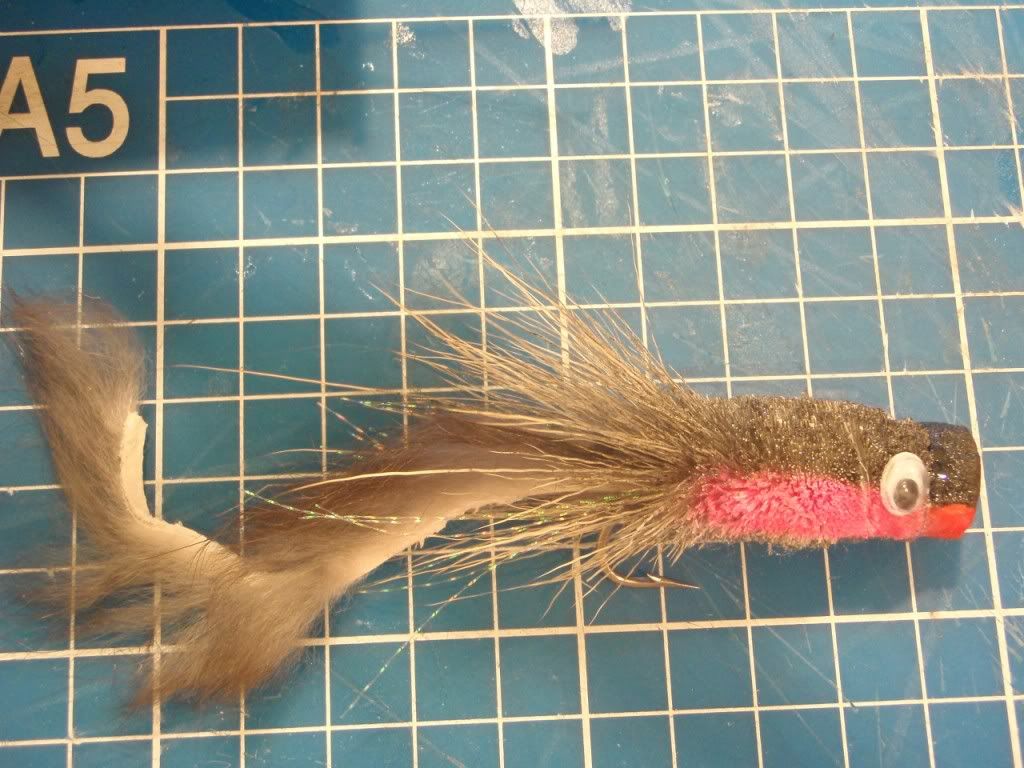
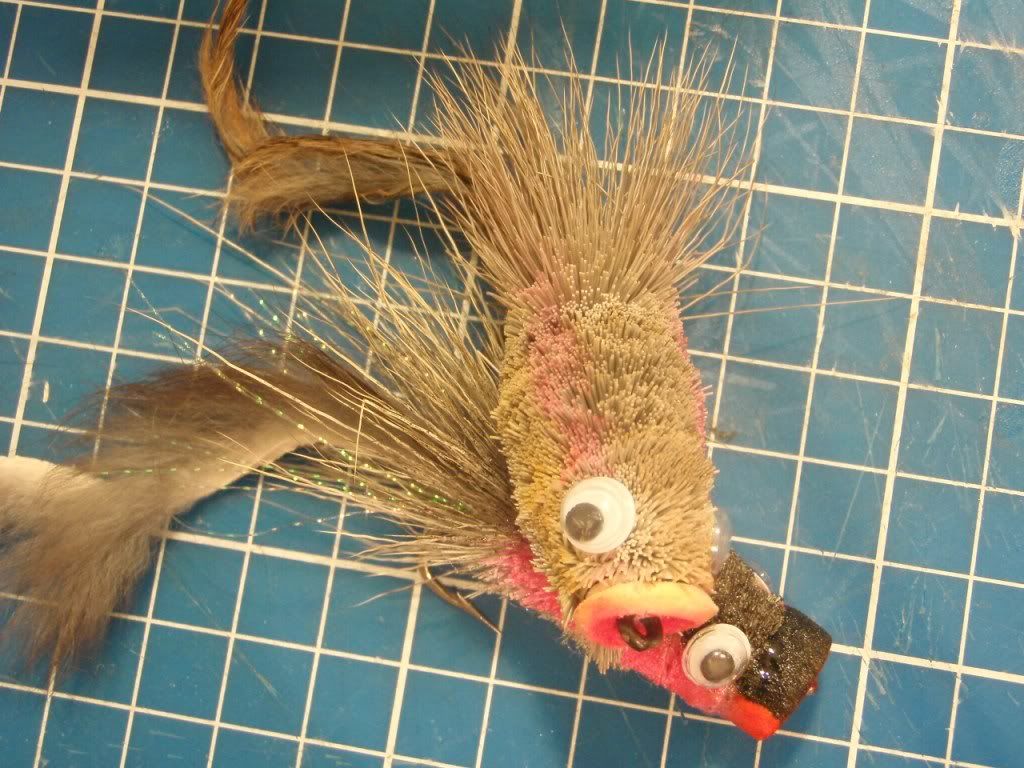
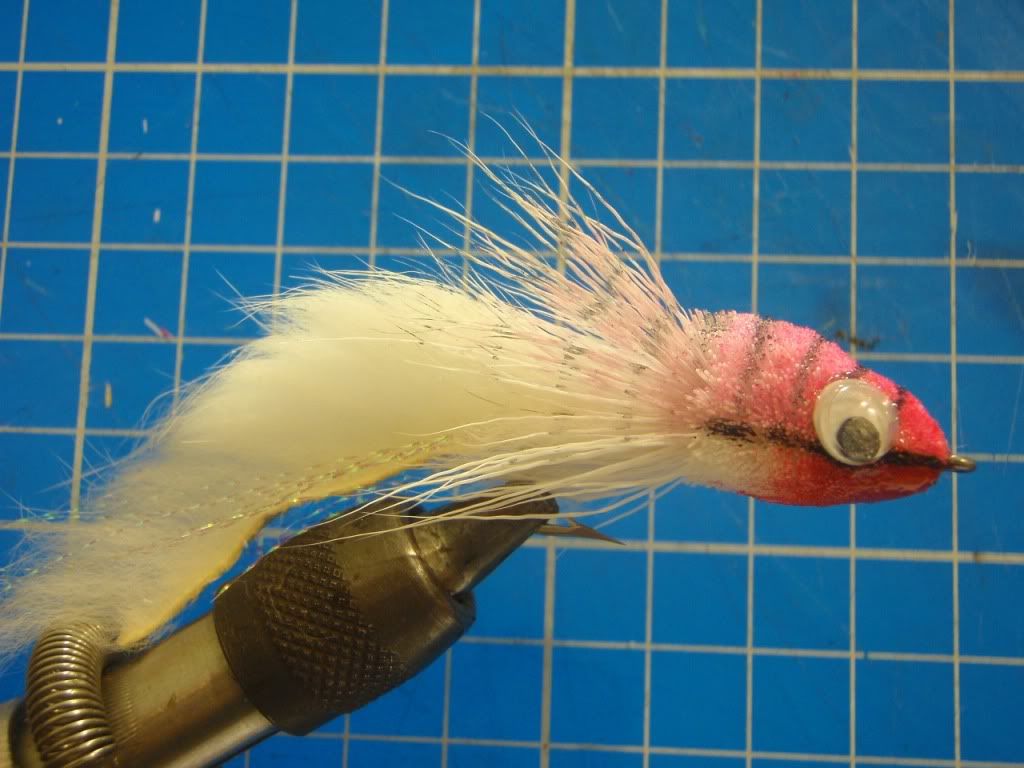
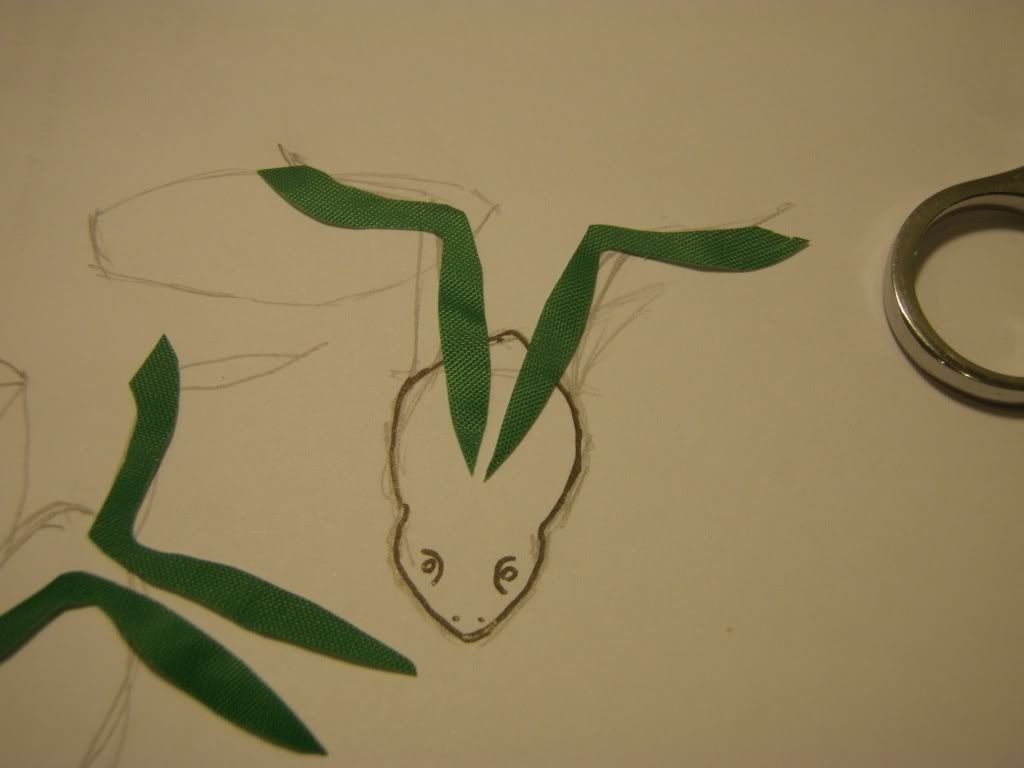
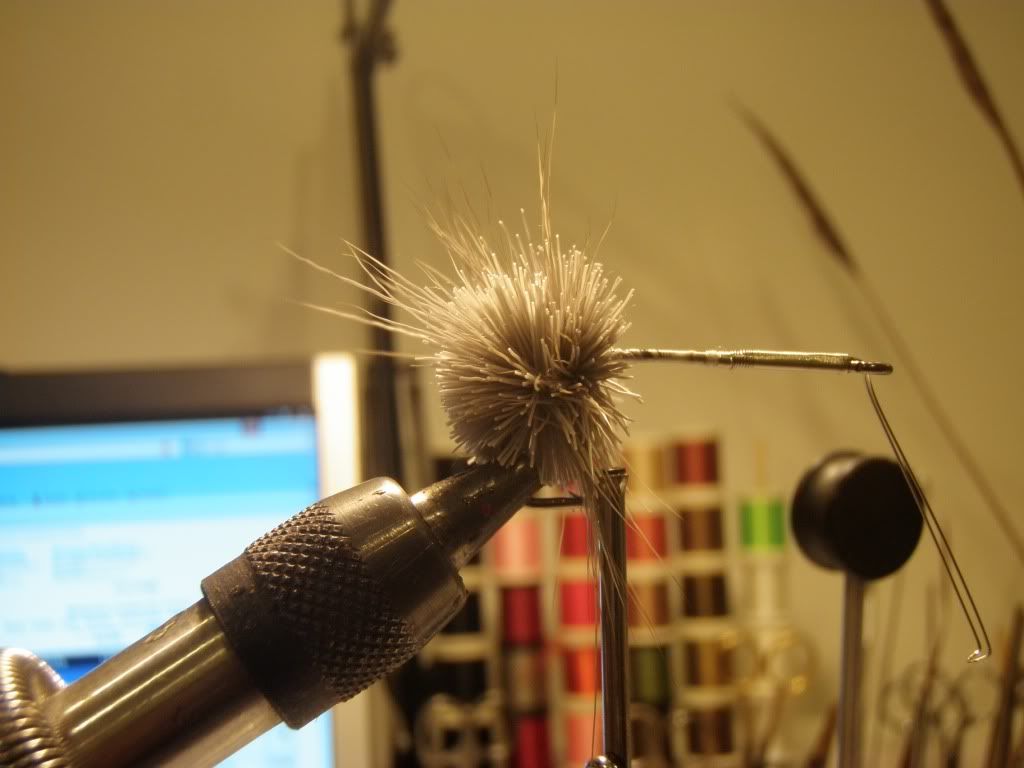
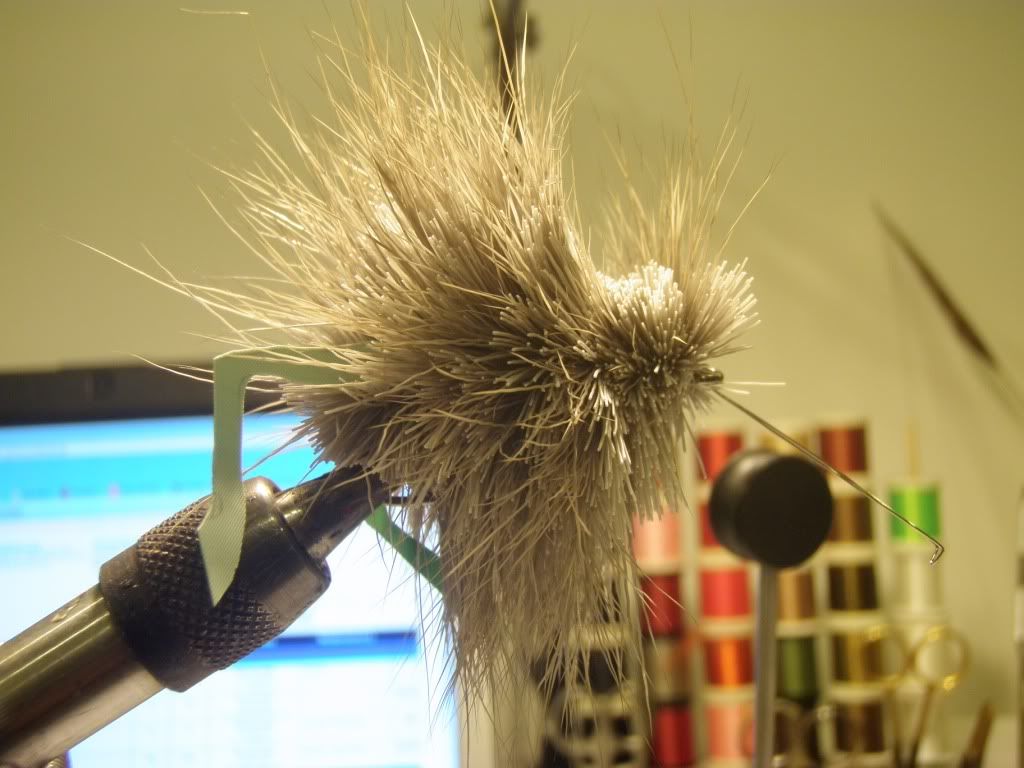
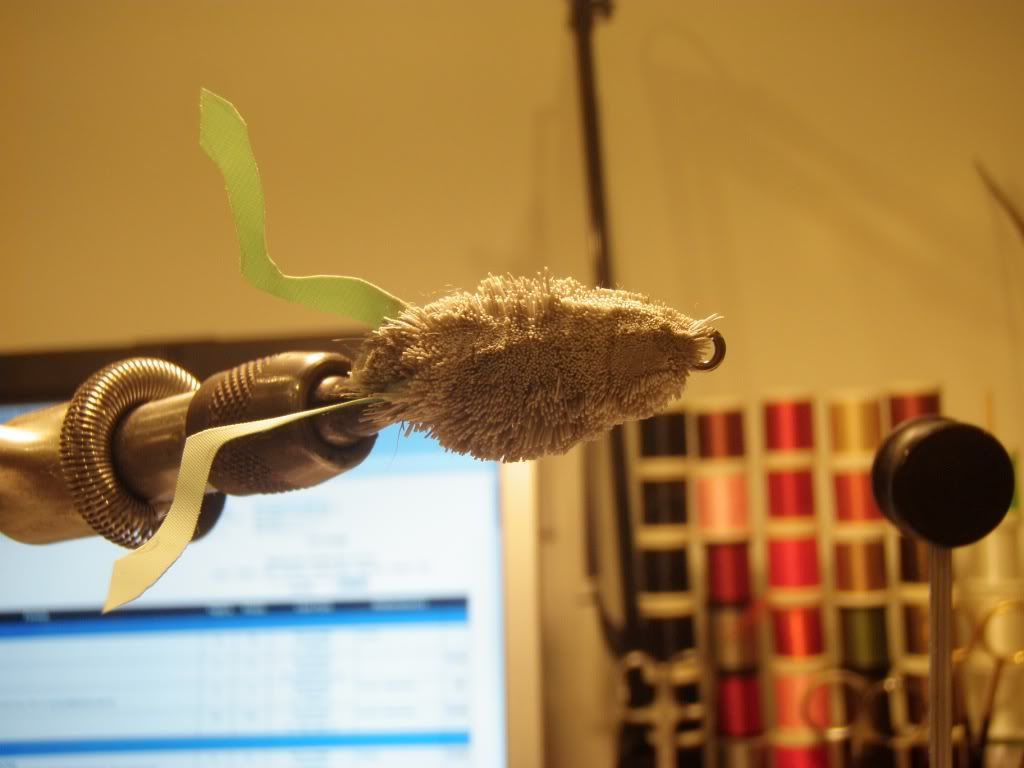
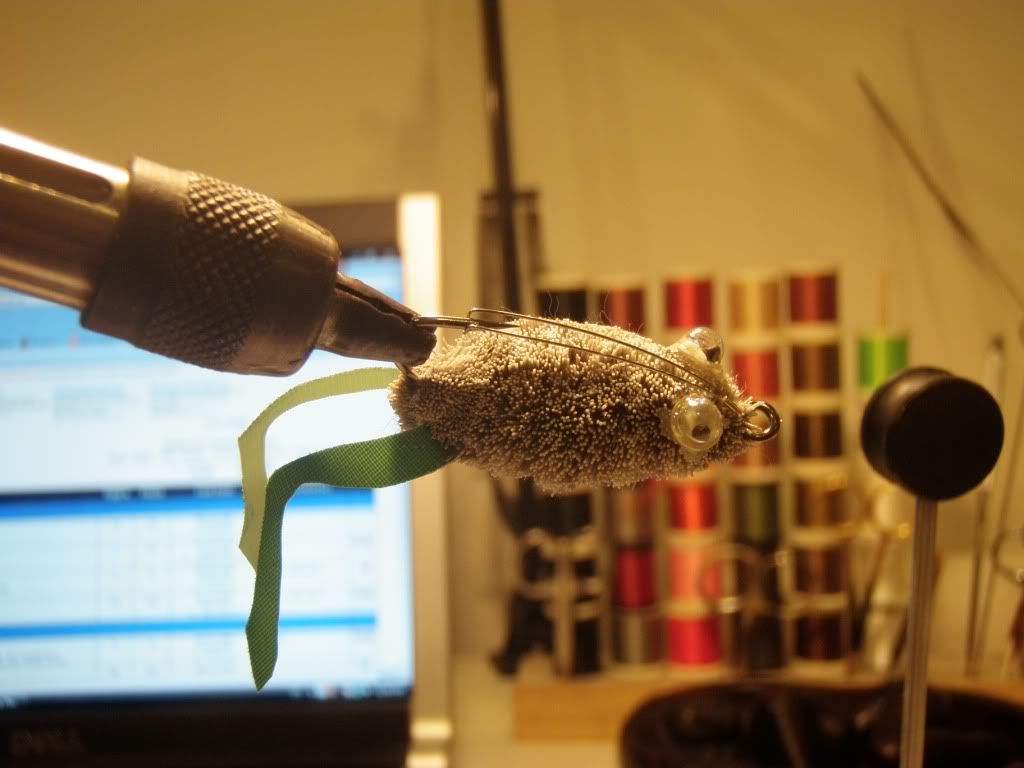
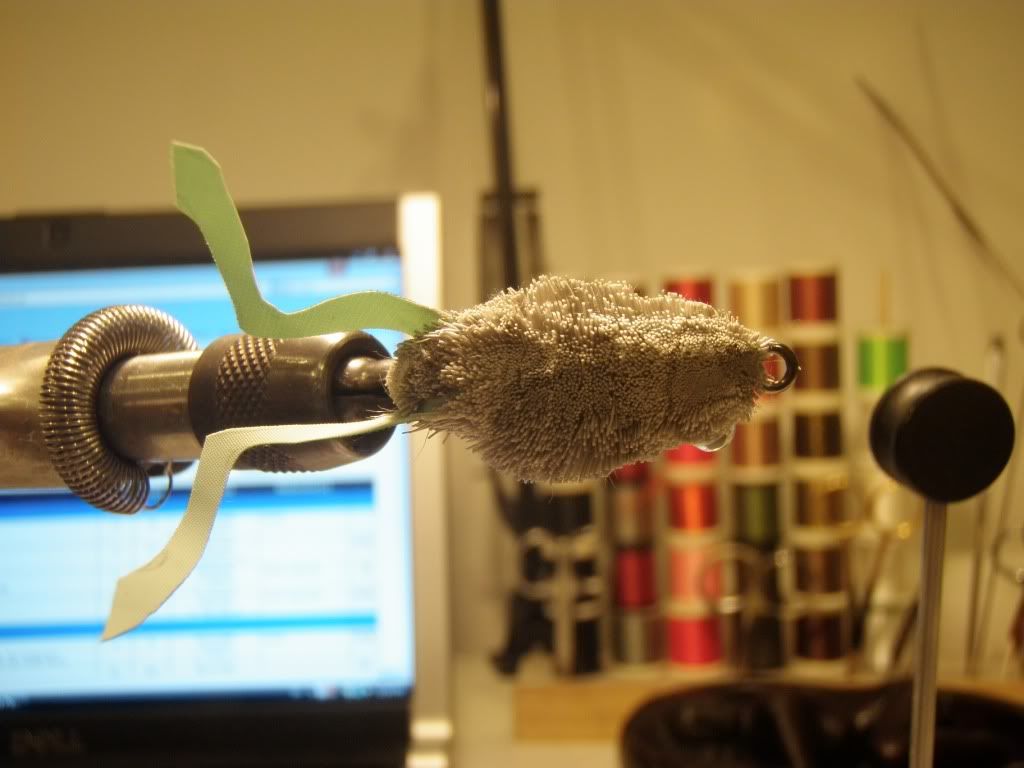
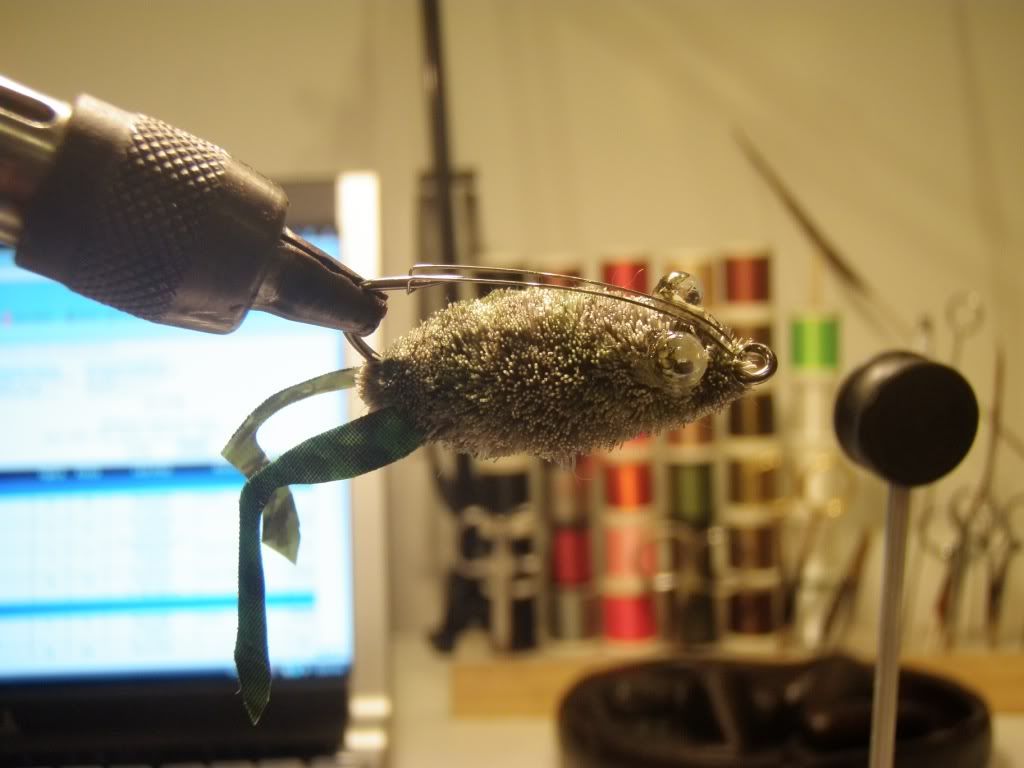
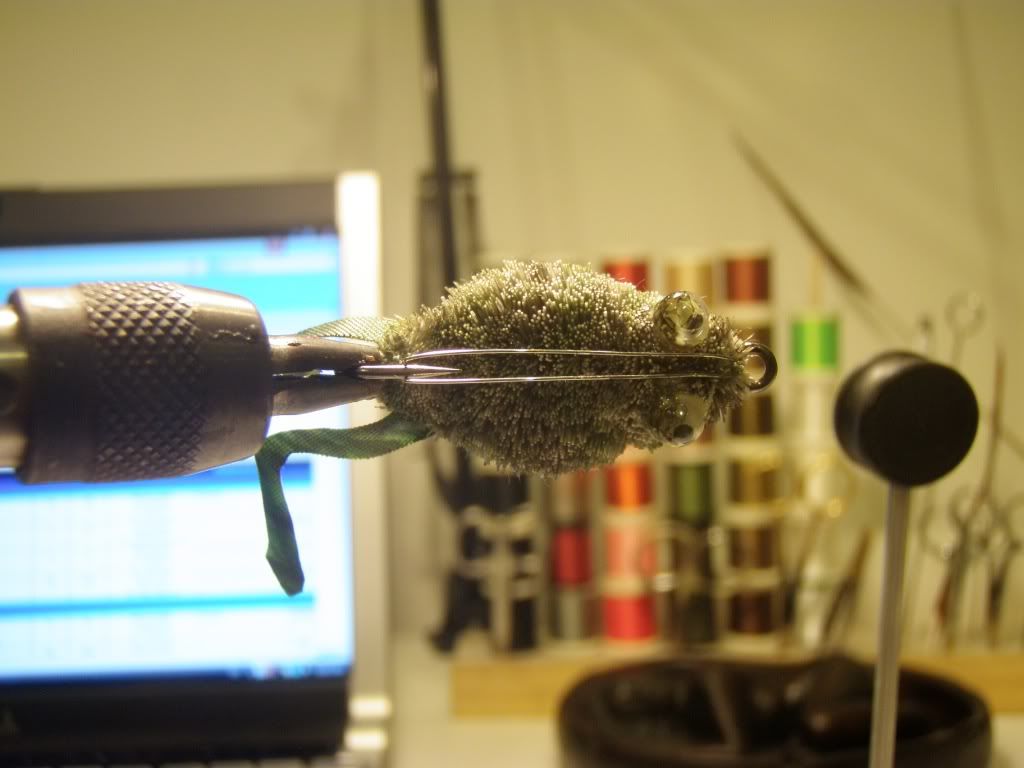
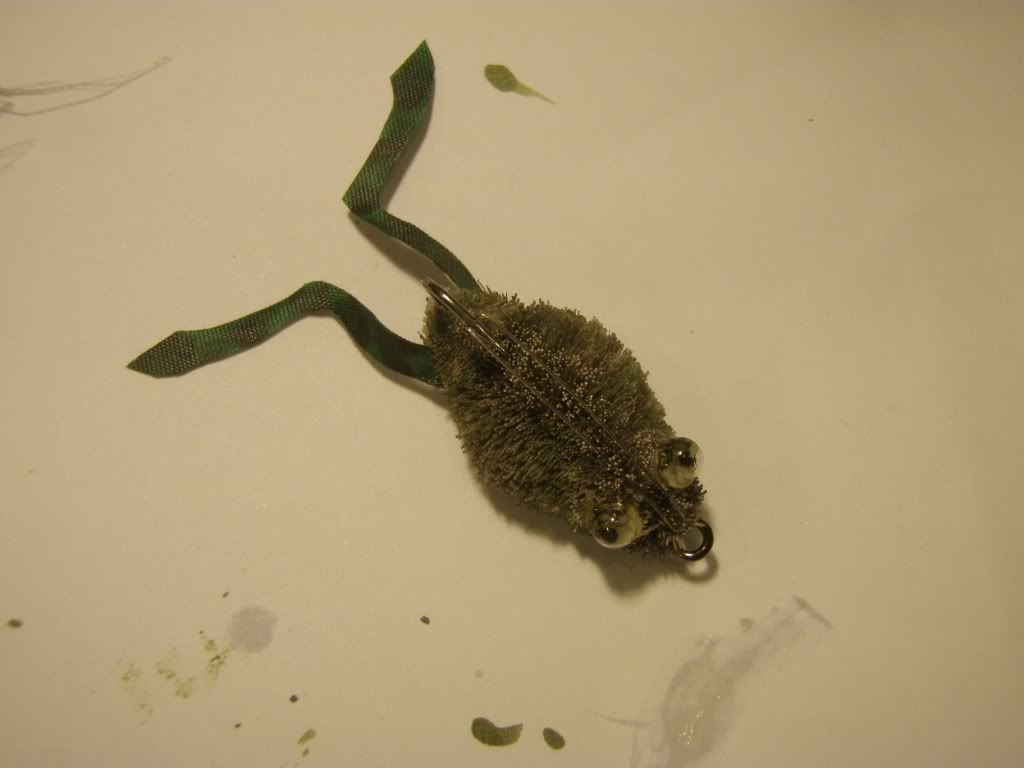
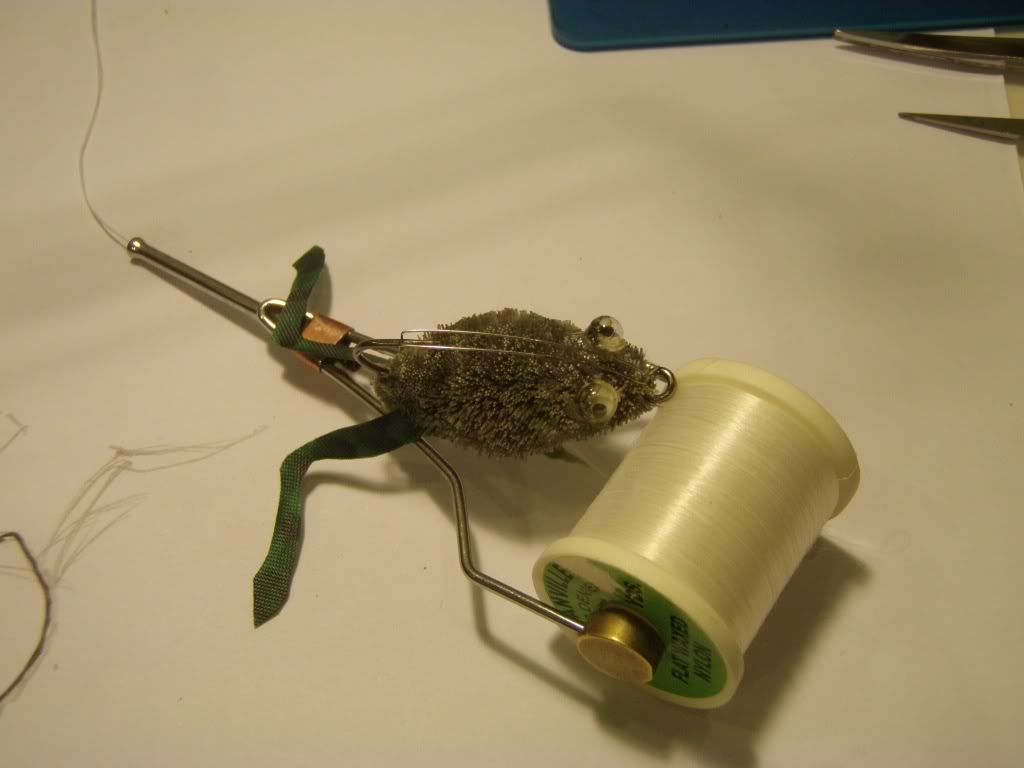
Dron.fly escreveu:Dear Hair Frog fly Pattern for Haruan.... ...
Material:
Dear Hair
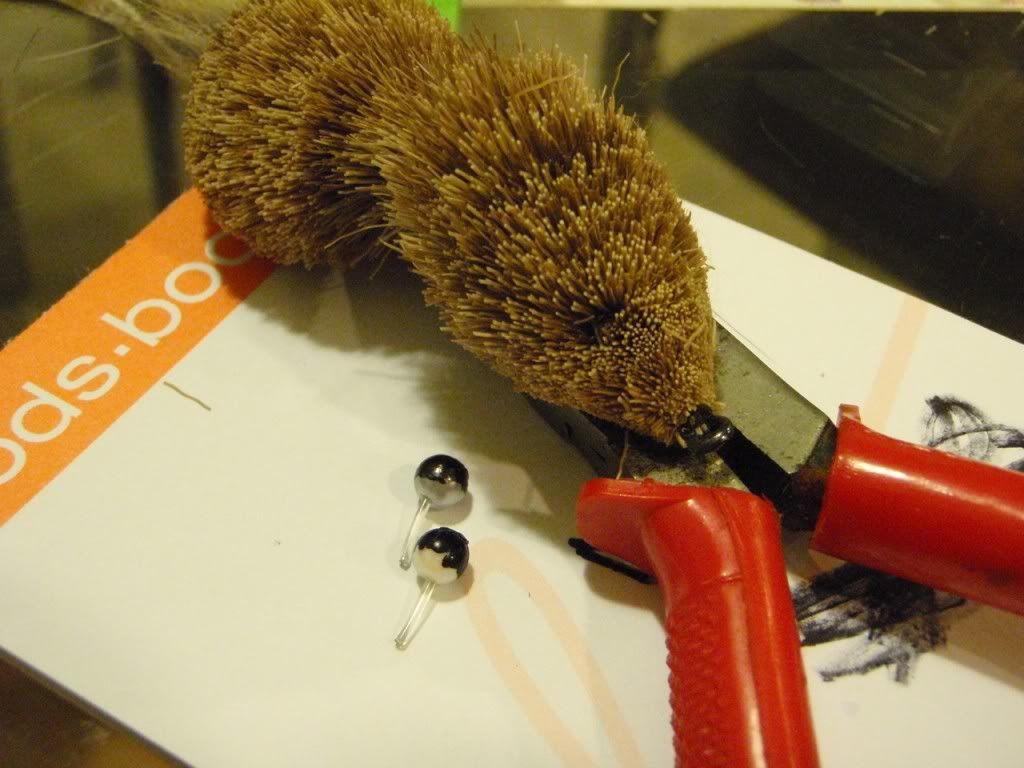
a pair of Doll eyes
Weedless Hook size 1
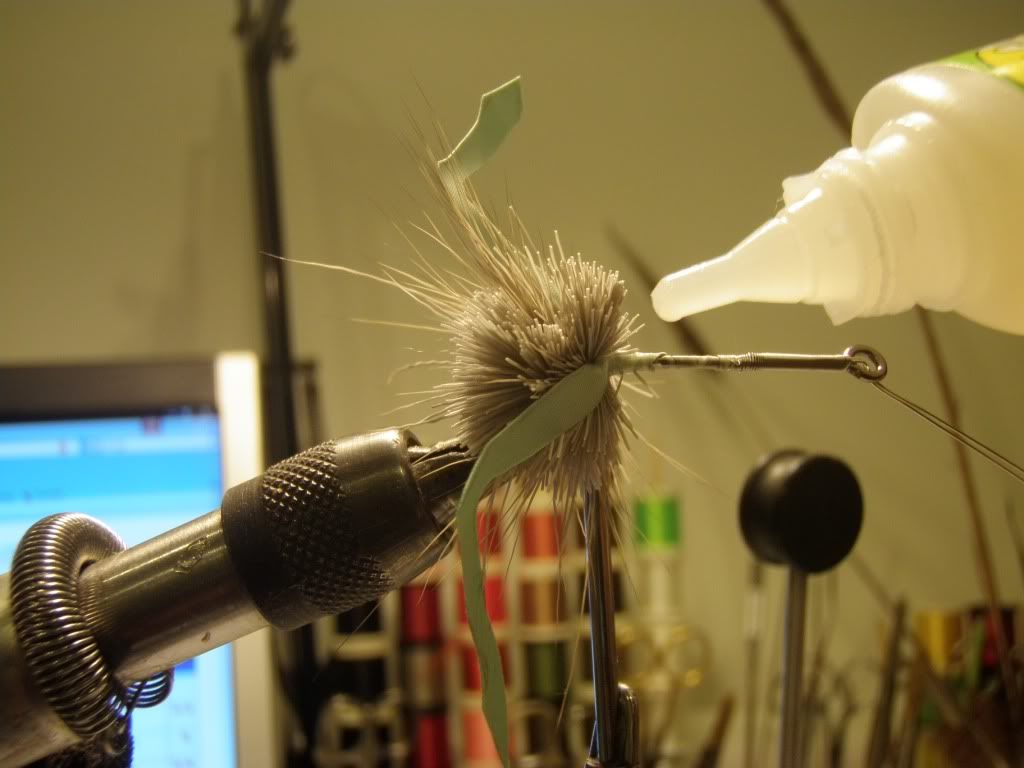
Polyester sheet as legs
Marker
Cheers... happy tying... all the best on Haruan hunting...

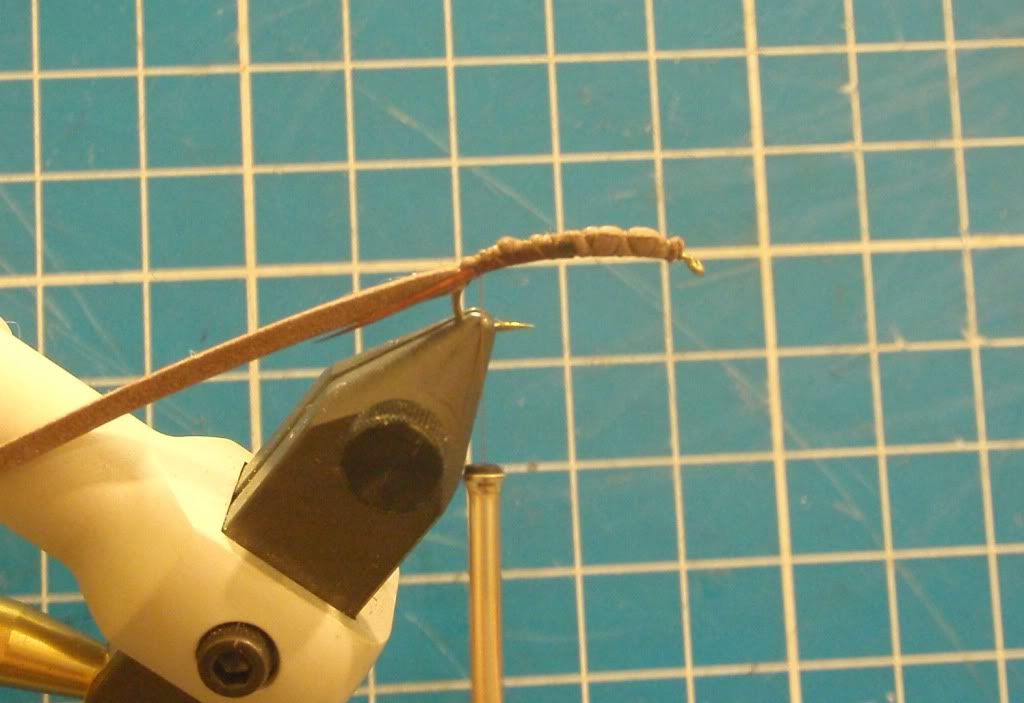
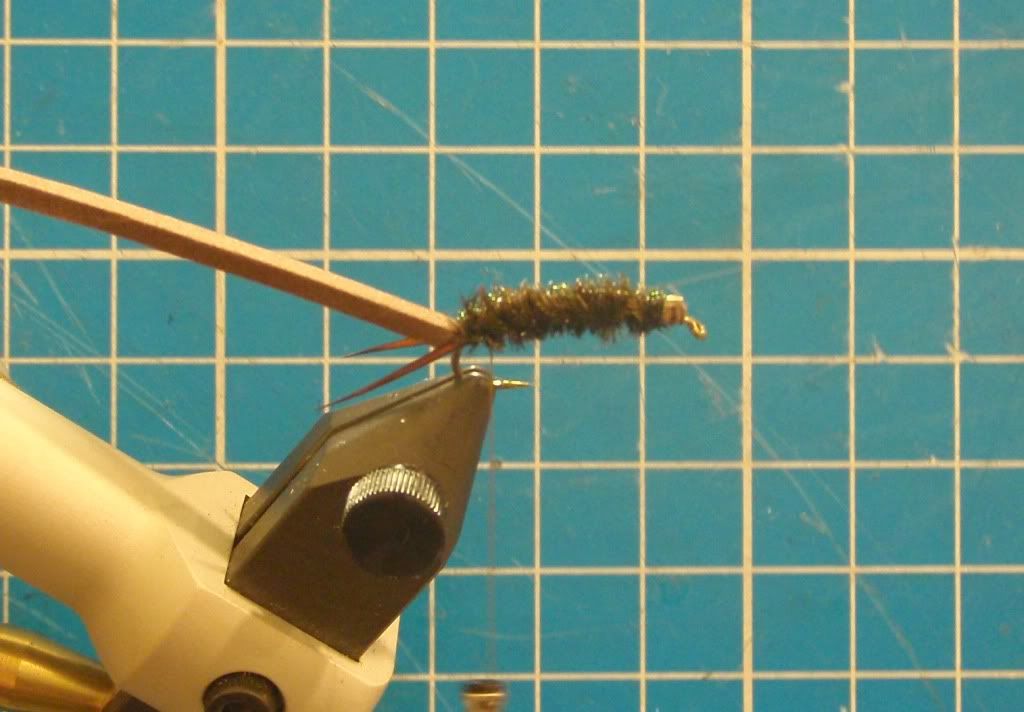
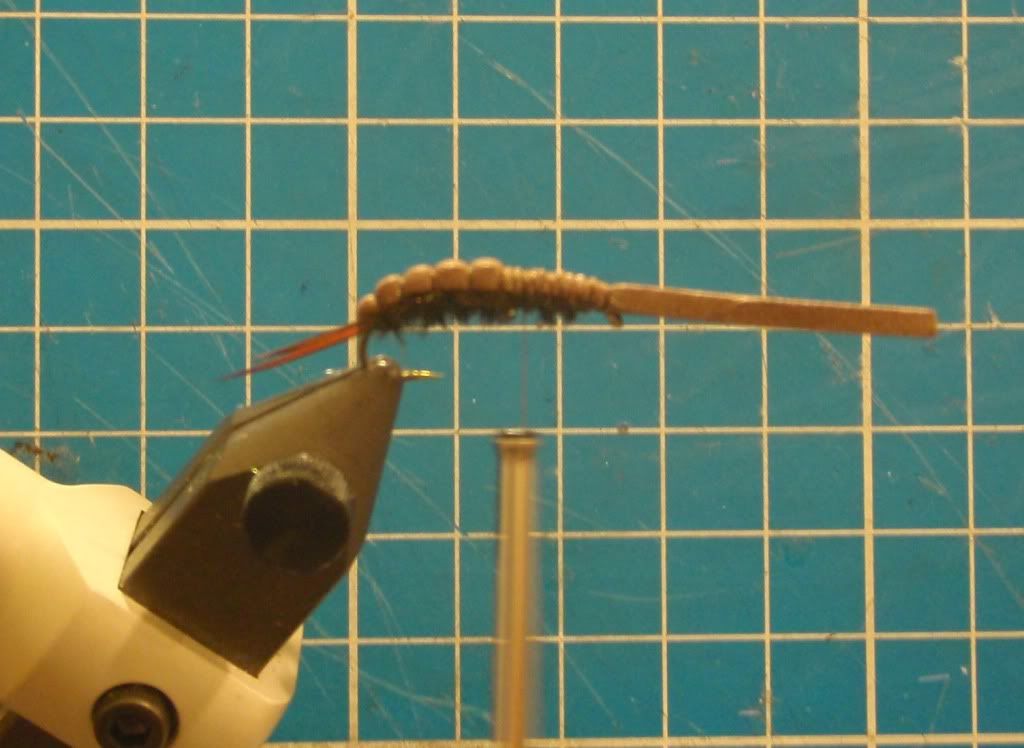
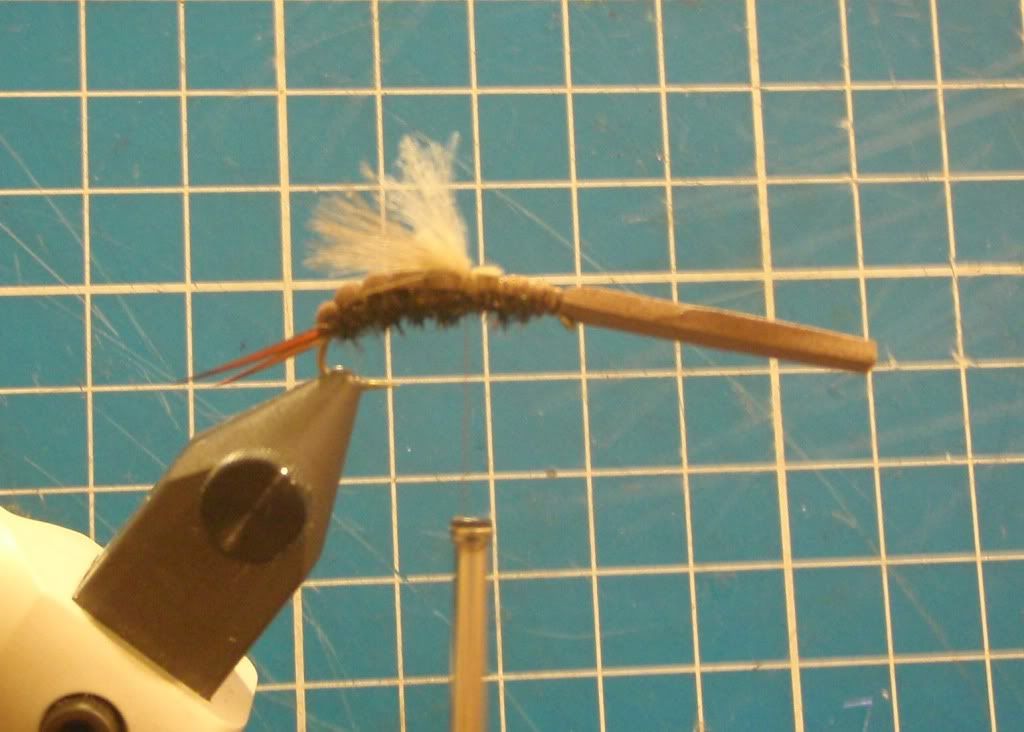
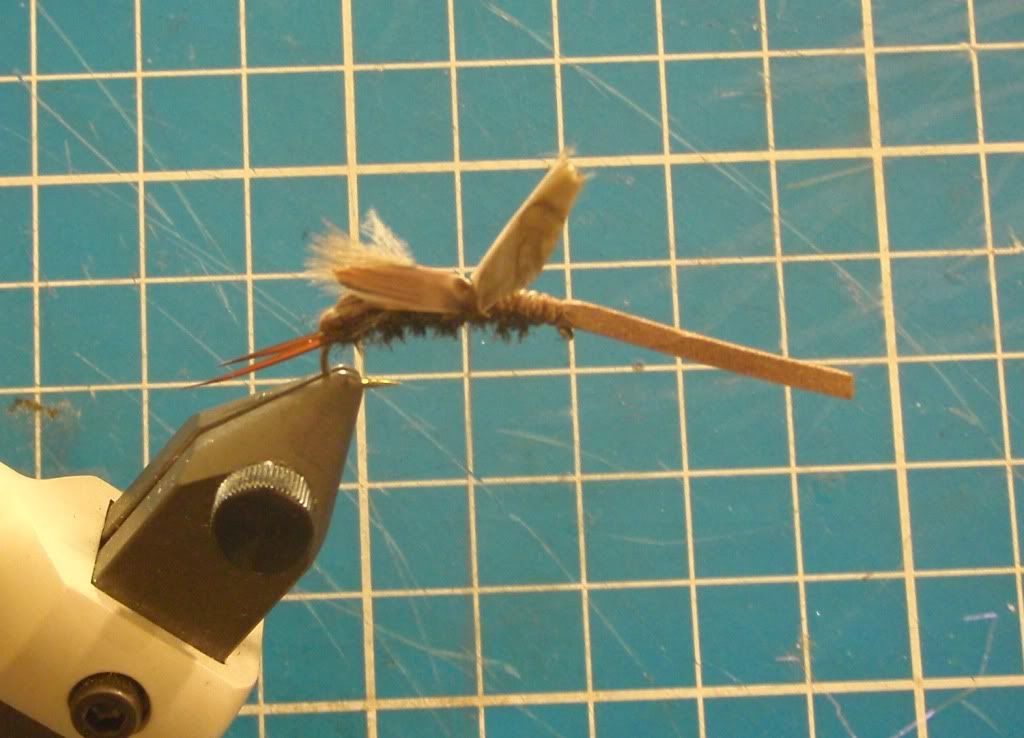
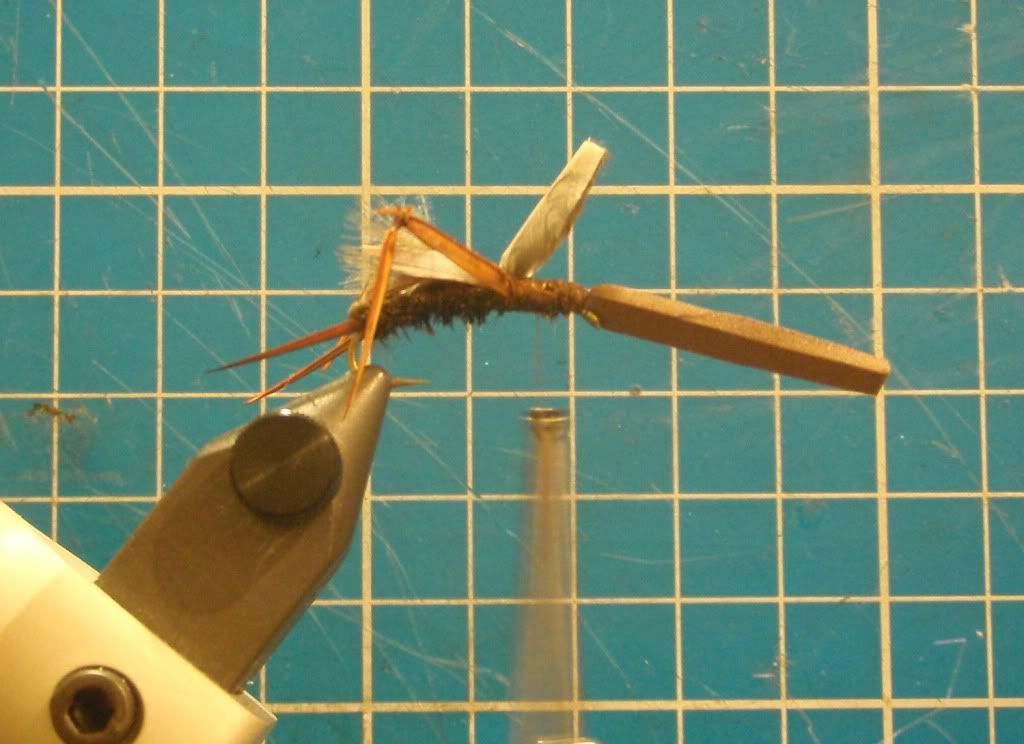
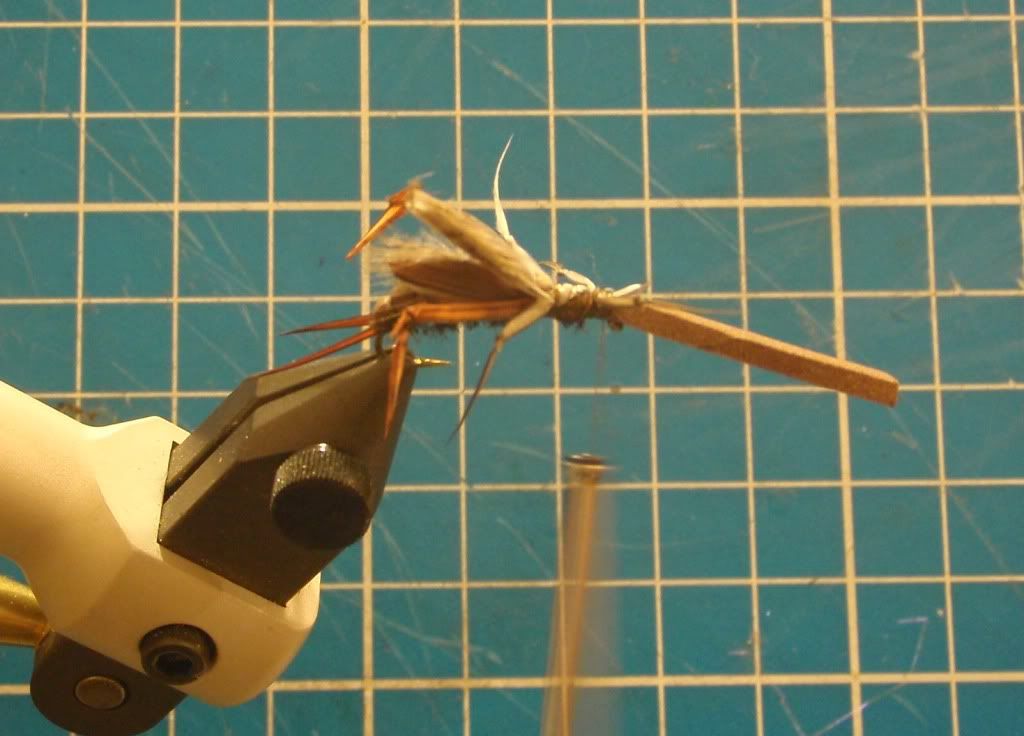
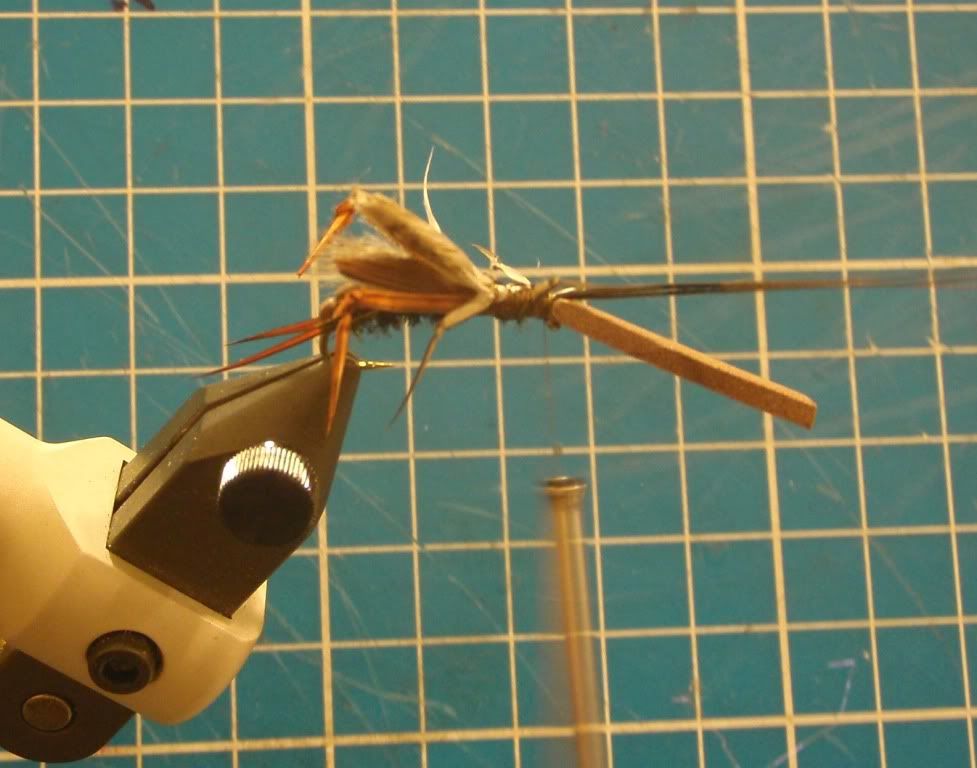
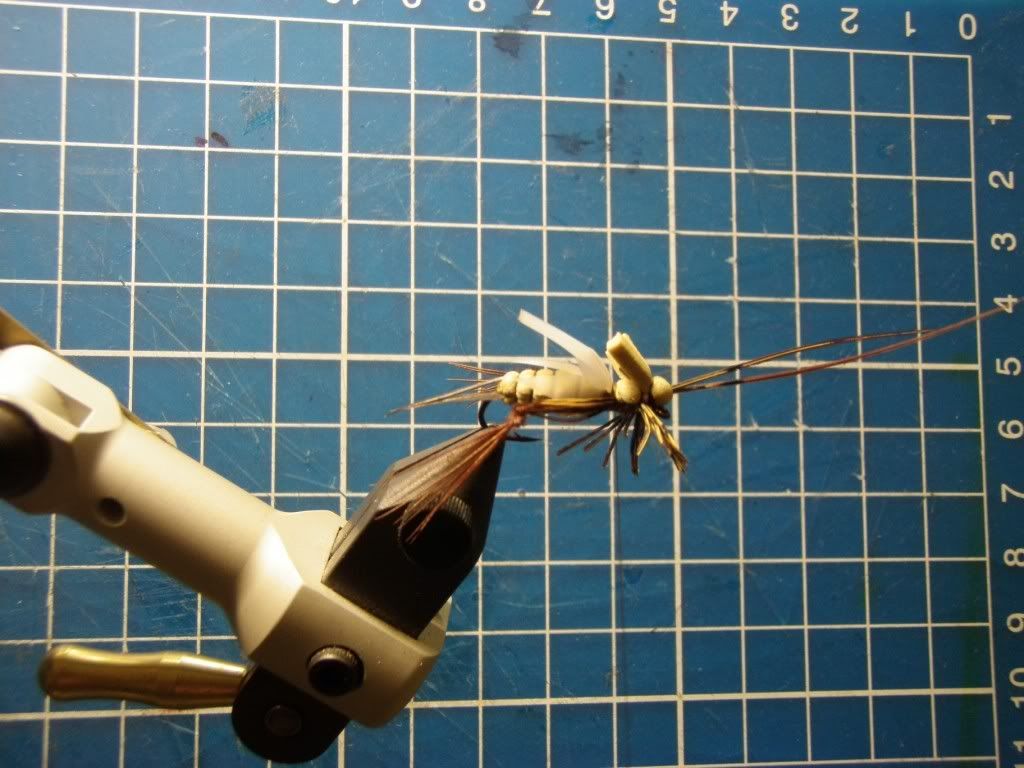
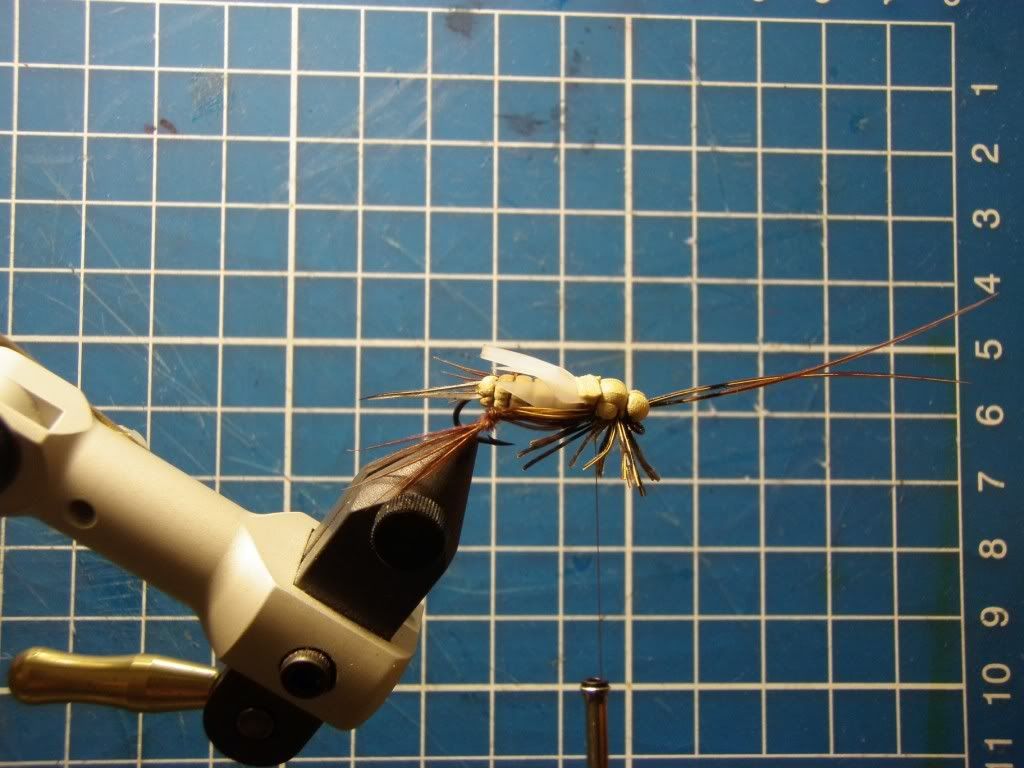
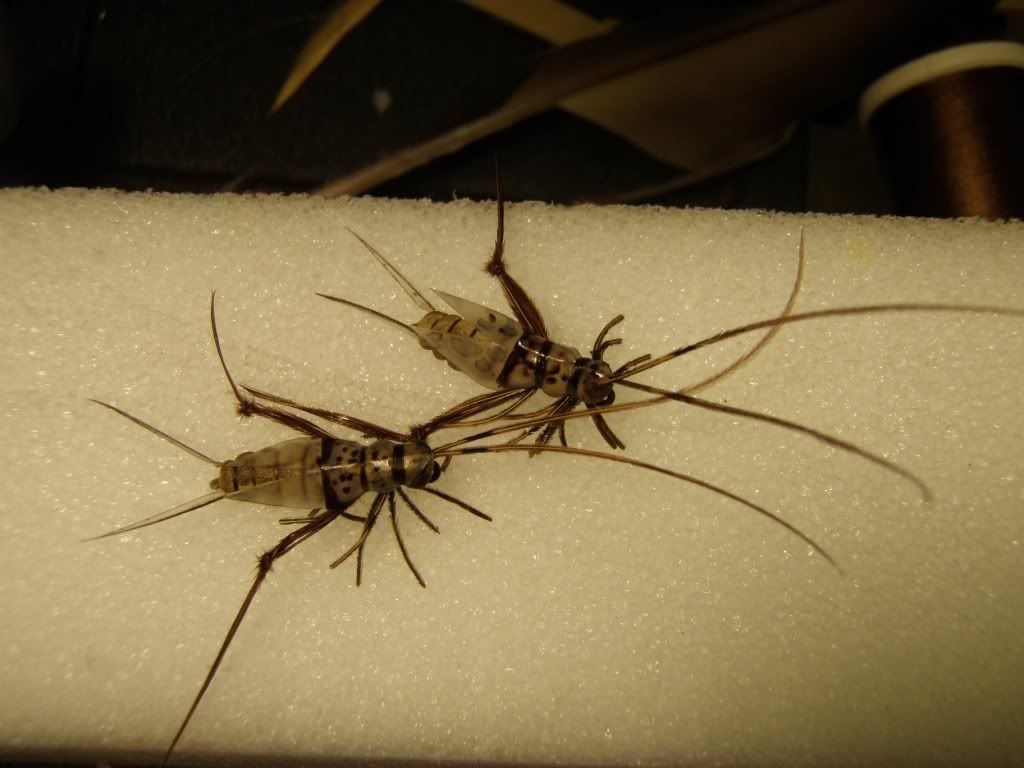
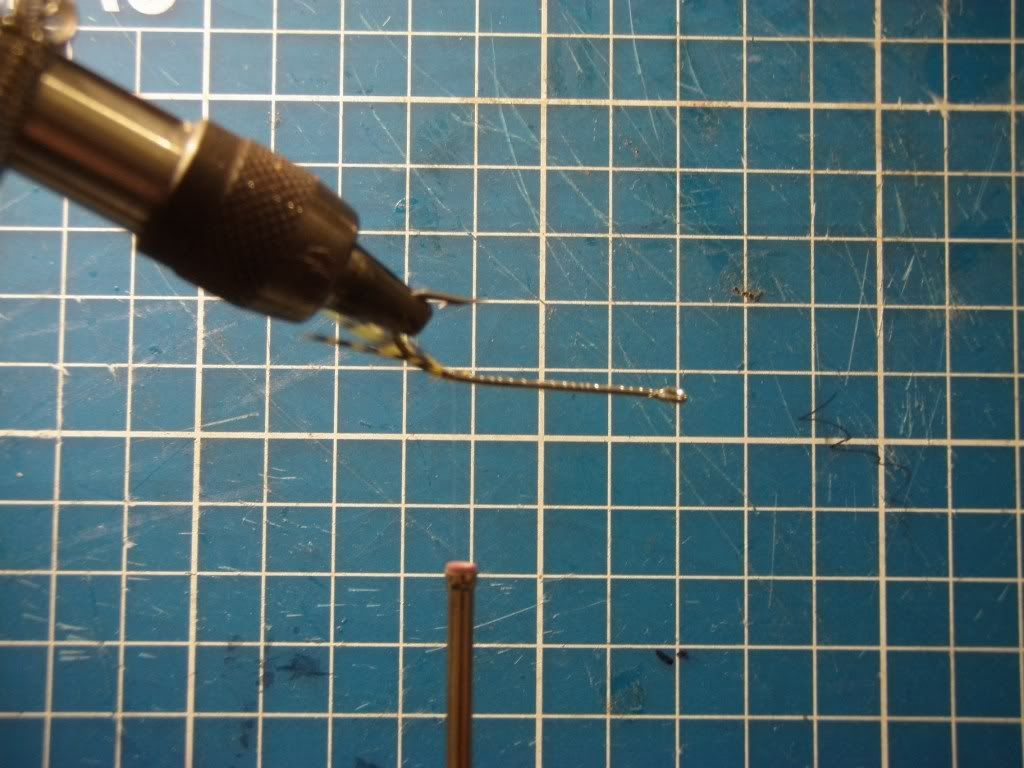
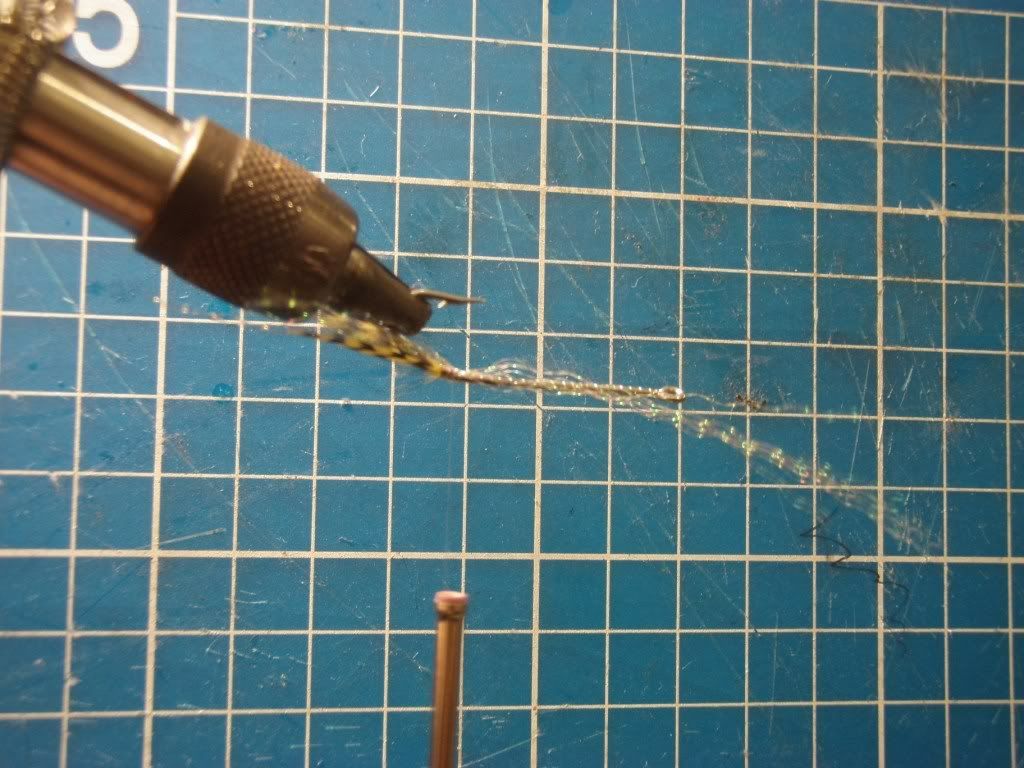
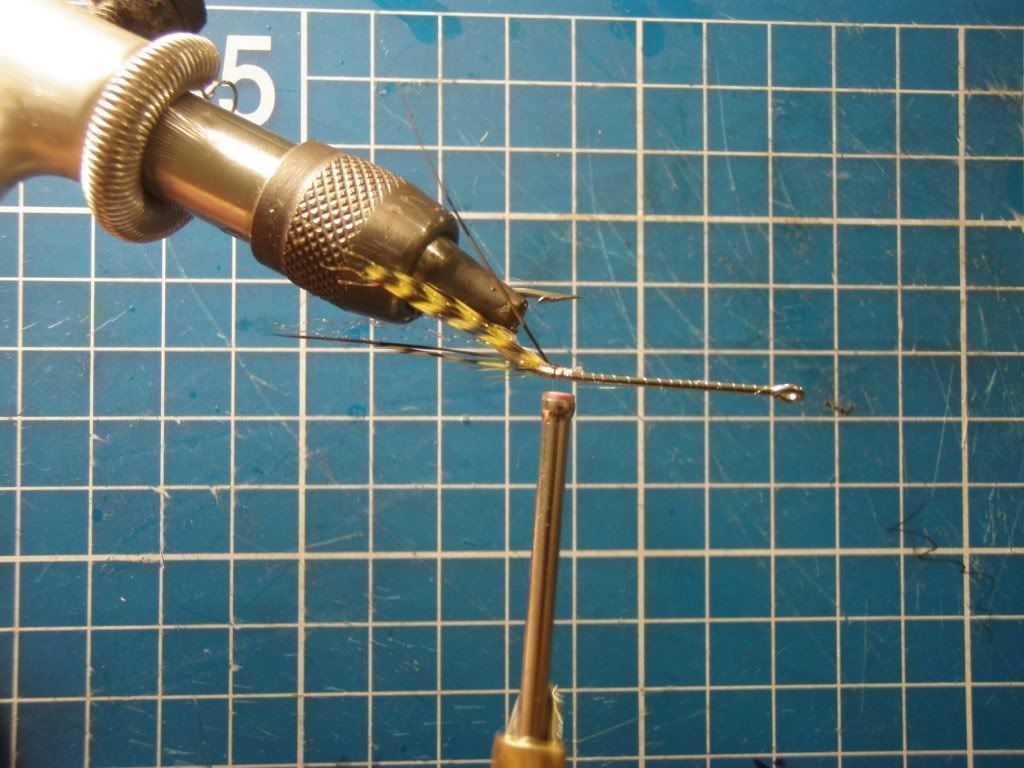
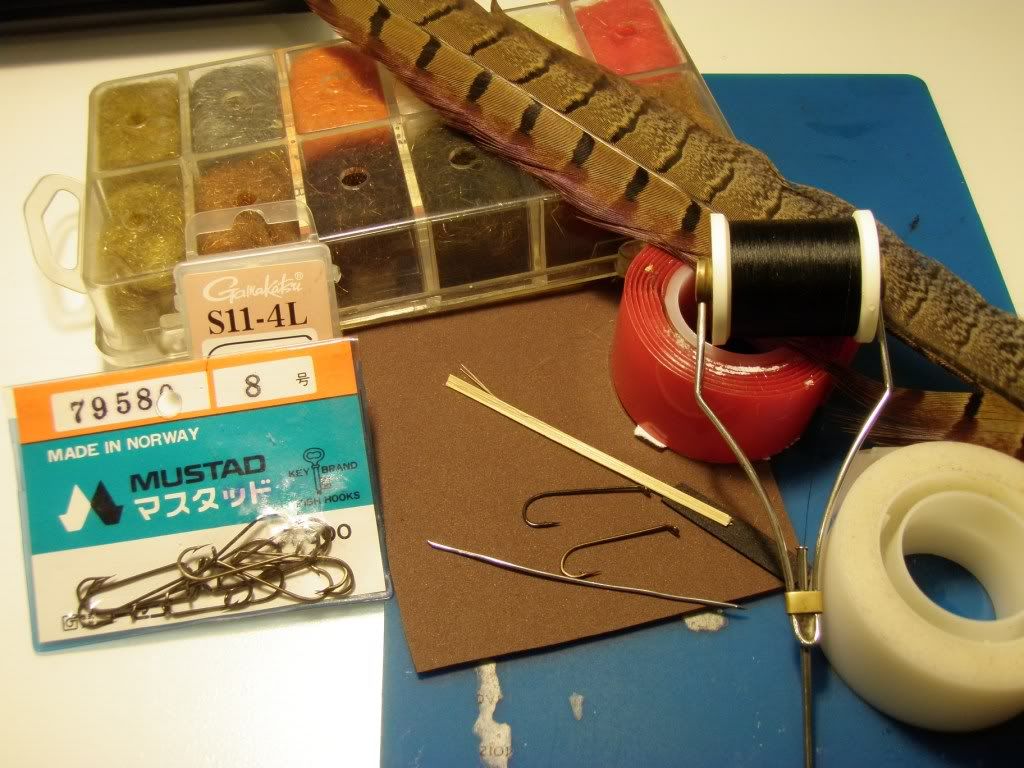
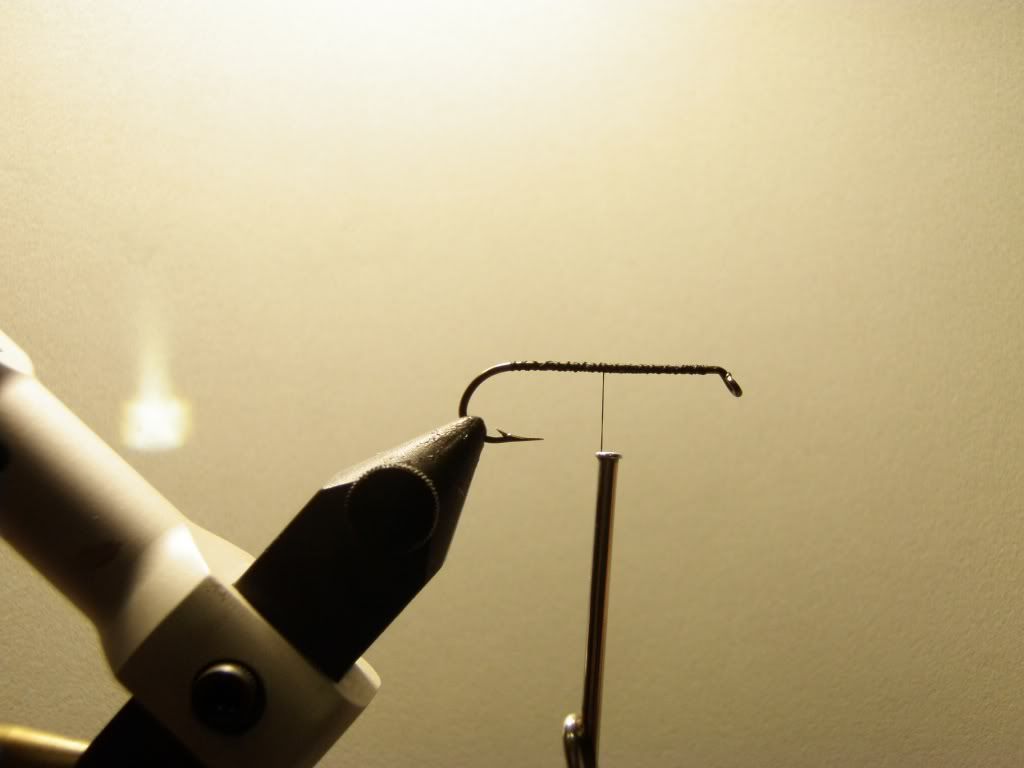
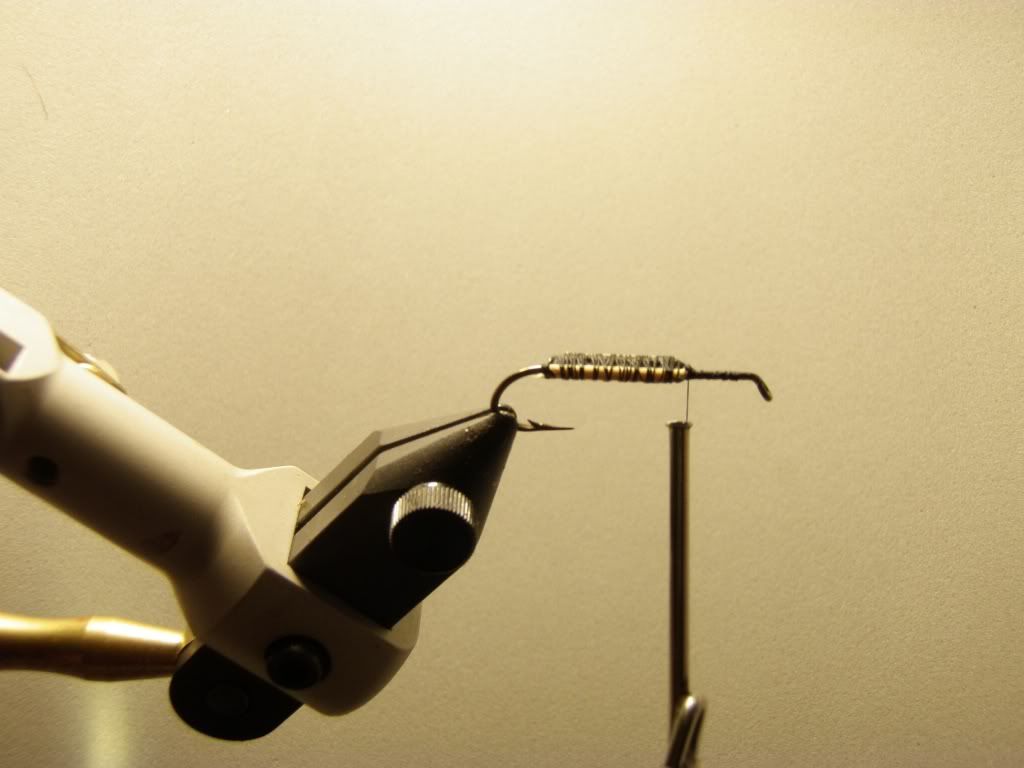
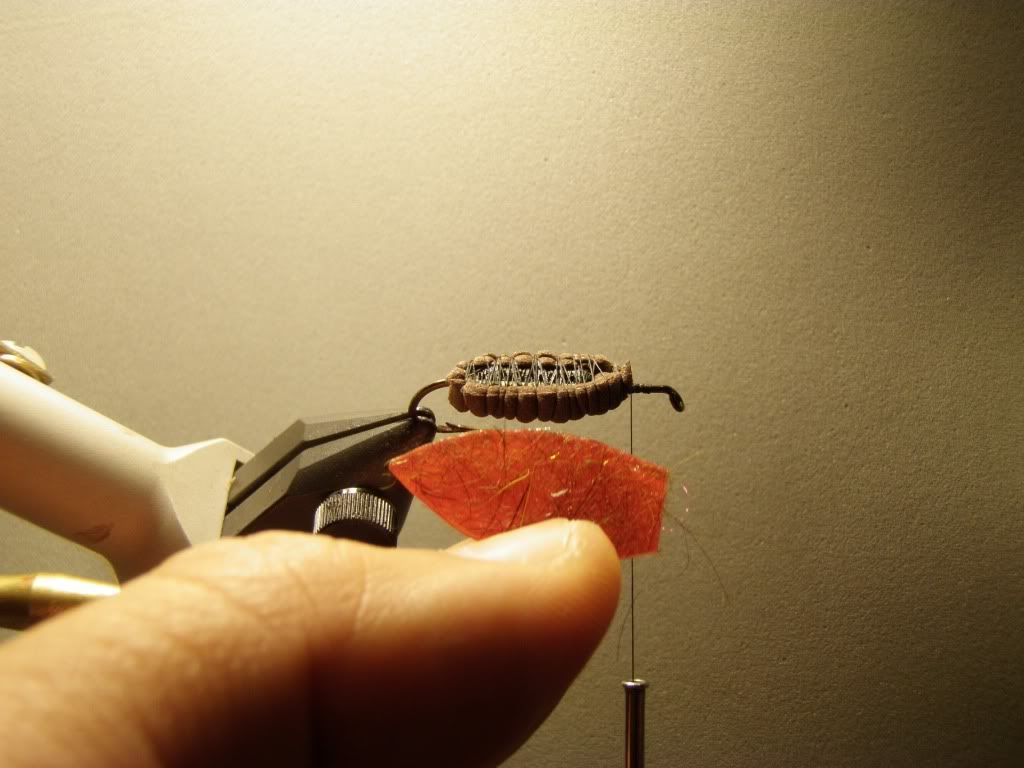
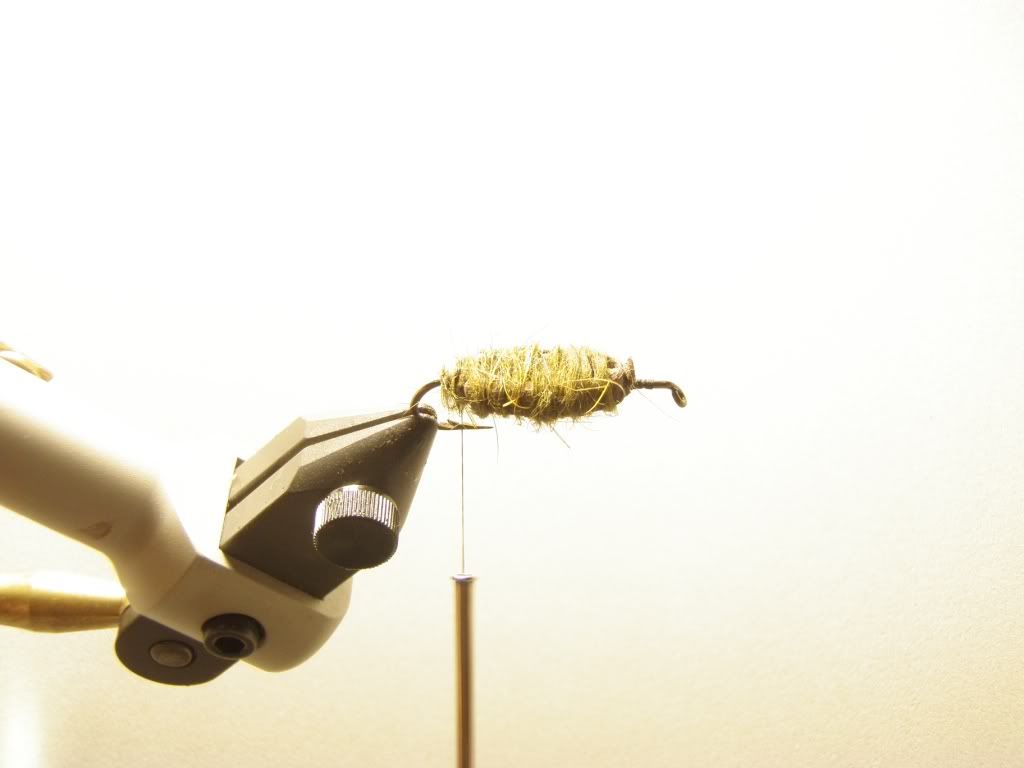
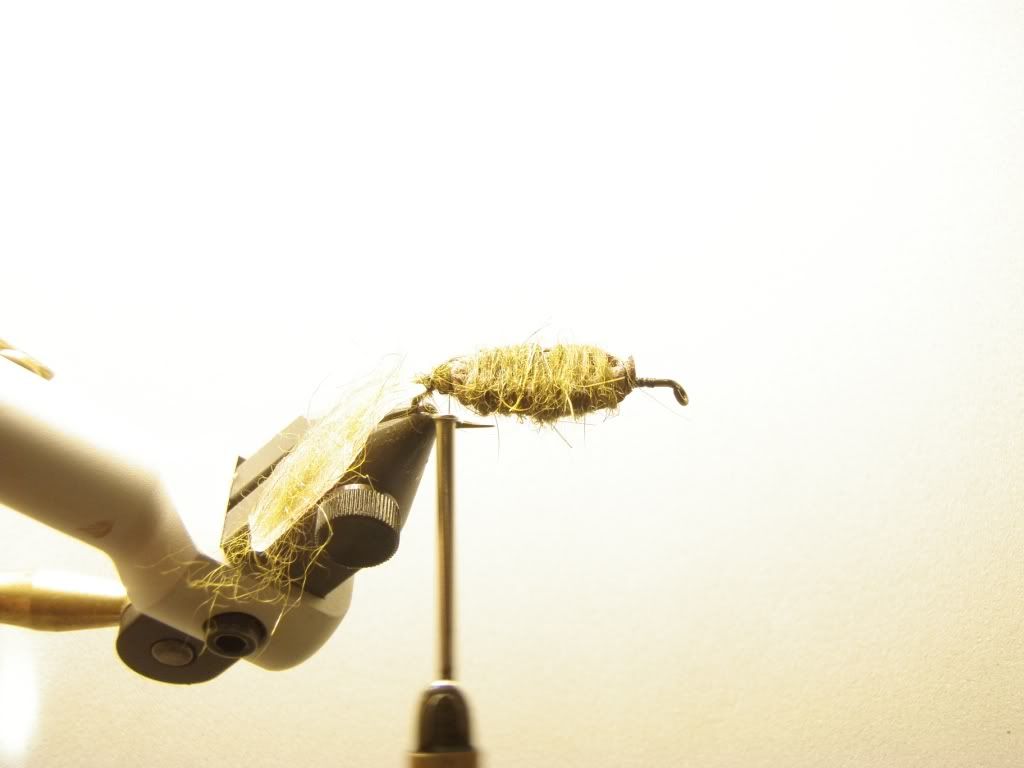
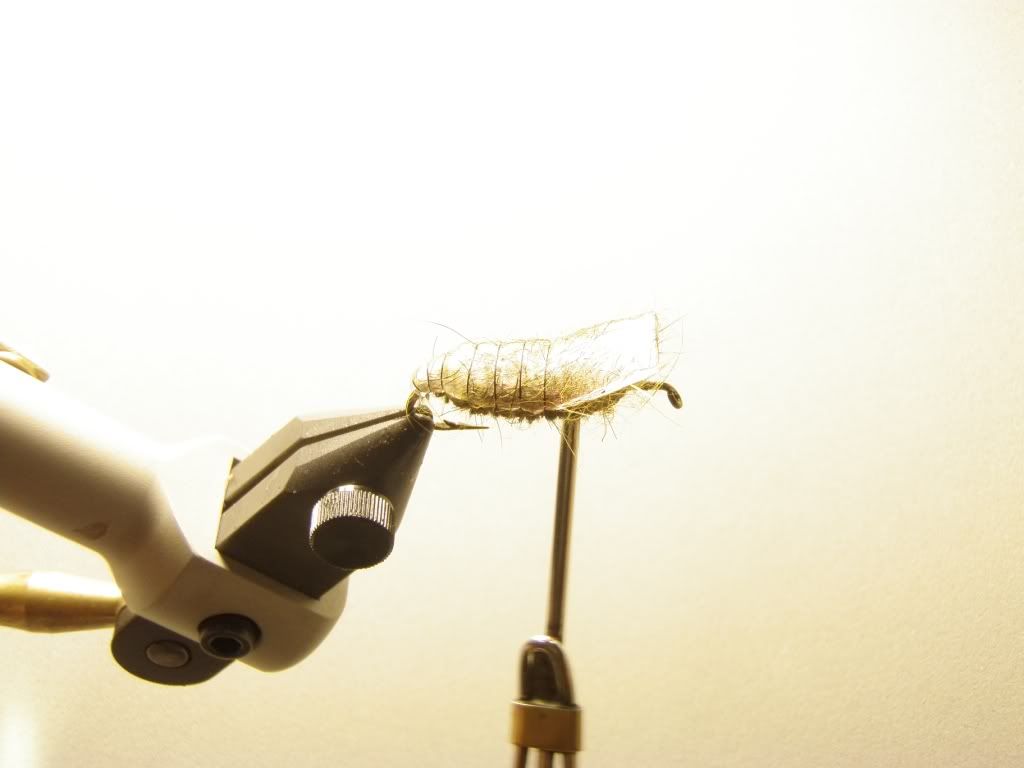
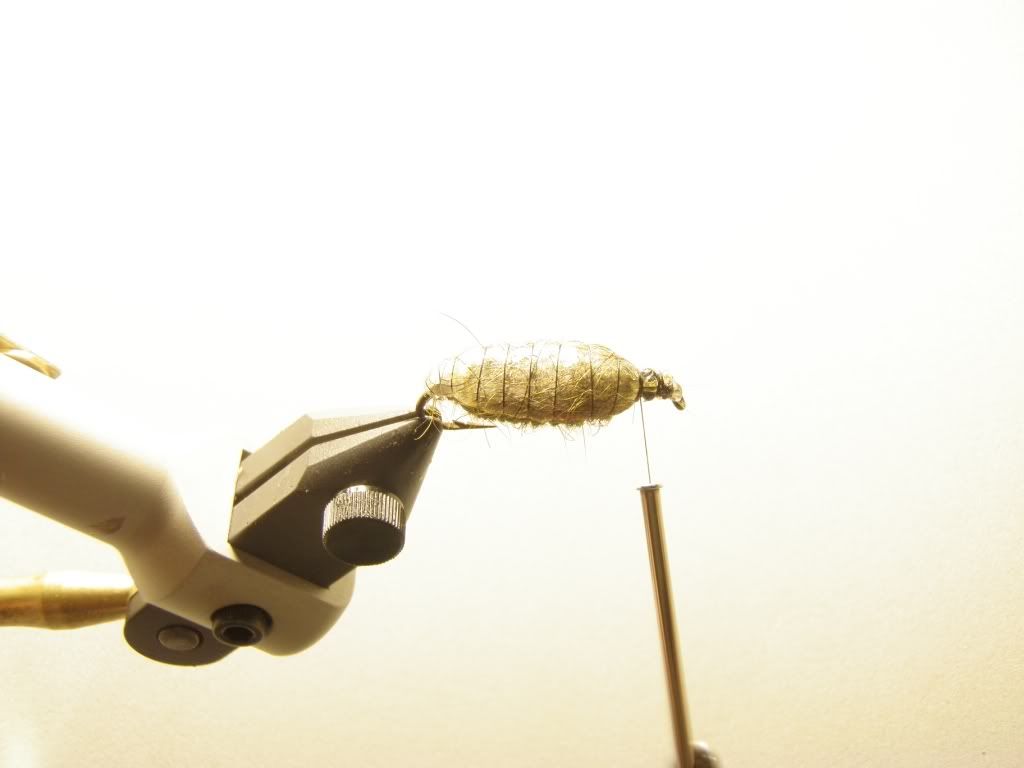
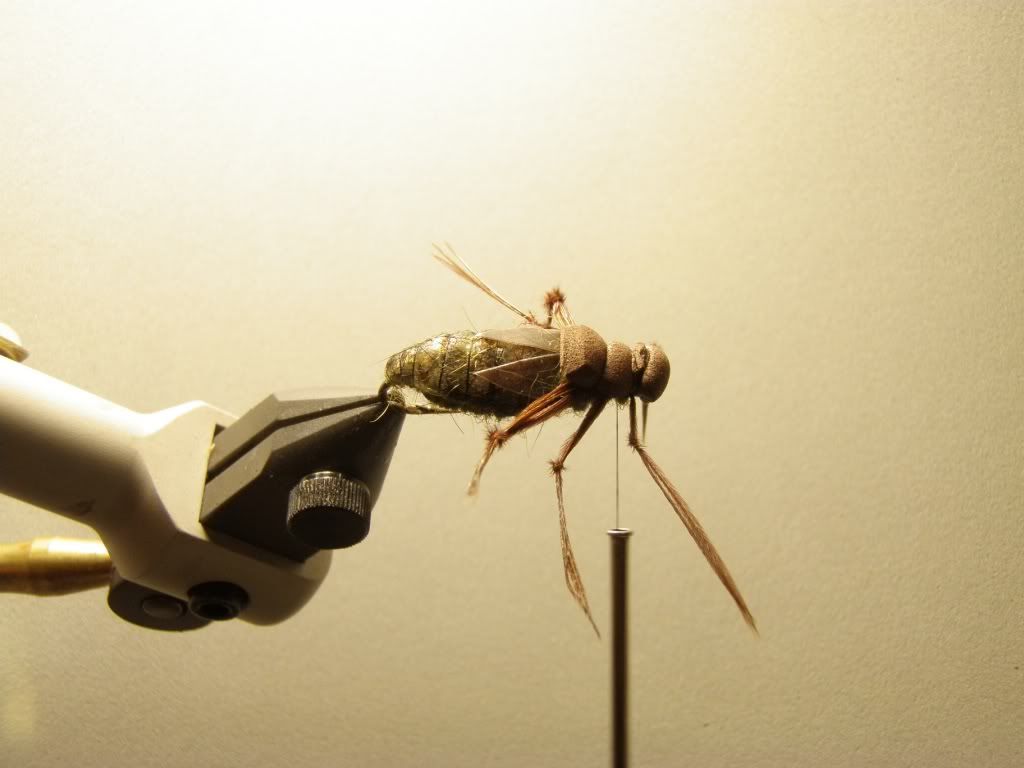
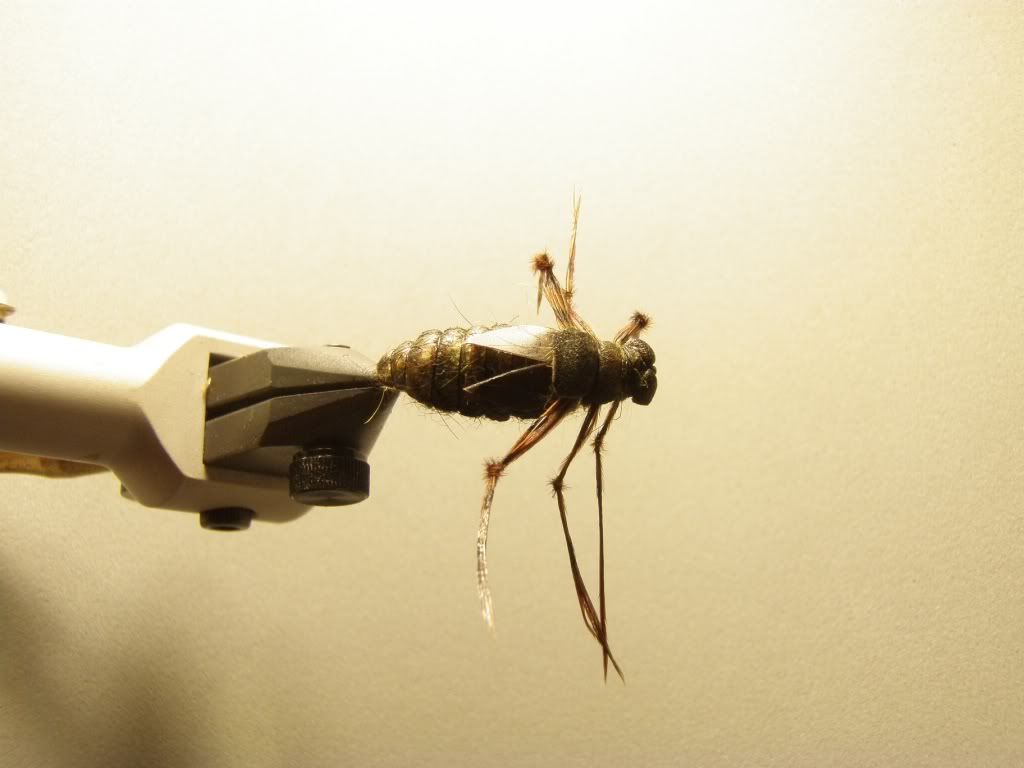
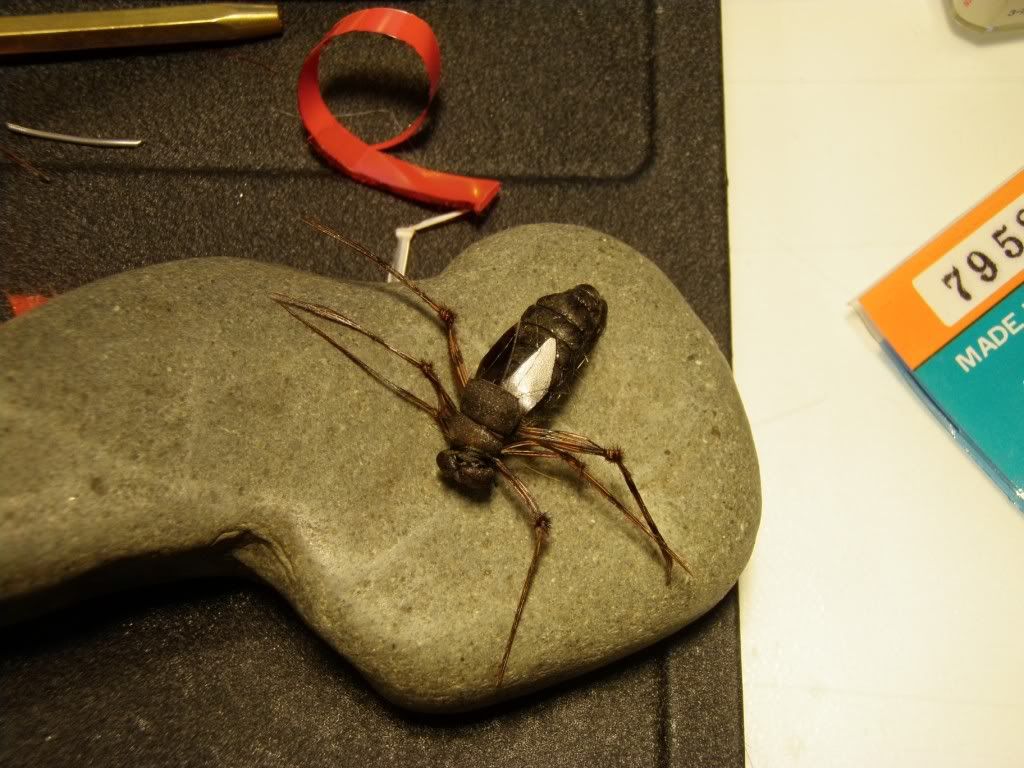
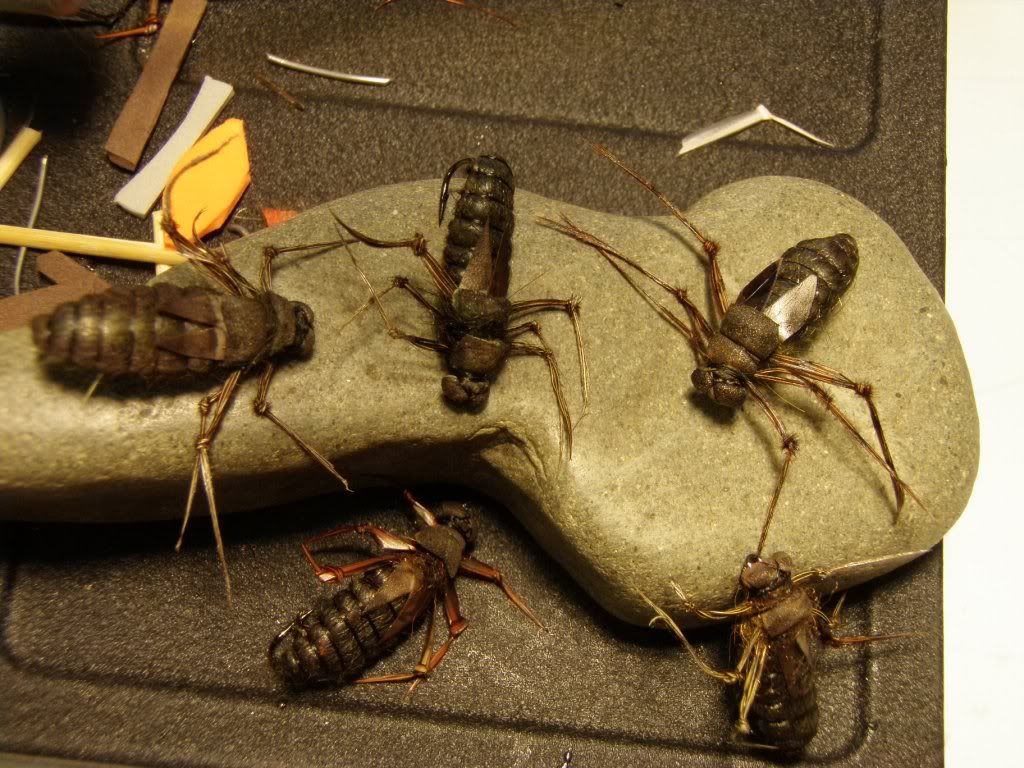
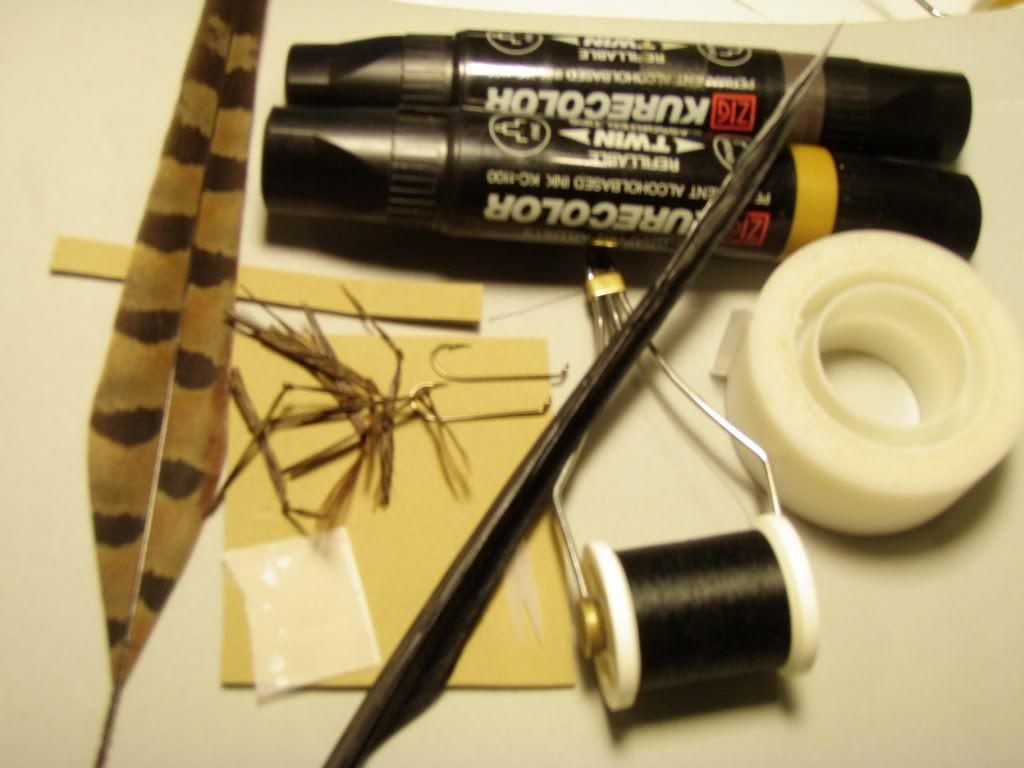
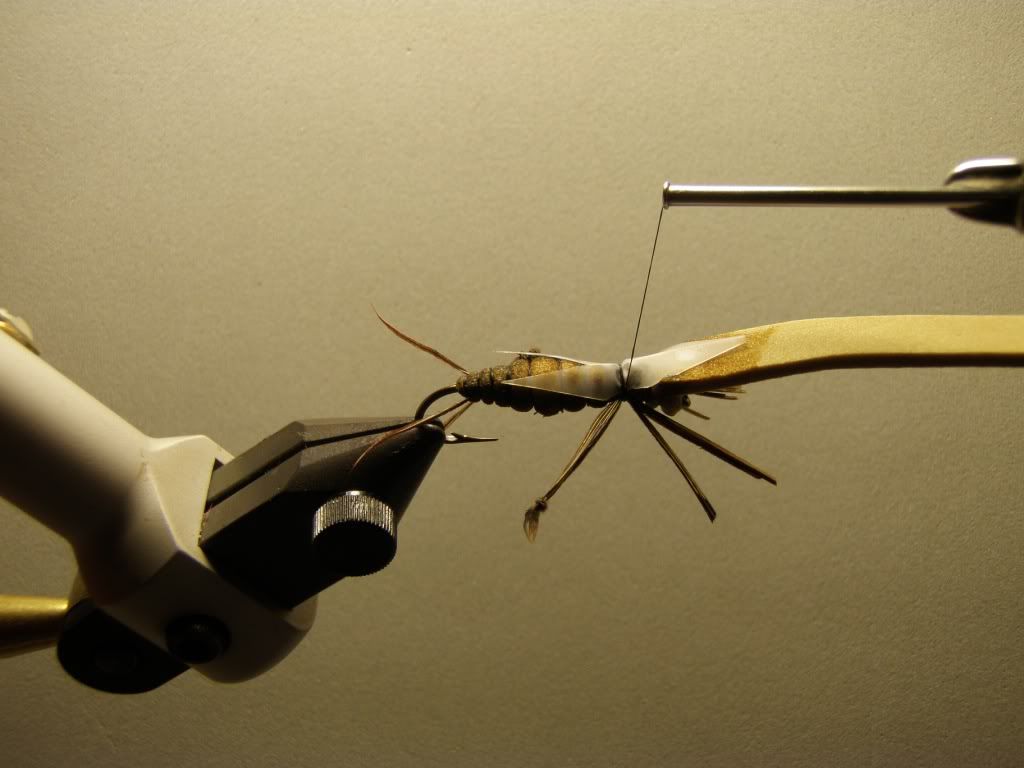
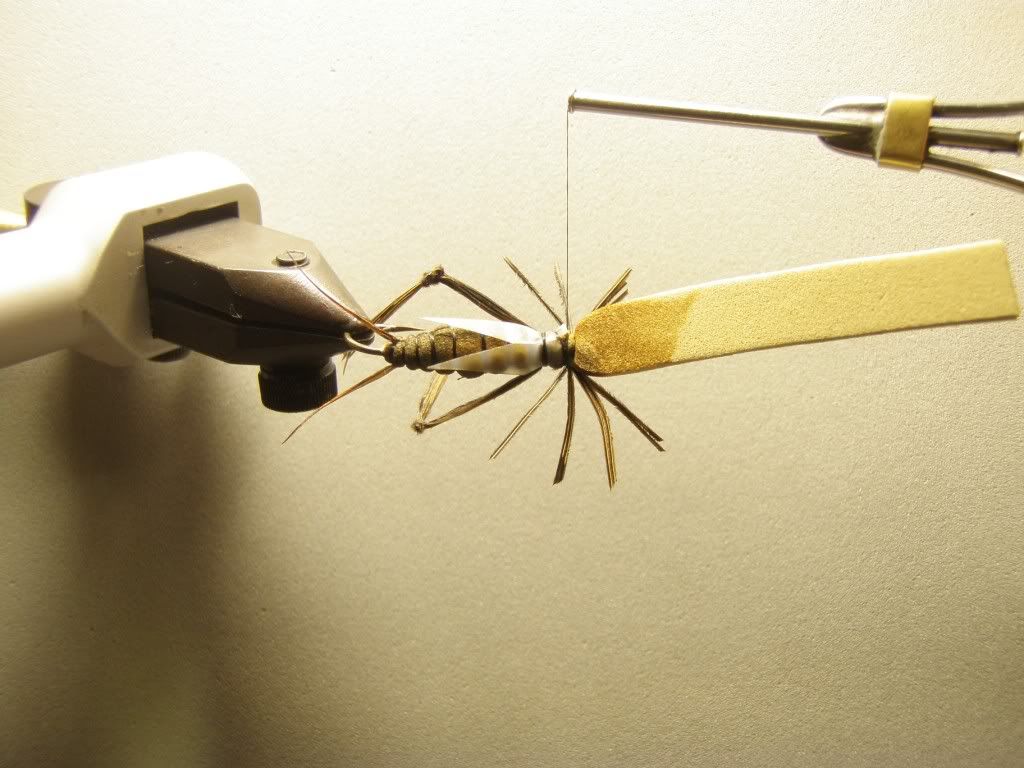
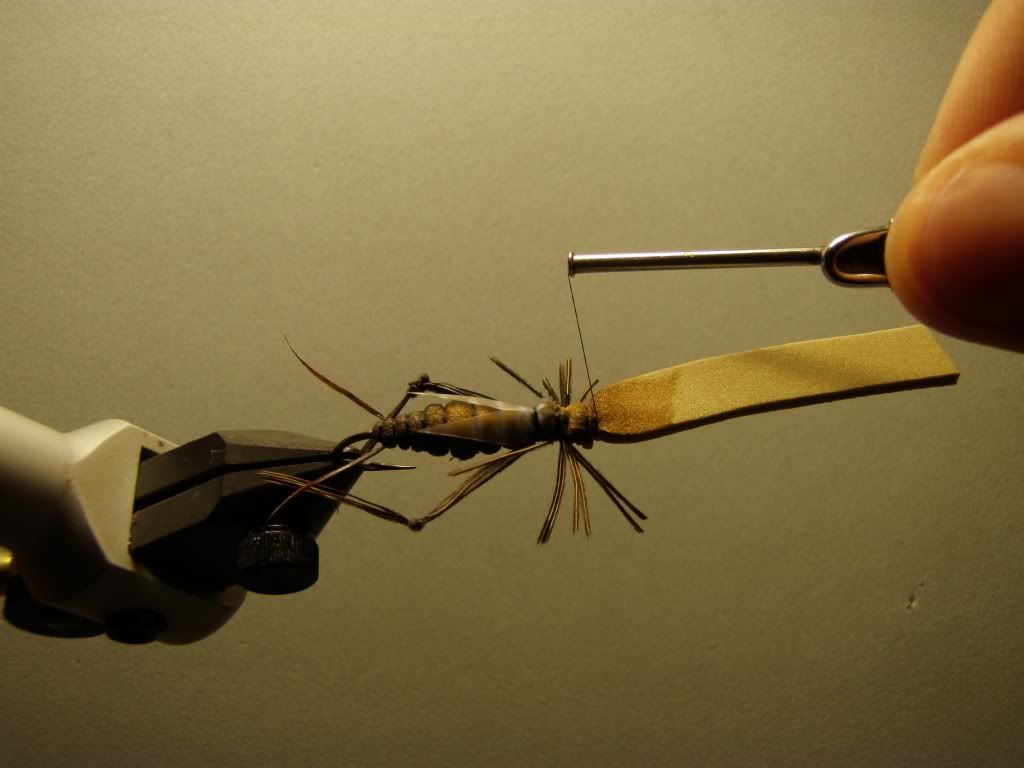
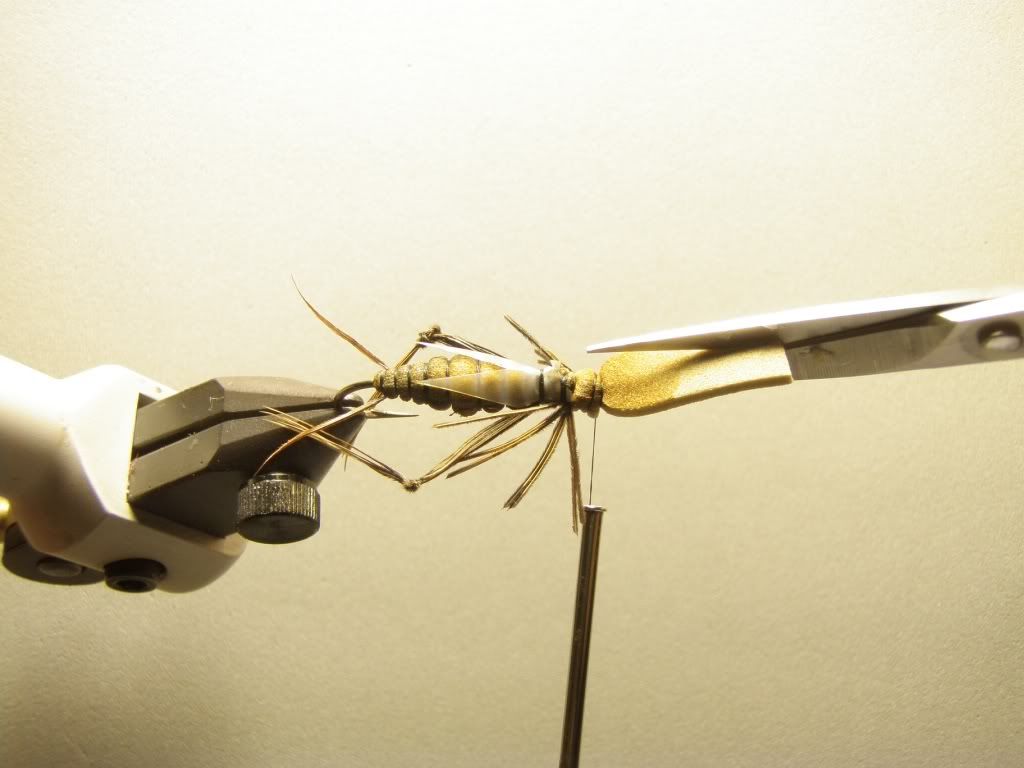
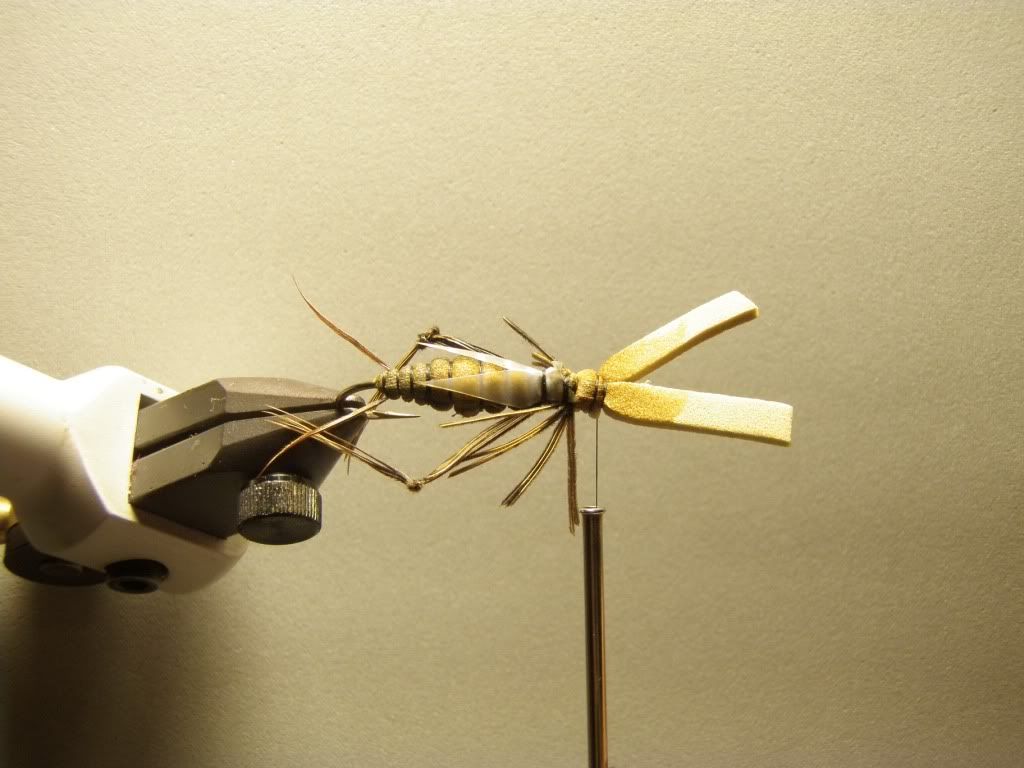
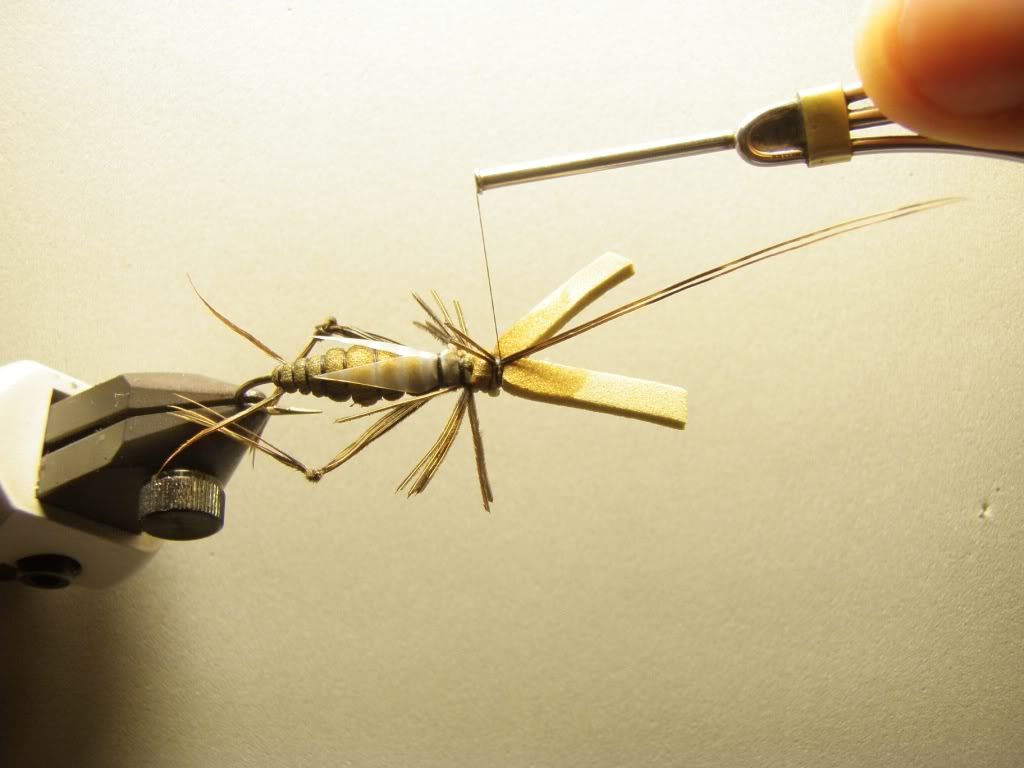
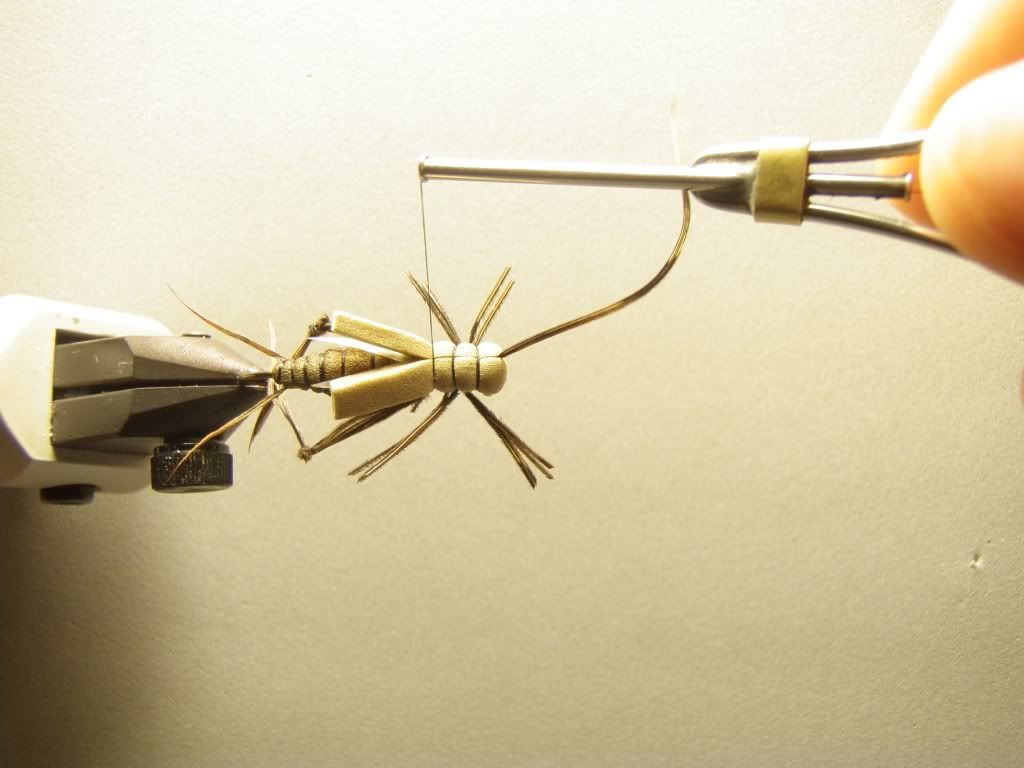
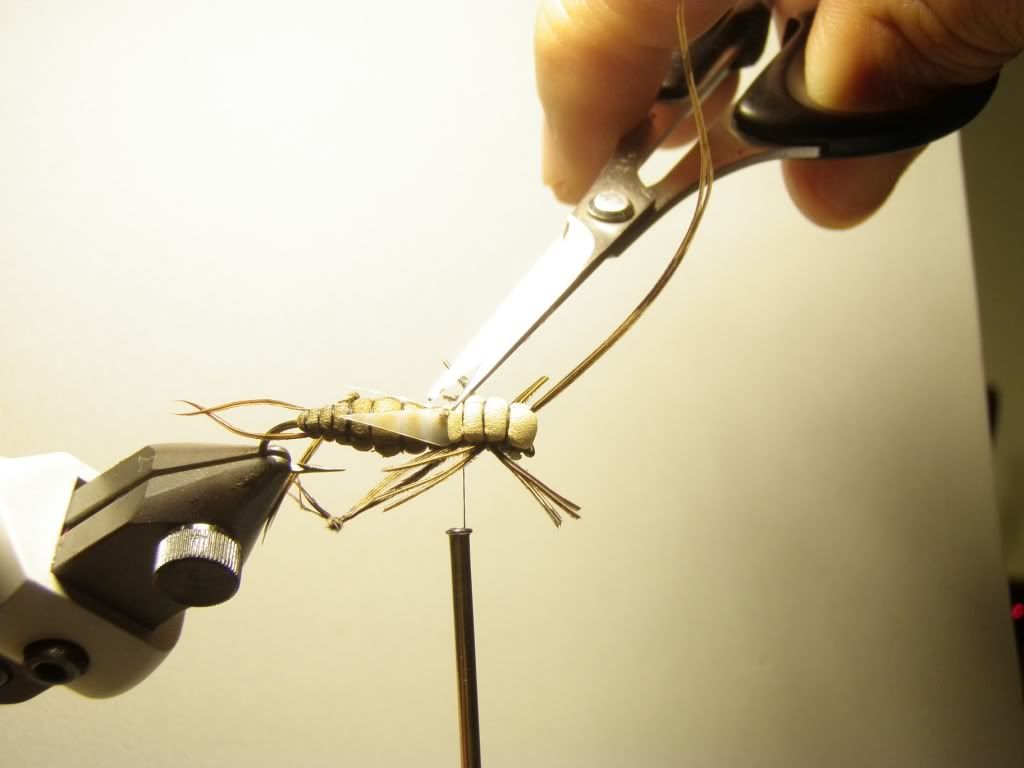
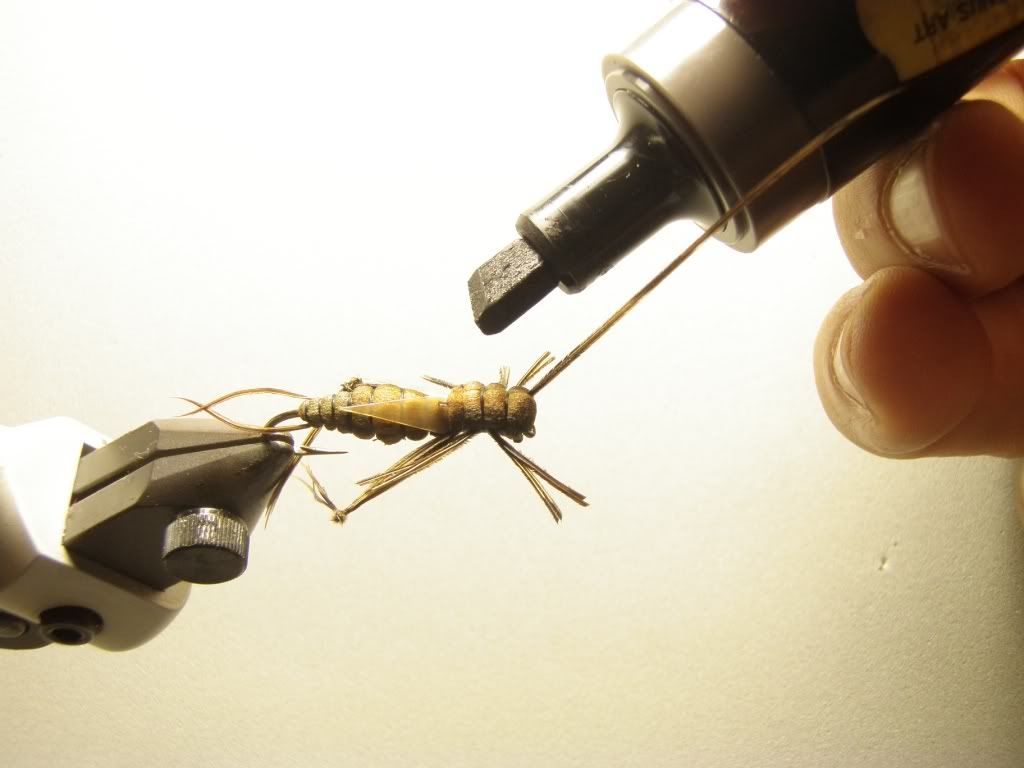
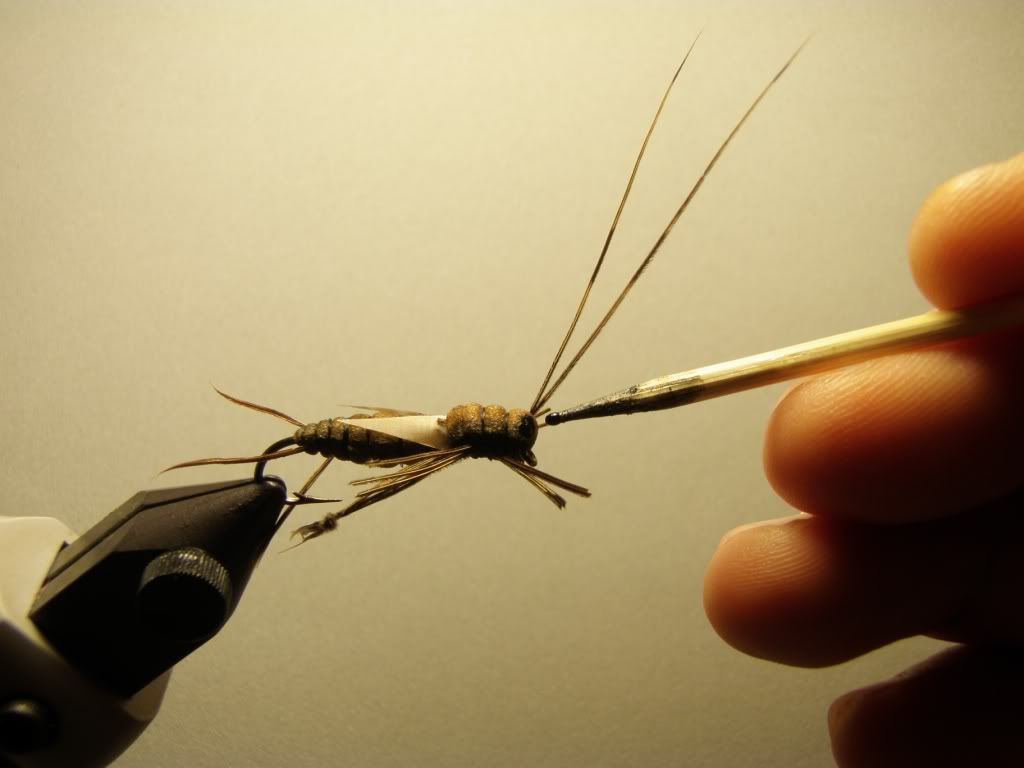
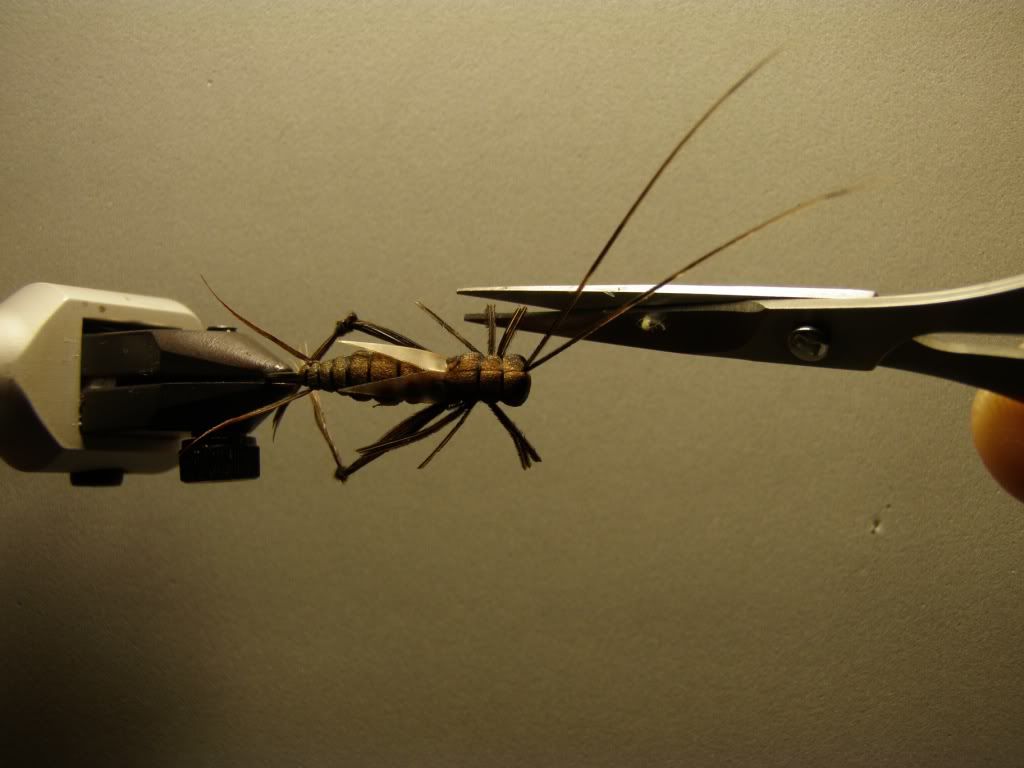
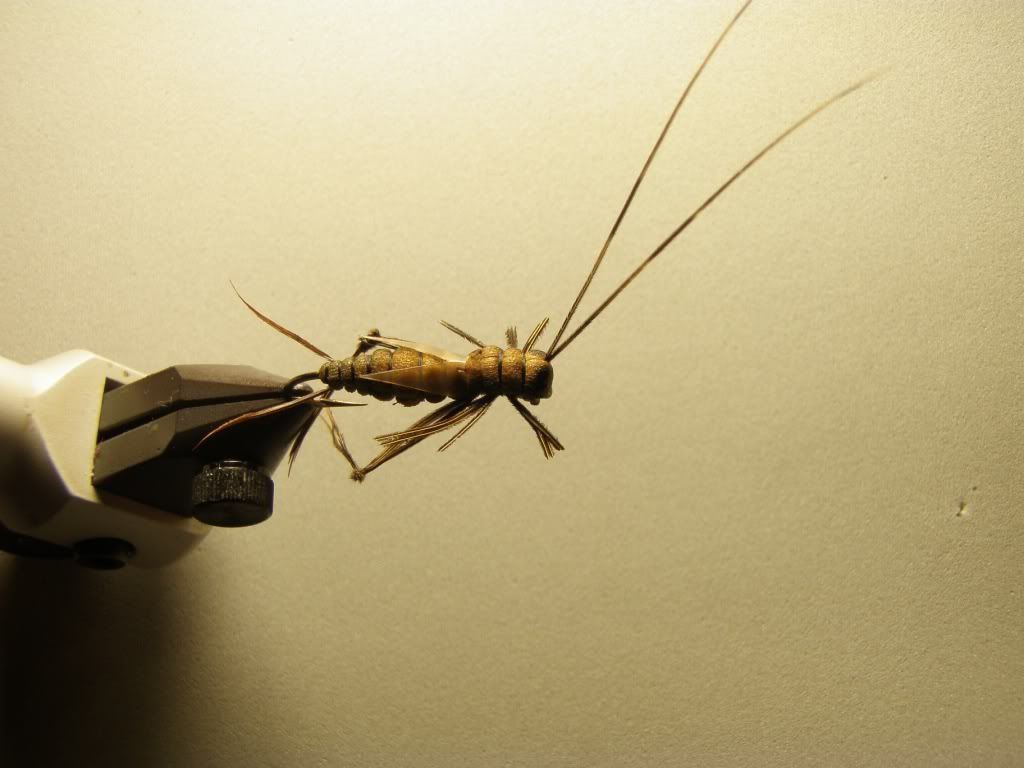
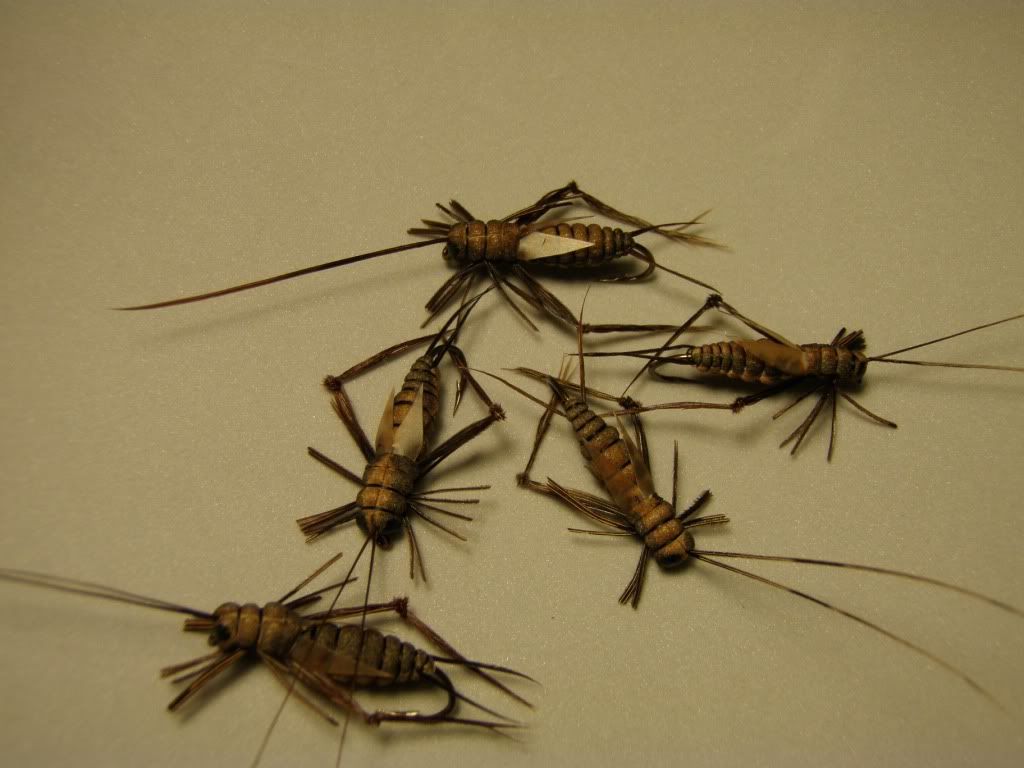
Dron.fly escreveu:To tie a fish-able Realistic Dragonfly Nymph...
Material :
Dubbing
Mustad 7958 size 8
2mm thk foam sheet brown colour
Magic tape
pheasant tail
silicon double sided tape
black colour thread
lead wire
tooth pick
Cheers.... happy tying....

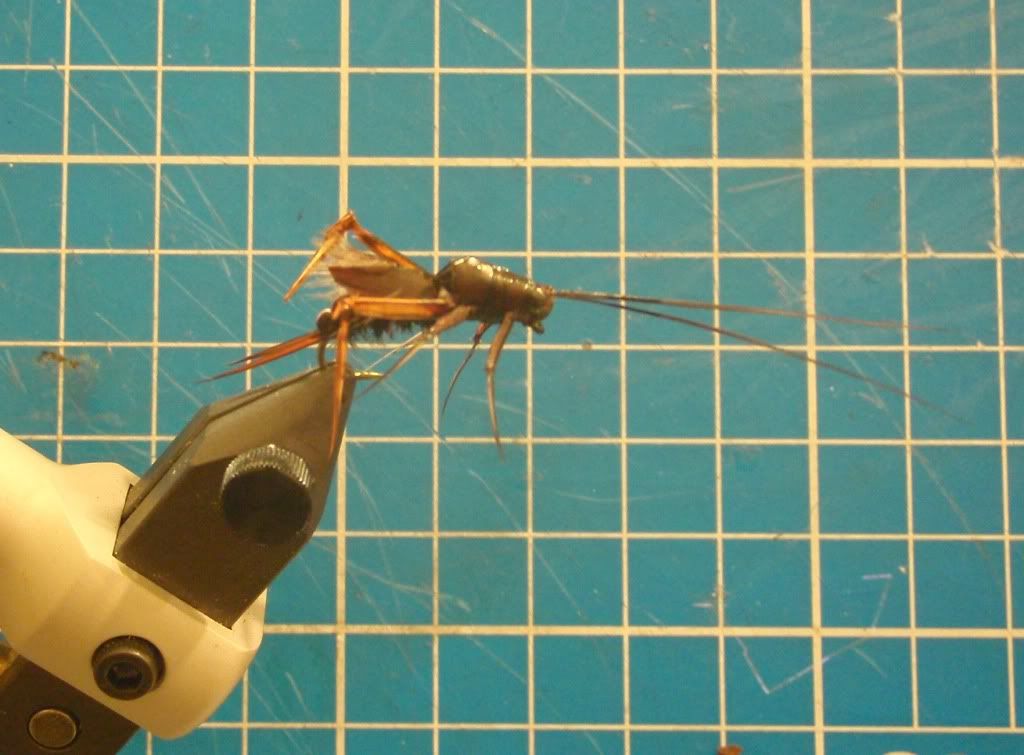
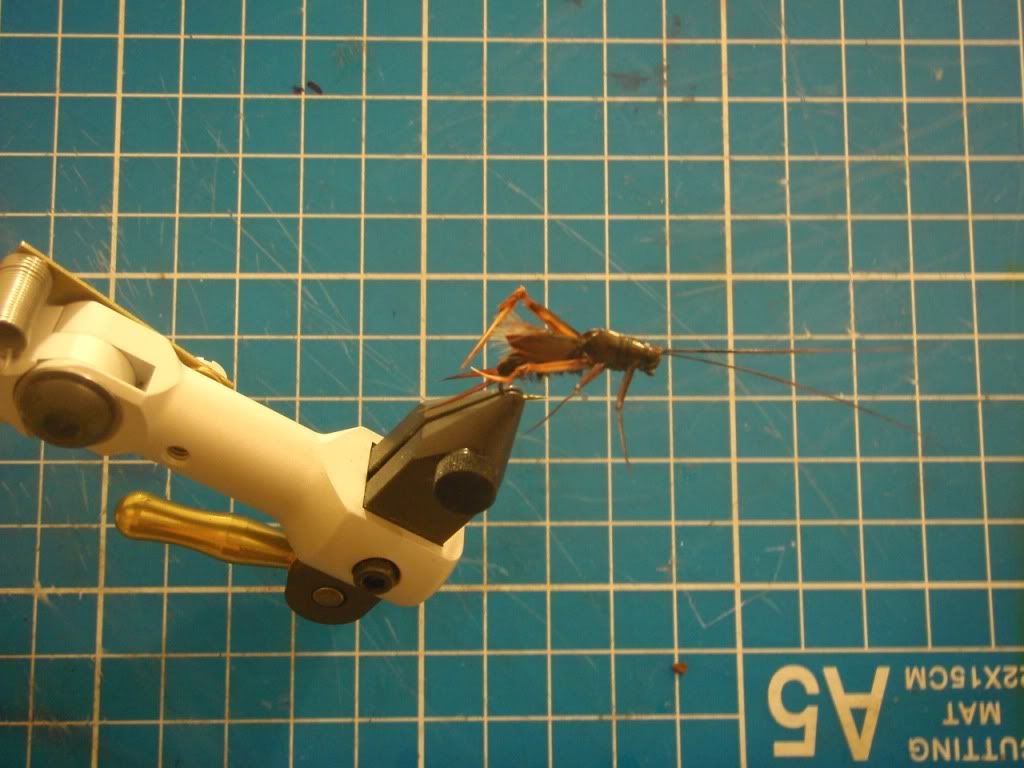
Dron.fly escreveu:Hi guys....
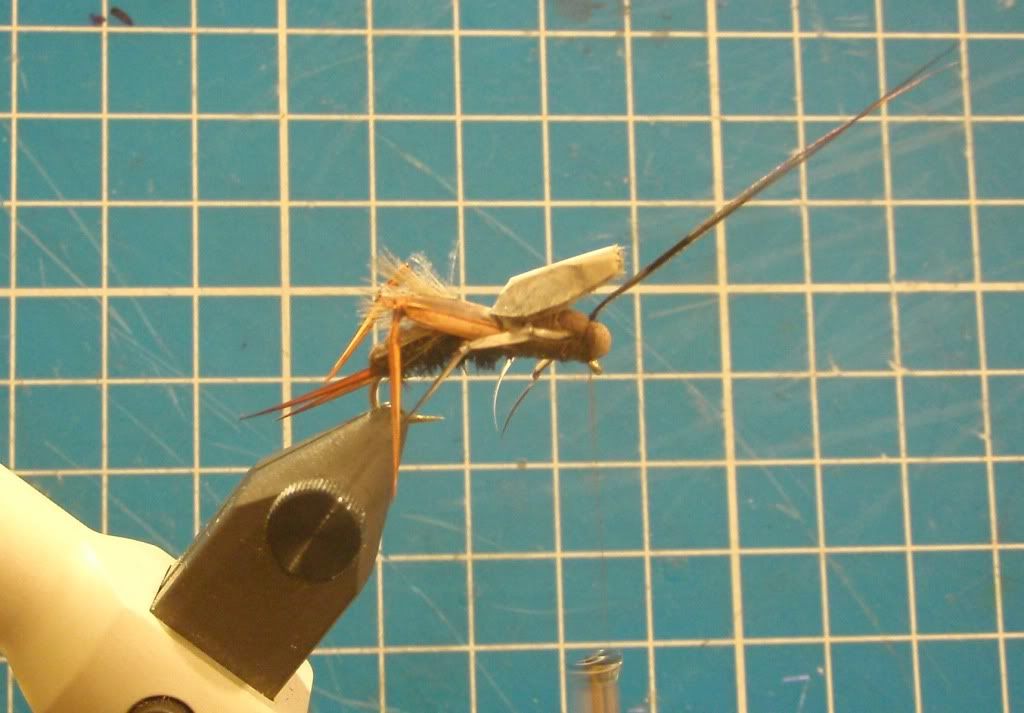
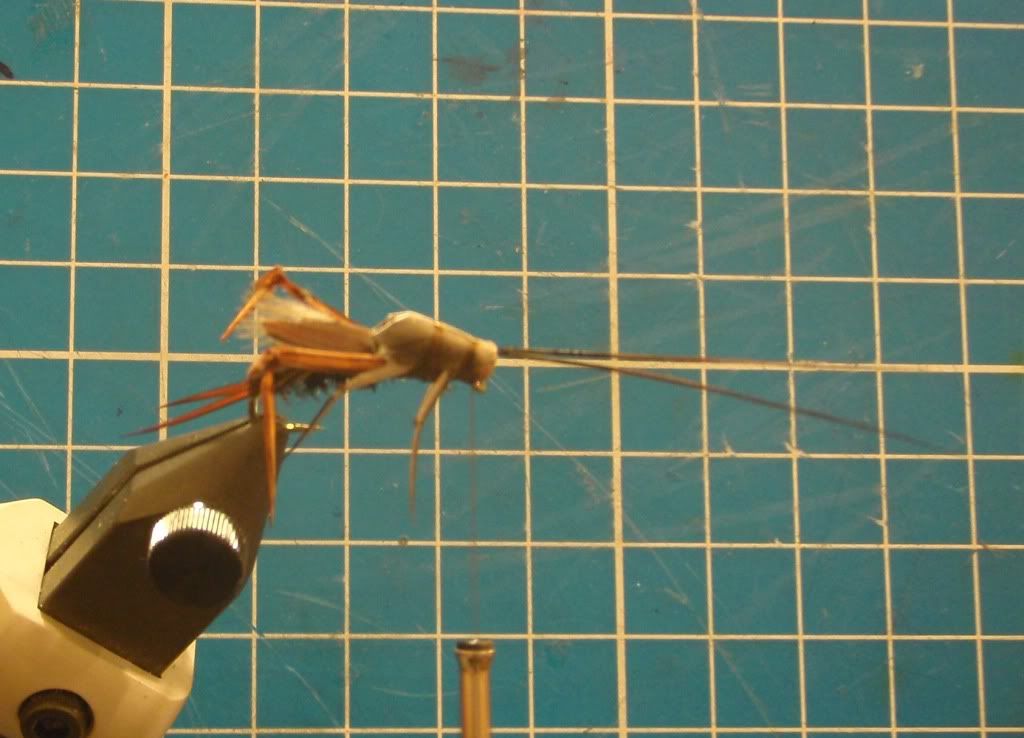
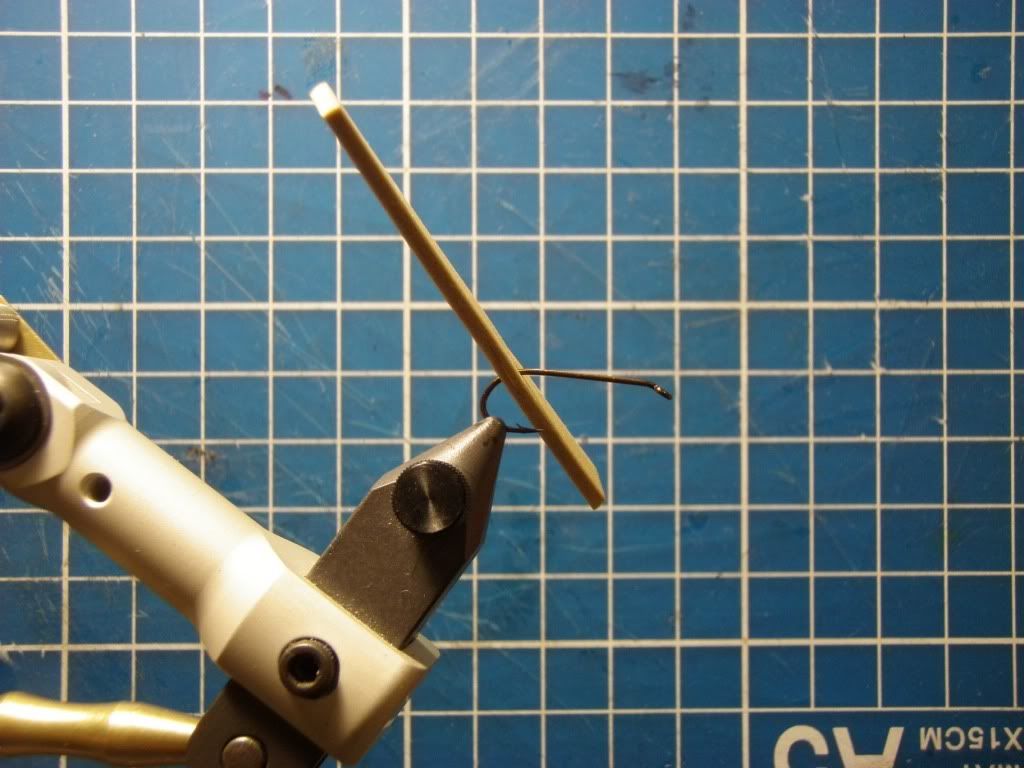
This is the simplify cricket fly... my Cricket V3...
As usual... materials:
Pheasant tail... take about 5-6 fibers and tie a knob... to form the legs
Pheasant tail... 2 fibers for the antenna
Black colour or matching colour thread..
2mm thks foam
3M Magic tape
Biots for the tail
Marker
Black colour hard head cement for eye
Mustard 38941 size 10
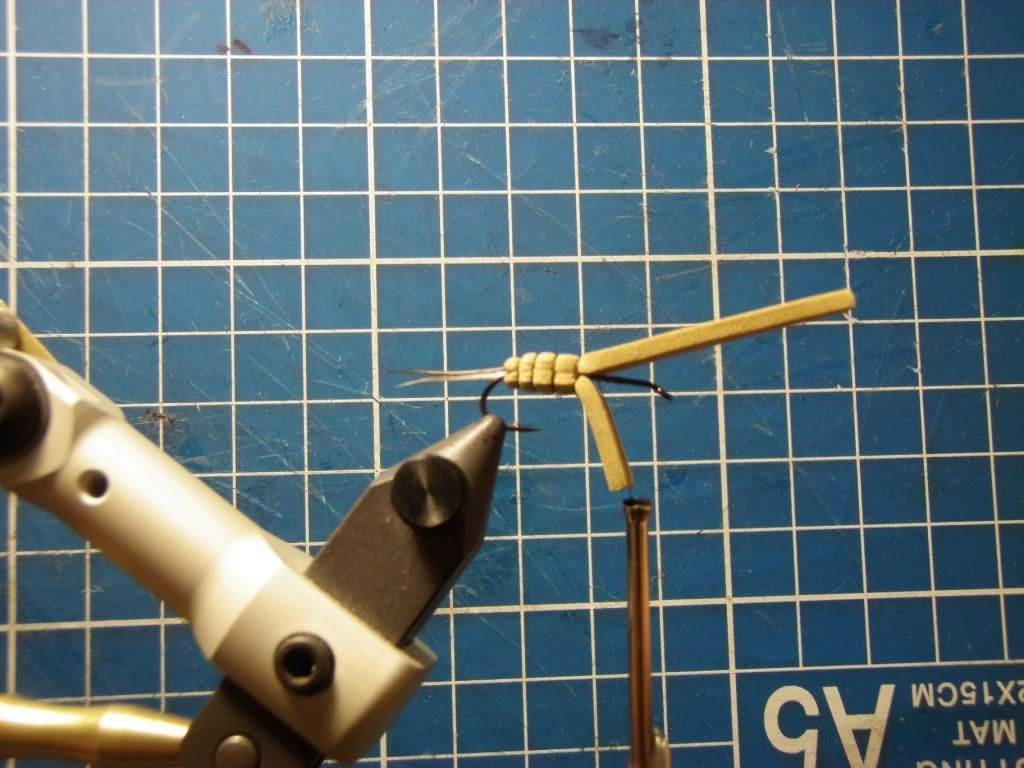
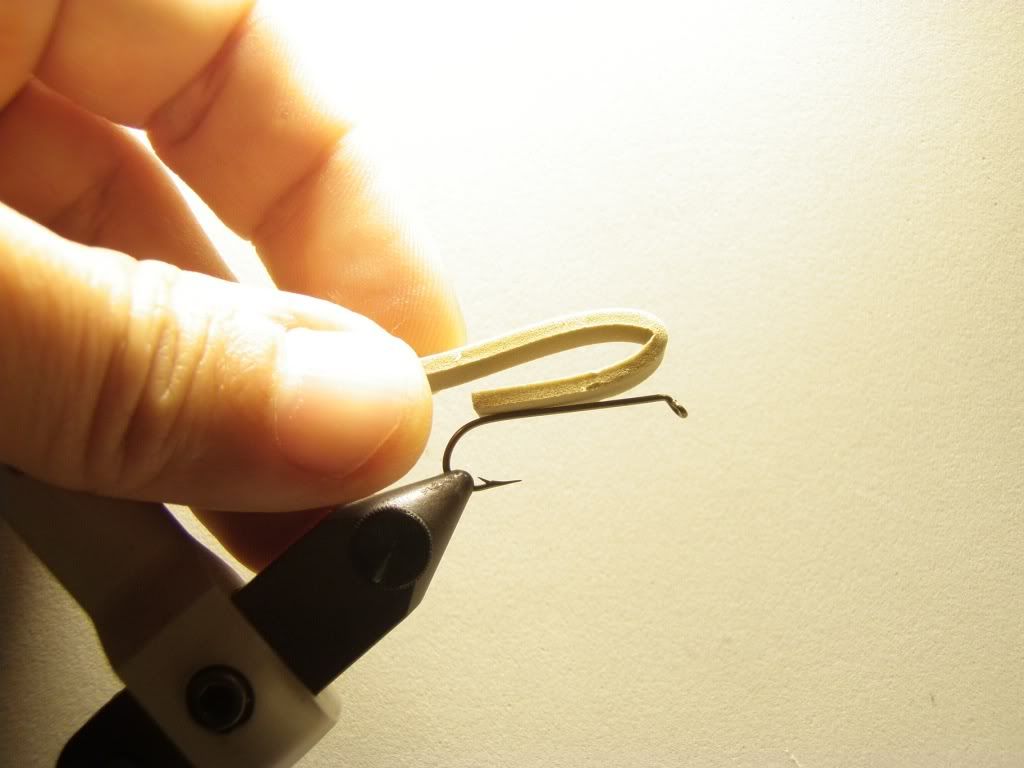
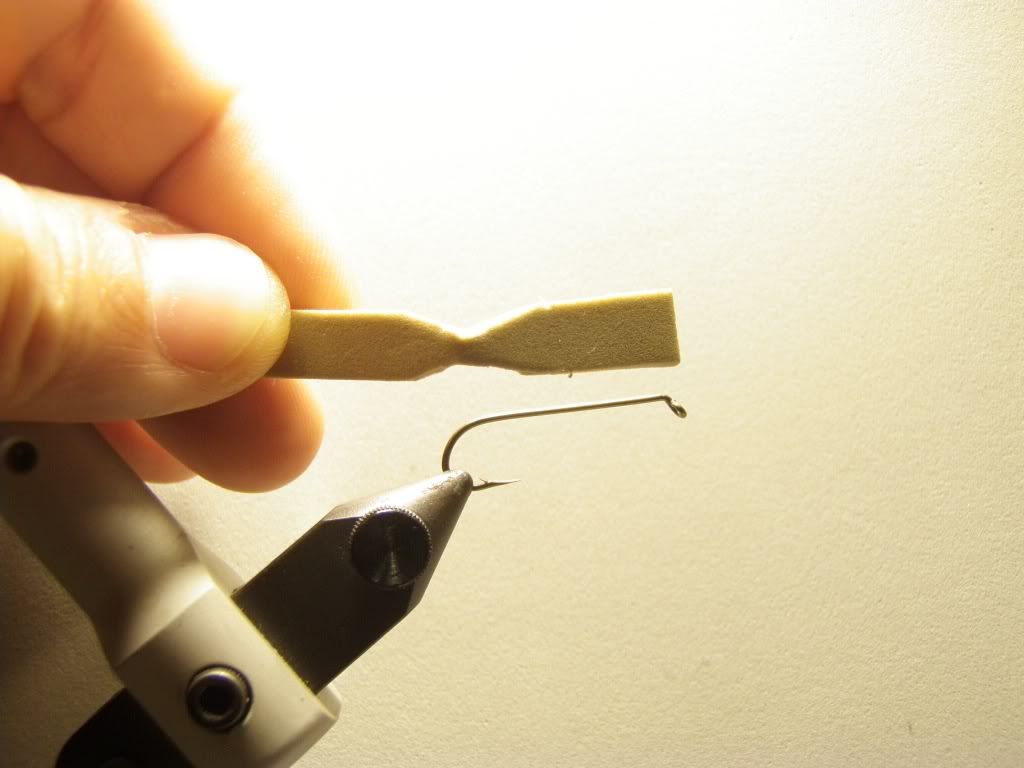
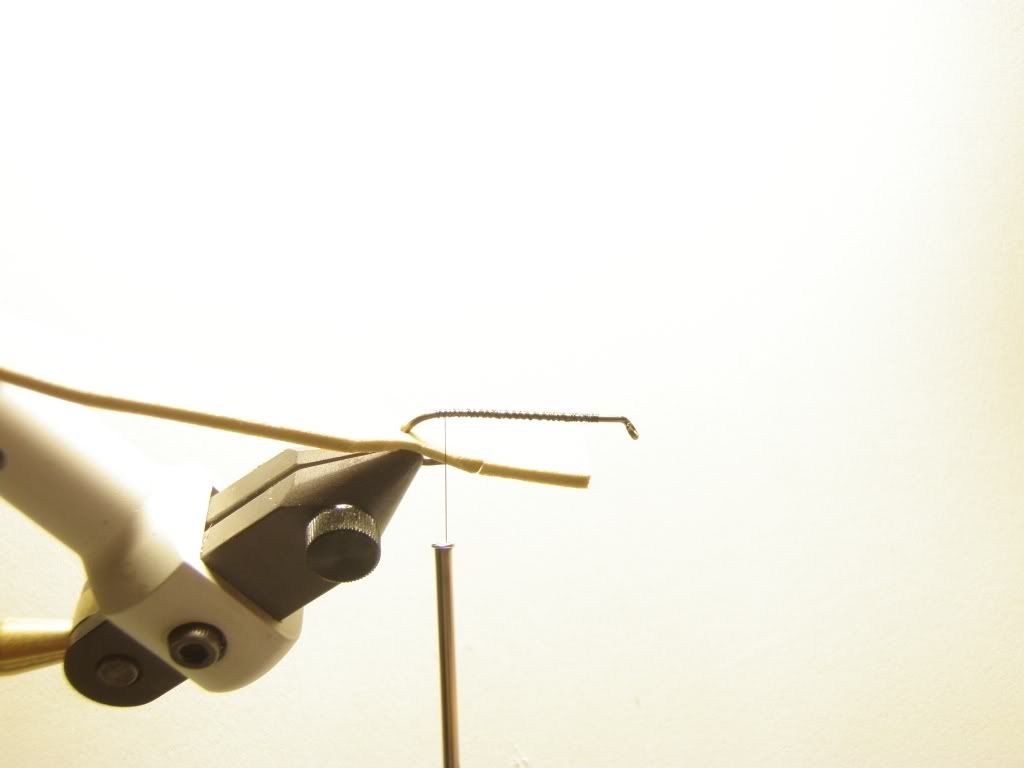
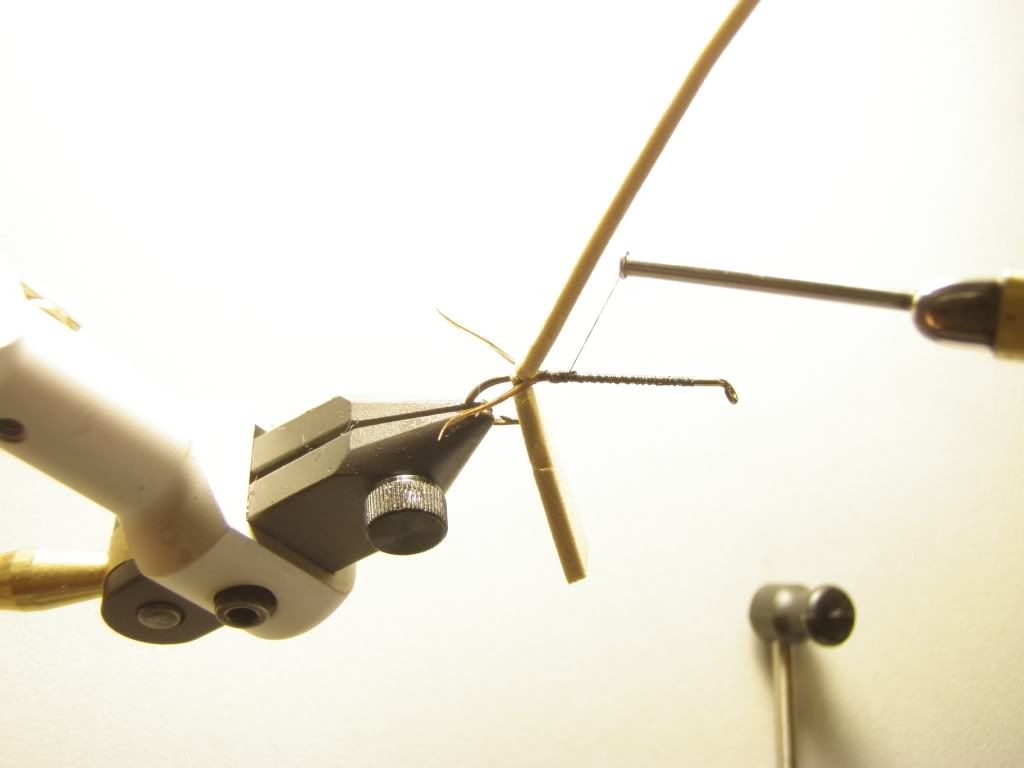
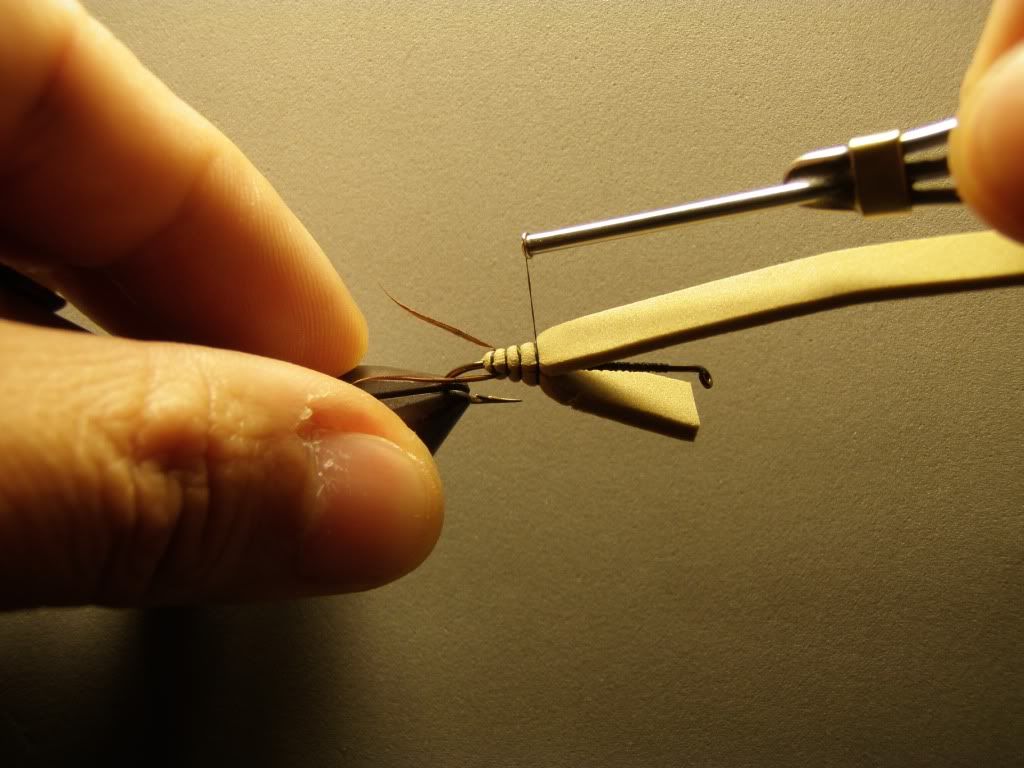
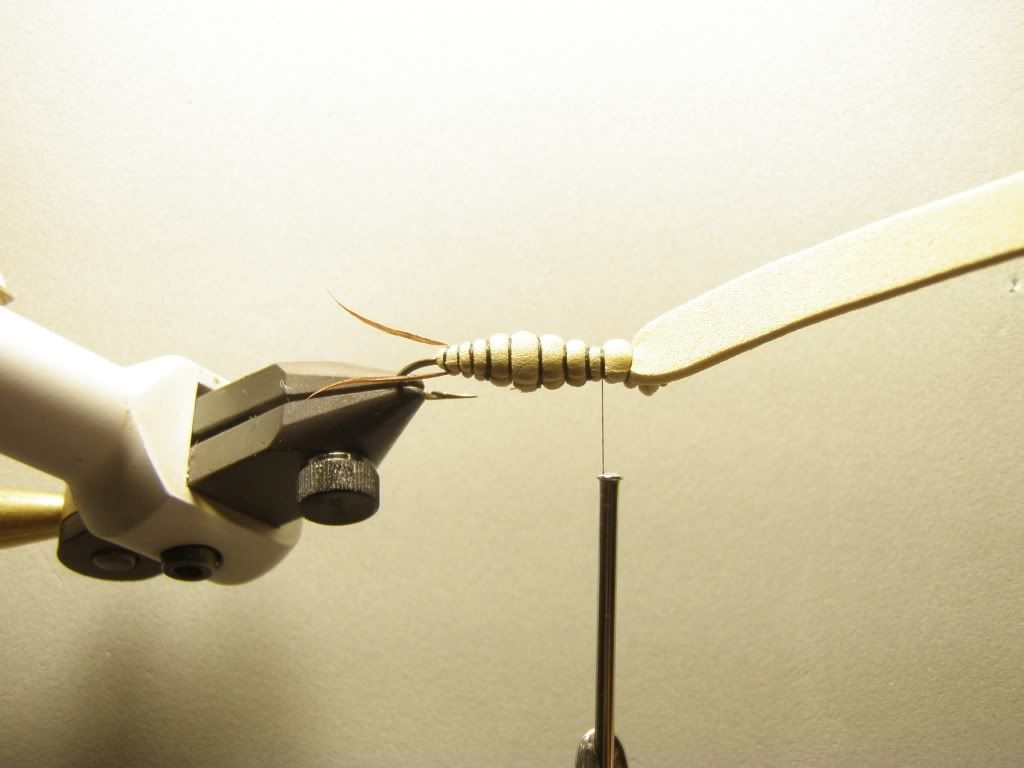
Measure the foam and fold to hook length
Cut the foam at the folding area
Hook tru at the folded point
Thread on hook
Tie down at the folded point
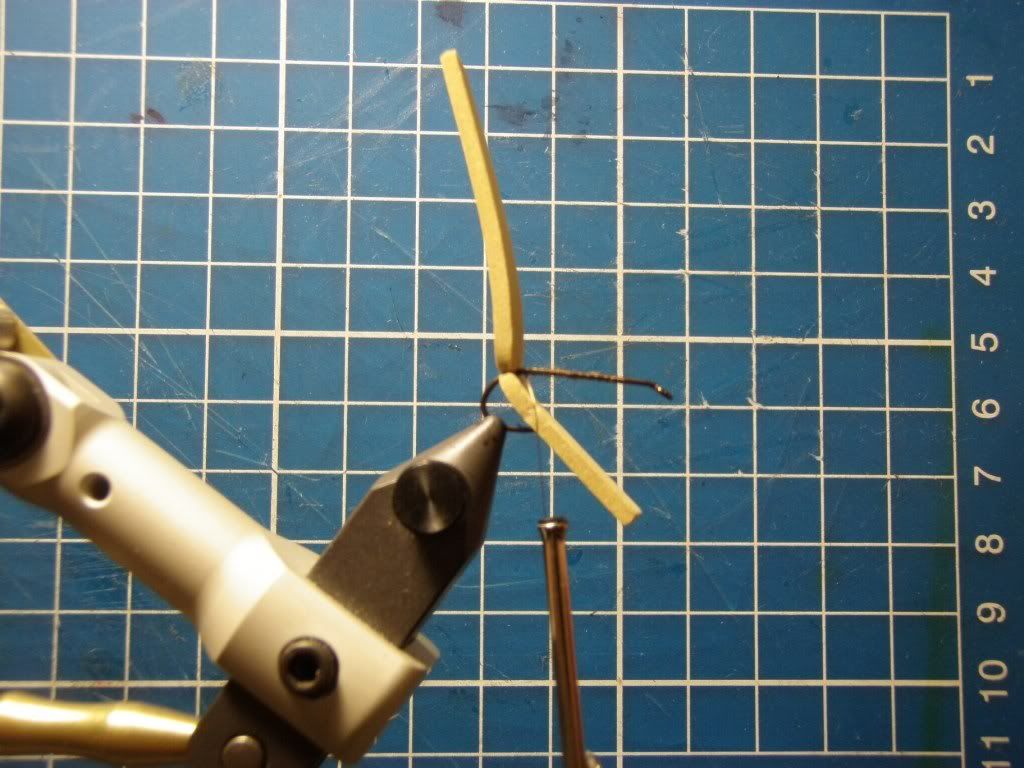
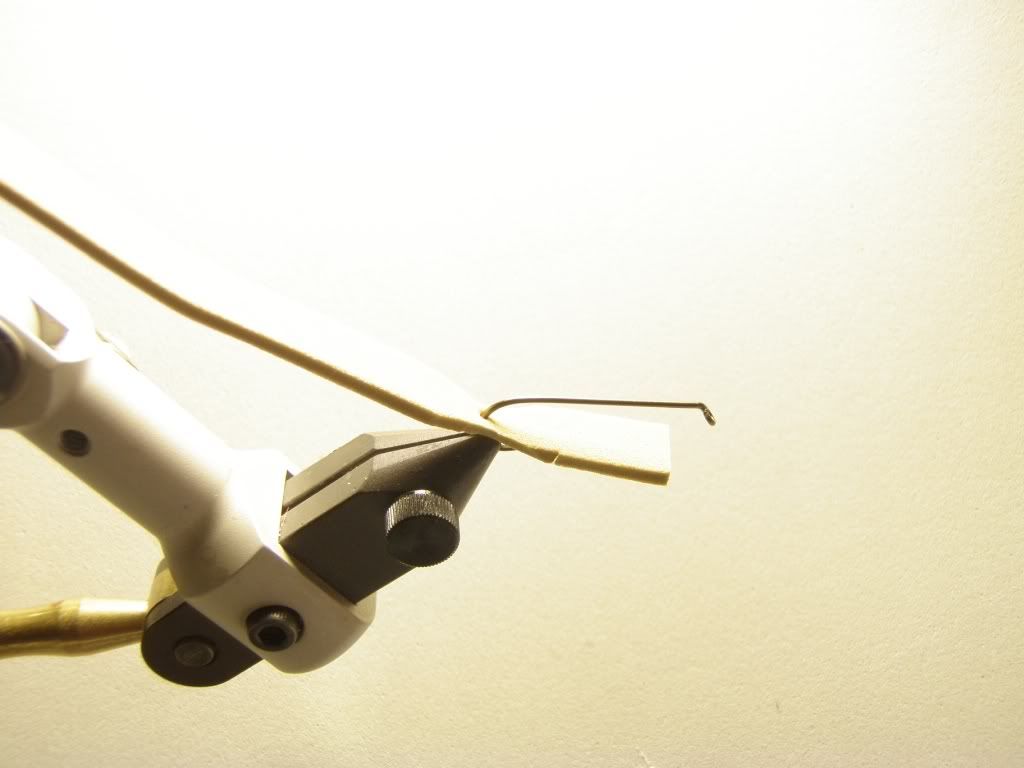
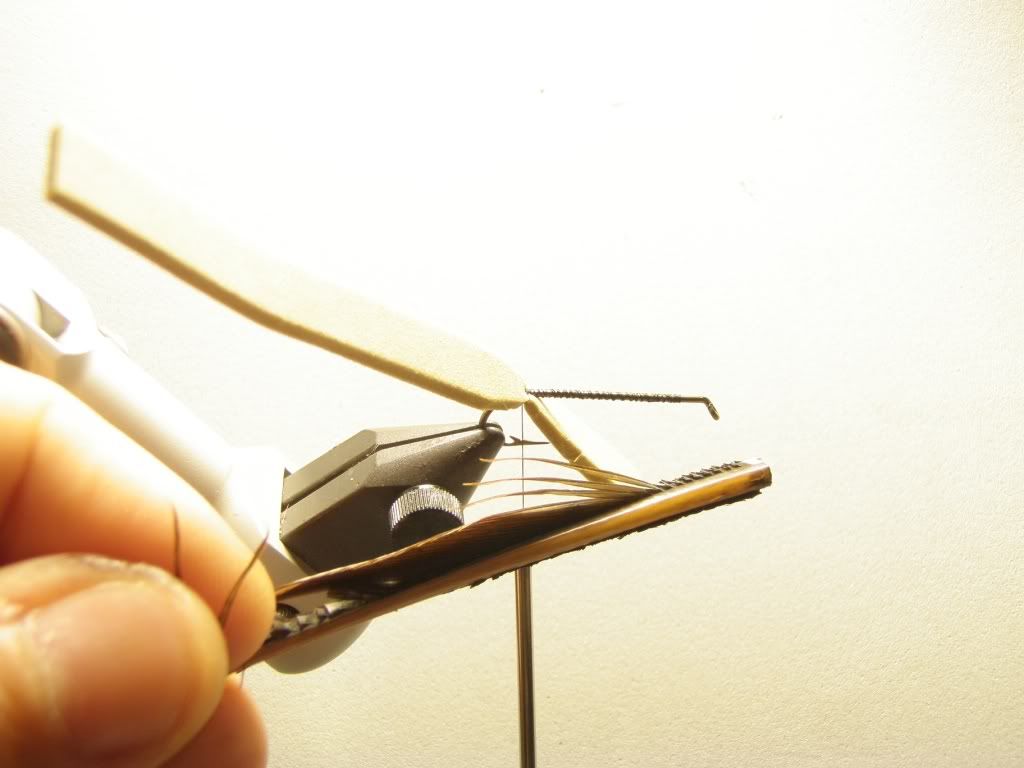
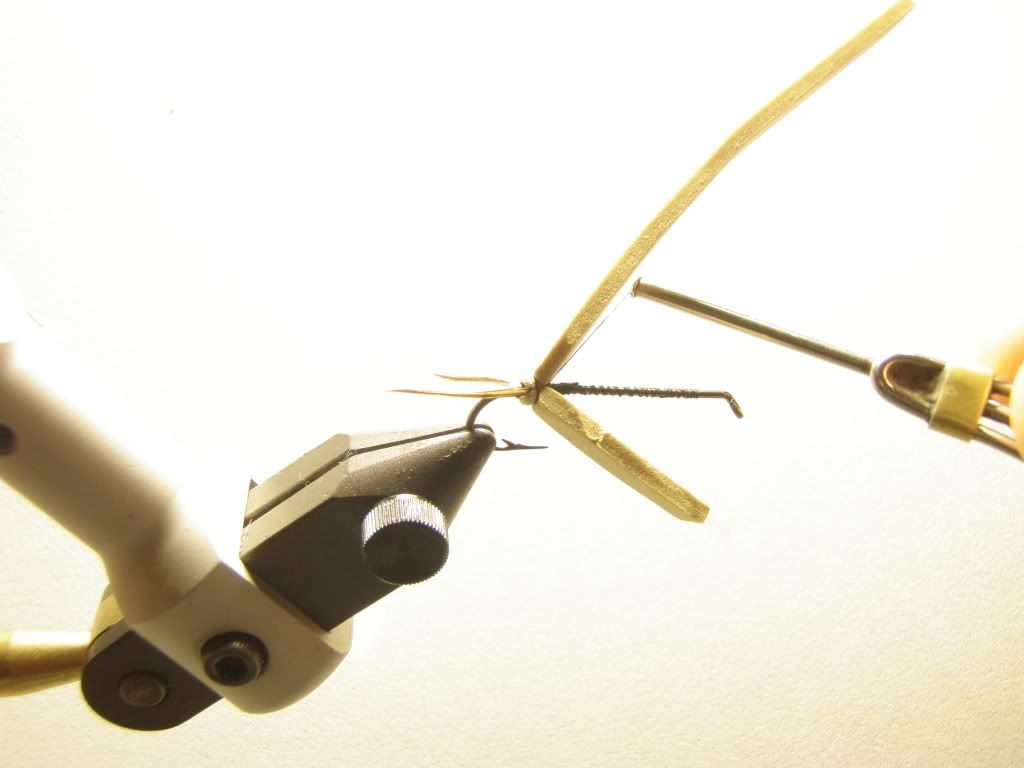
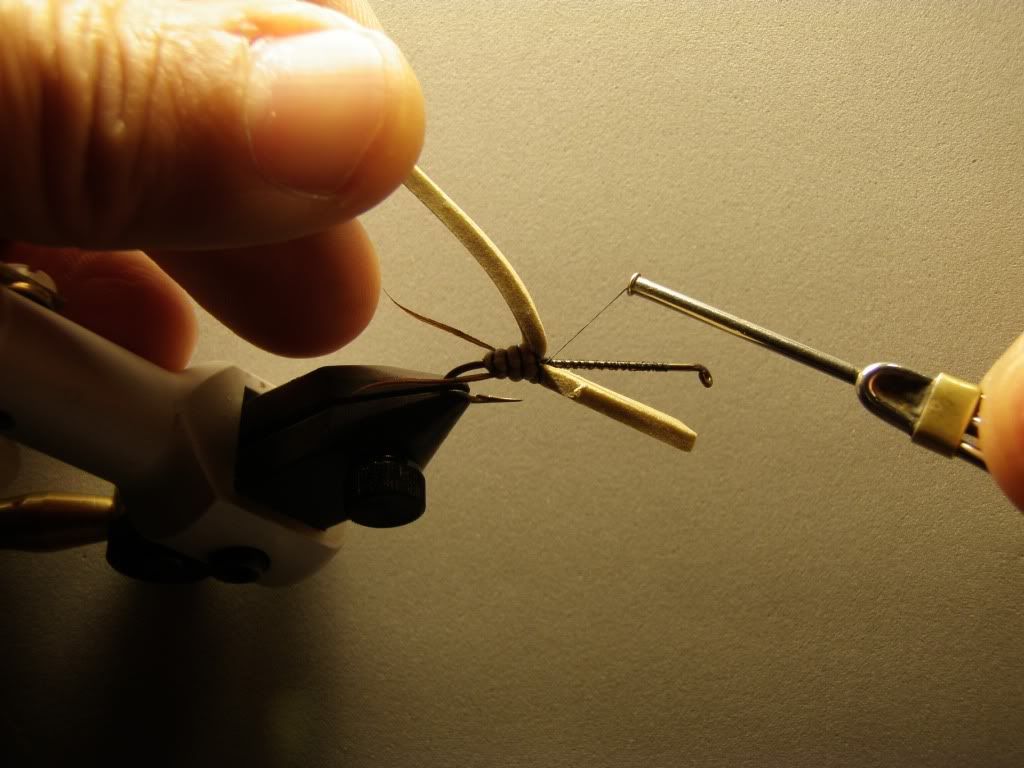
Selected the right biot for tail
Tie a small tail on foam...
Put in the biots
Tie down the biots
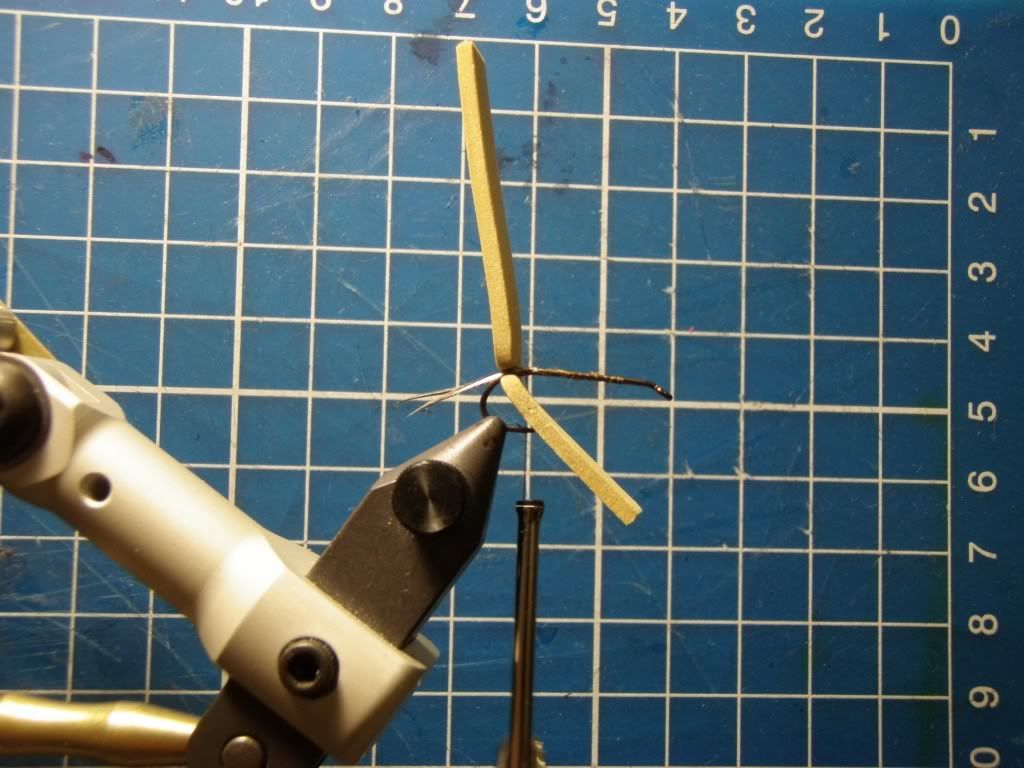
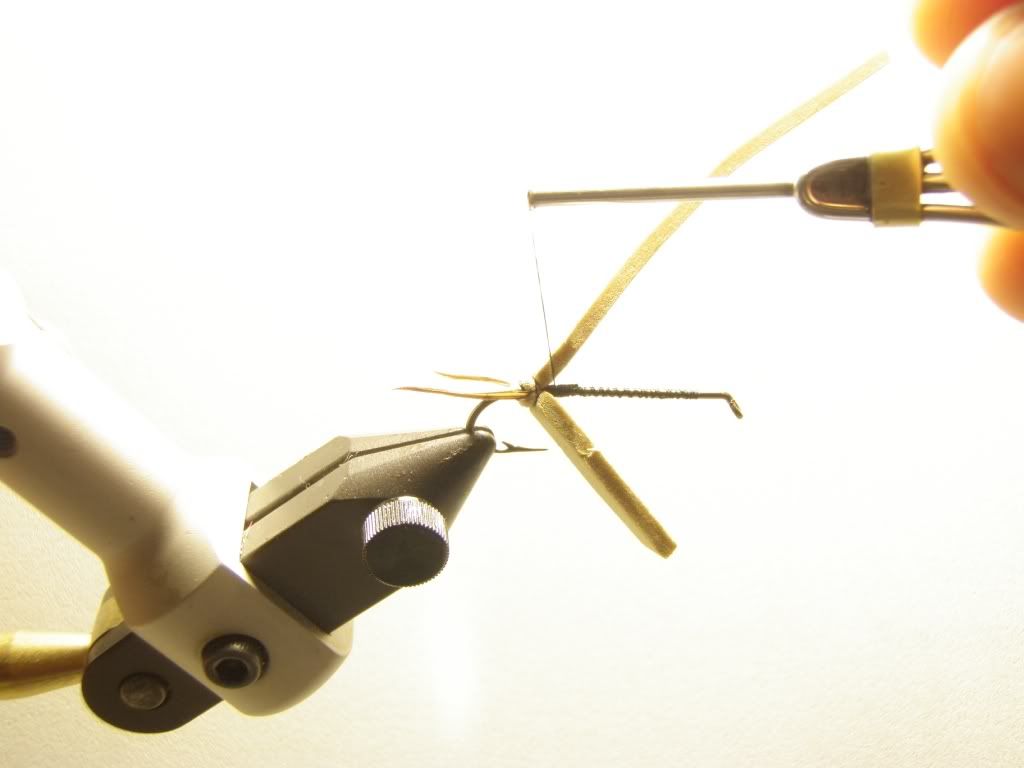
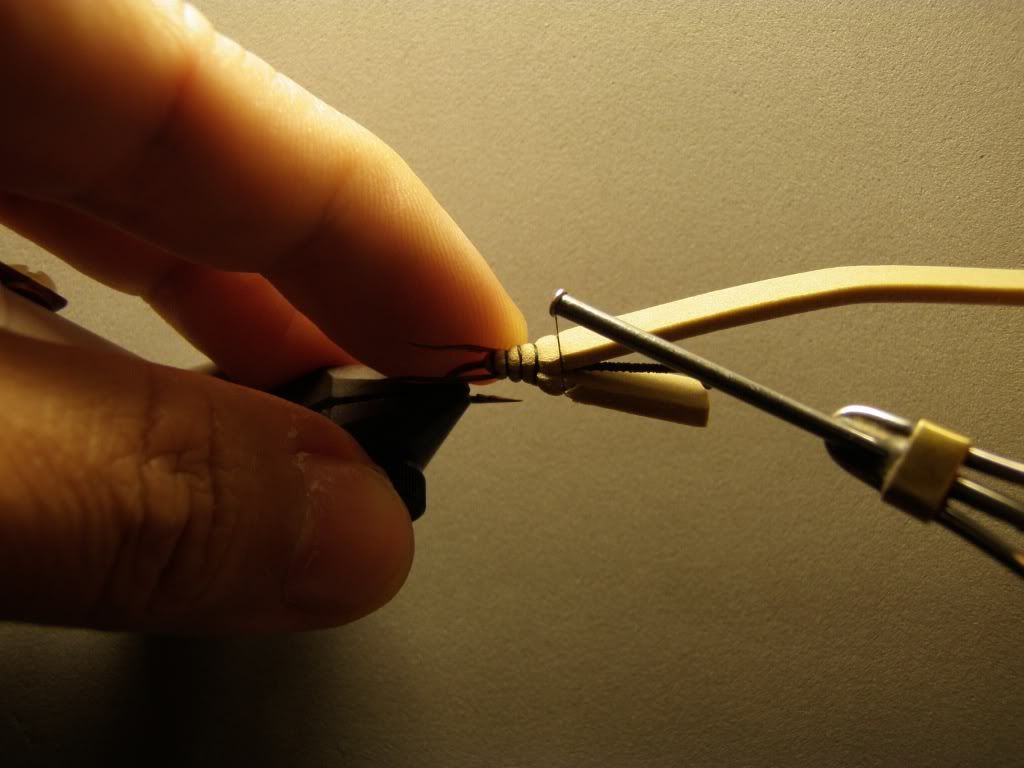
Tie down foam... make about 3 round and slowly apply tension on each turn...
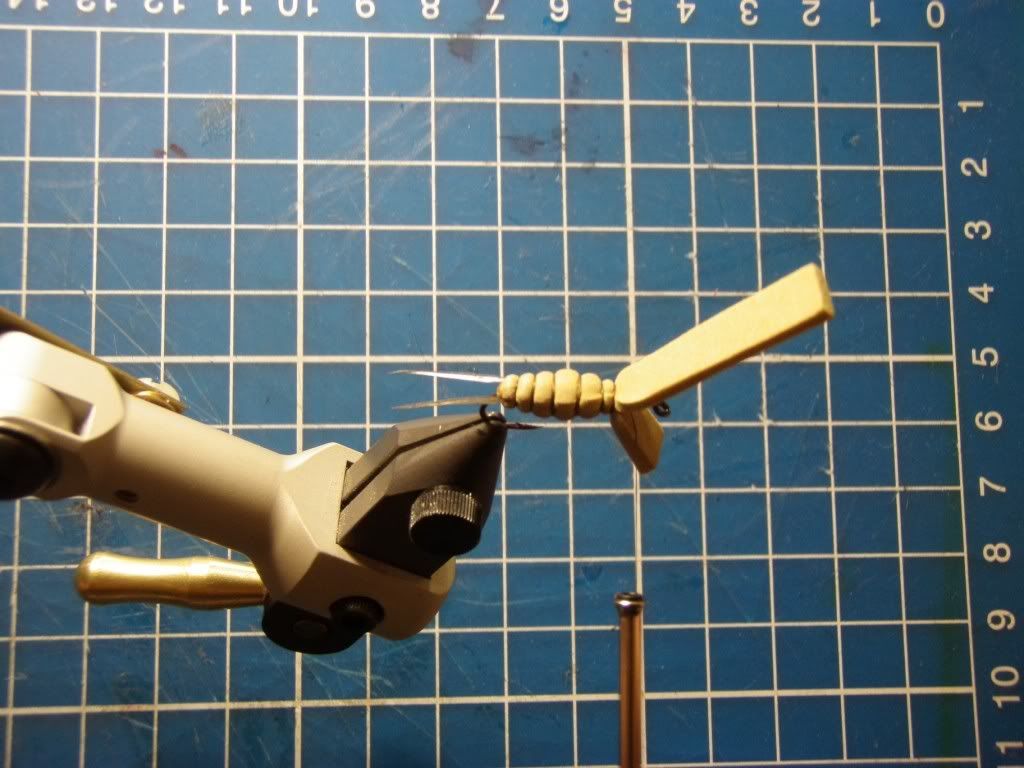
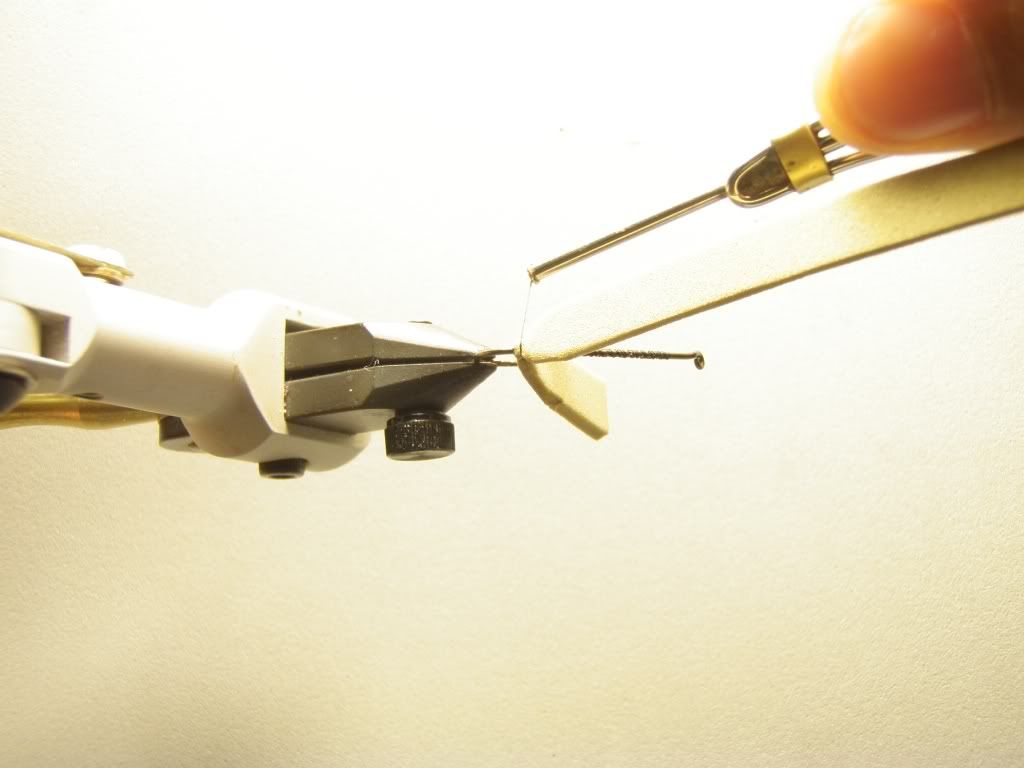
Roll the line back to the hook and make a few turn...
Tighten the line on the hook...
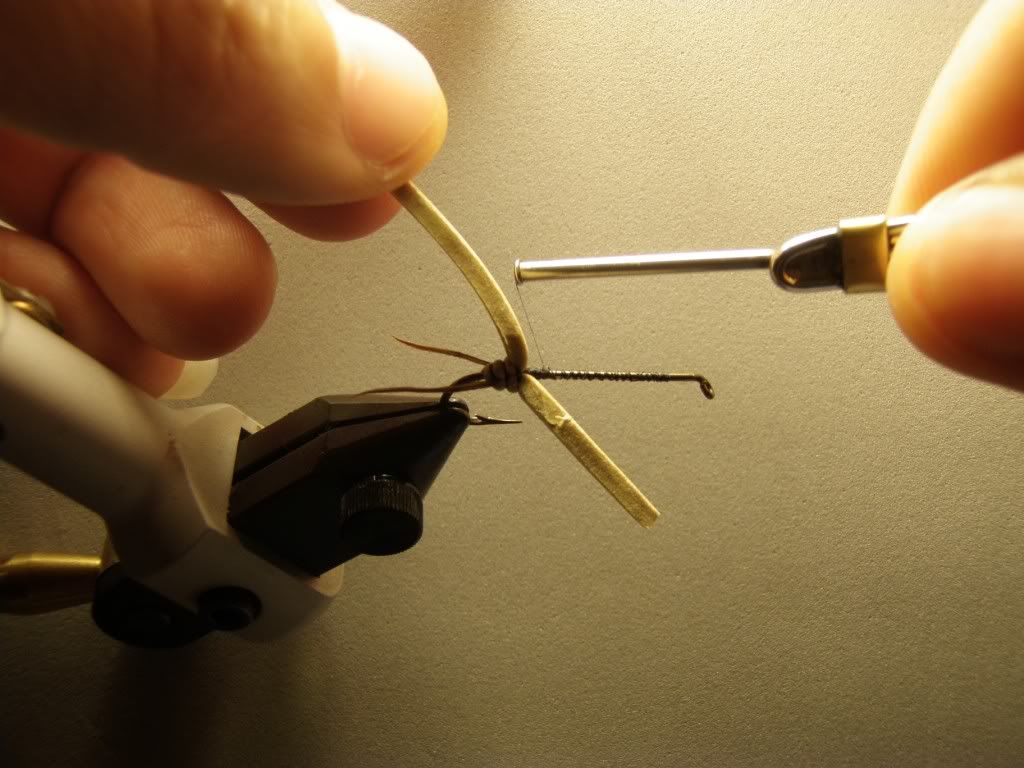
Go back to foam and make about 3 turn... slowly apply additional tension on each turn...
Go back to hook again and repeat the same step like before...
these step are to secure the foam so it will roll on the hook...
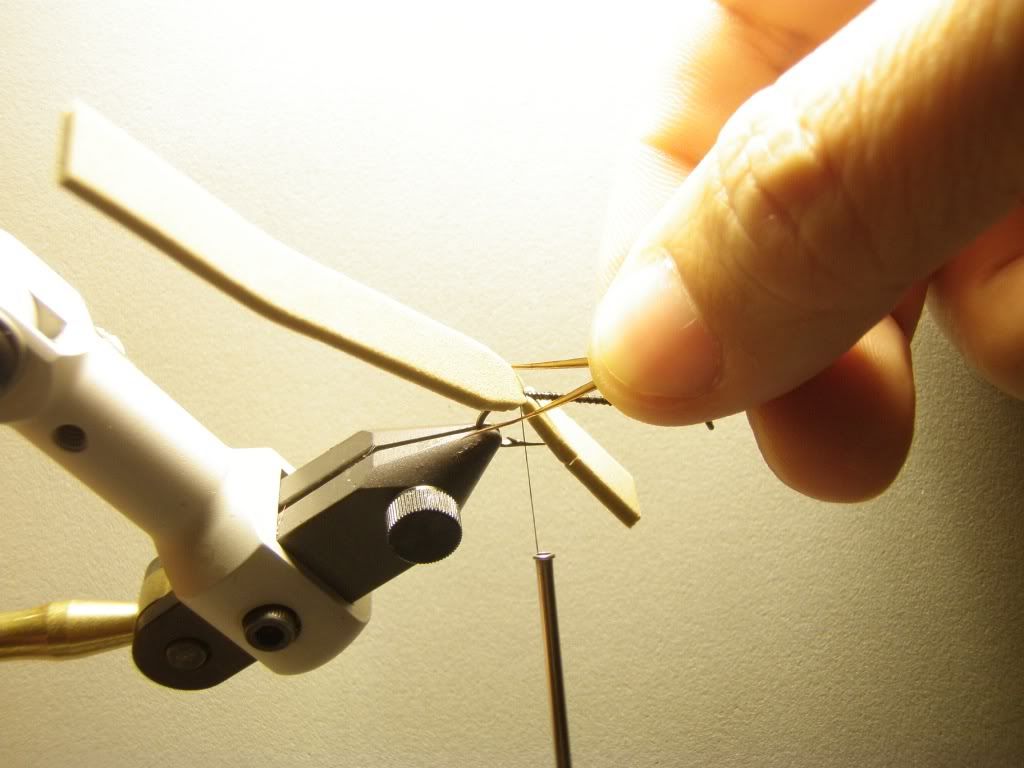
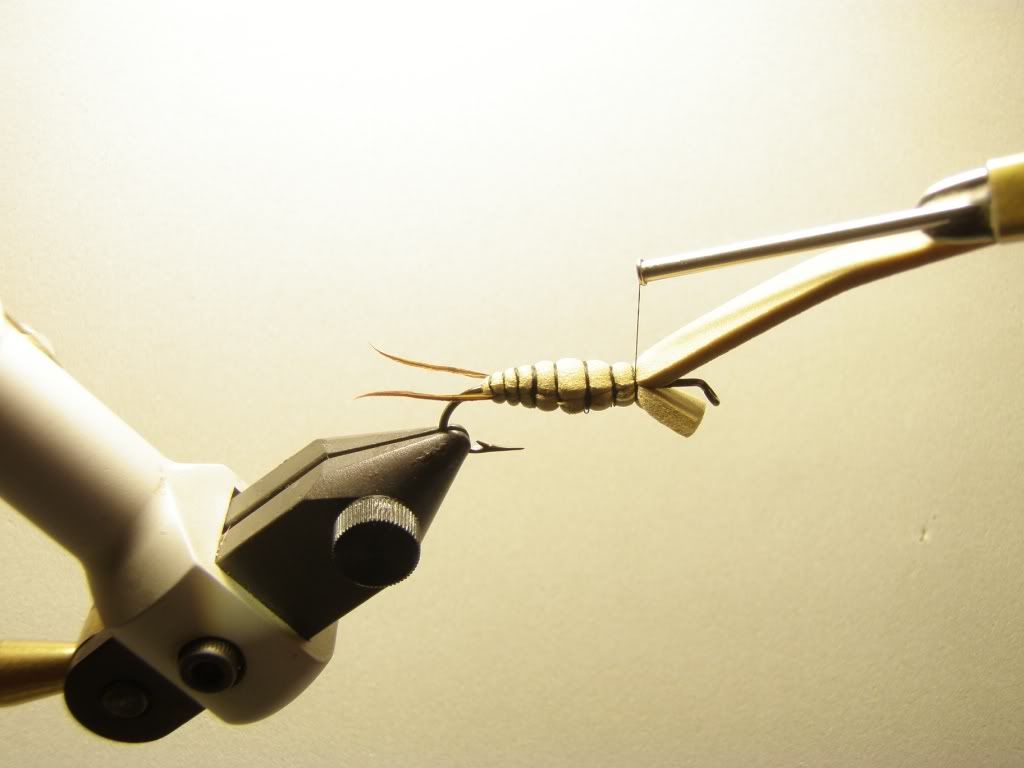
Go back to foam again and repeat the same steps...
Apply extra tension and create taper body...
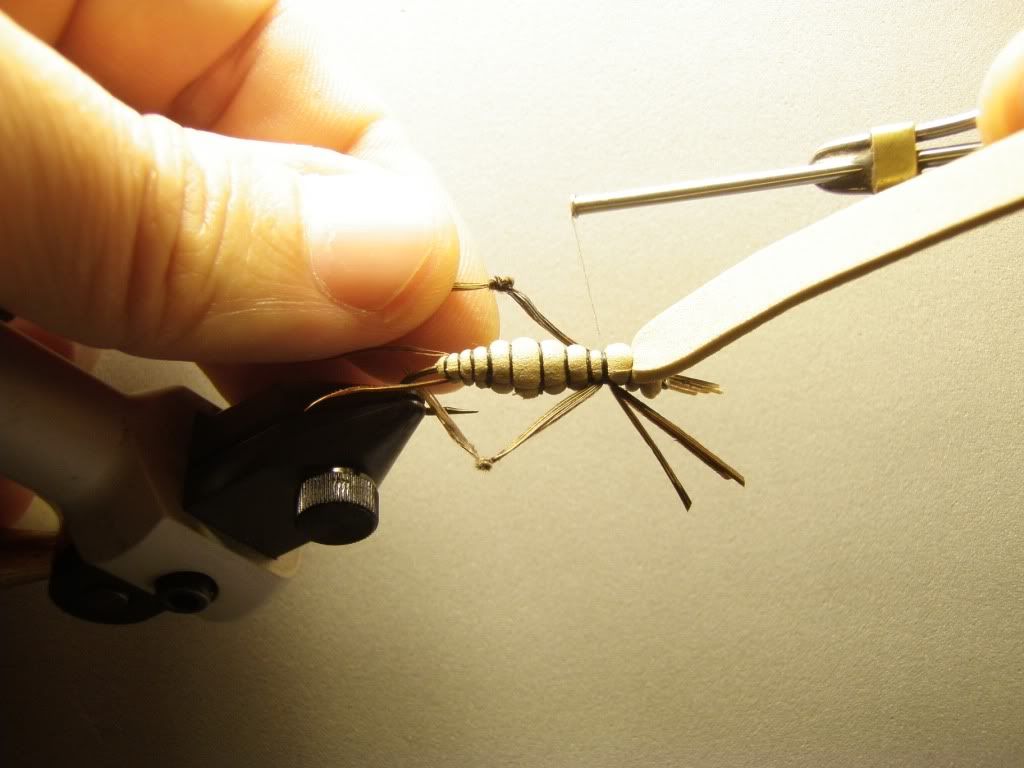
This is how the abdomen of cricket should look..
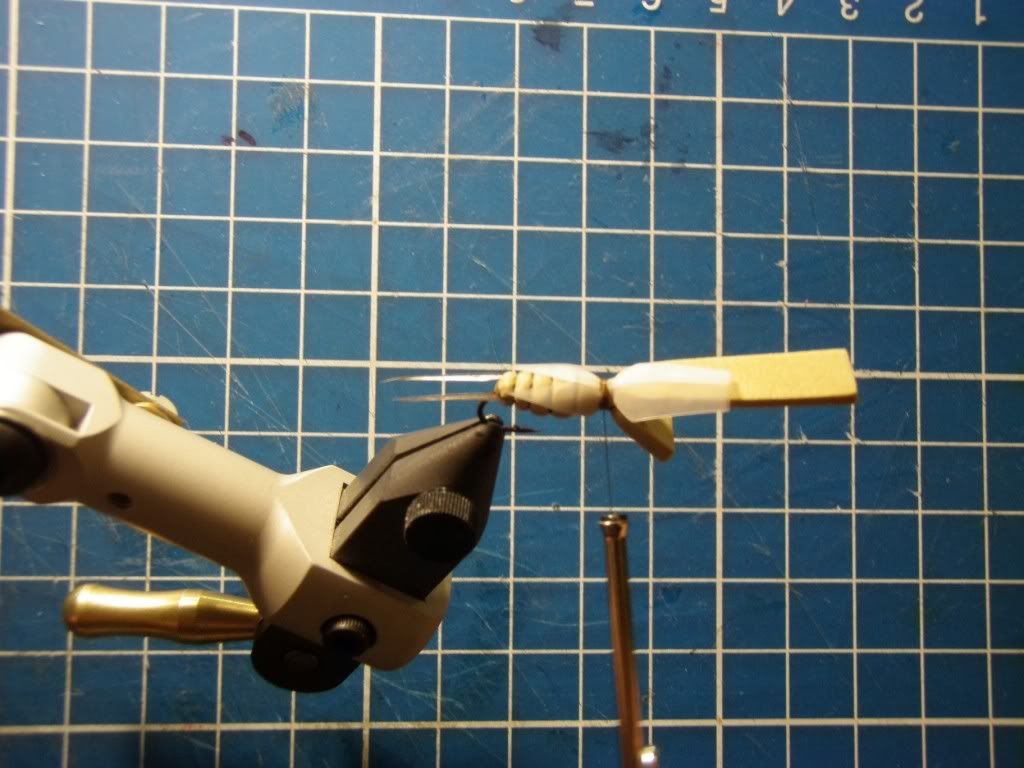
Tie in the legs...
Apply colour on the foam... with marker
Cut the wing from 3M magic tape...
Tie down the wing
tie in the extra fibers fro the legs on both side..
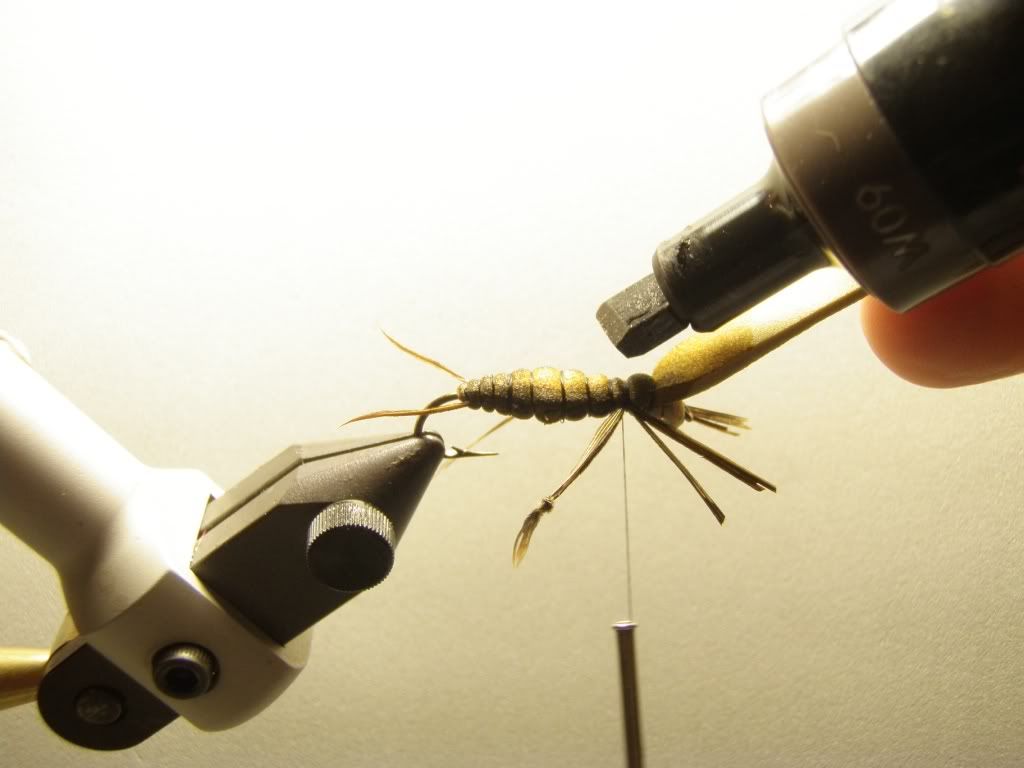
tie the foam to the near the hook eye...
split the foam..
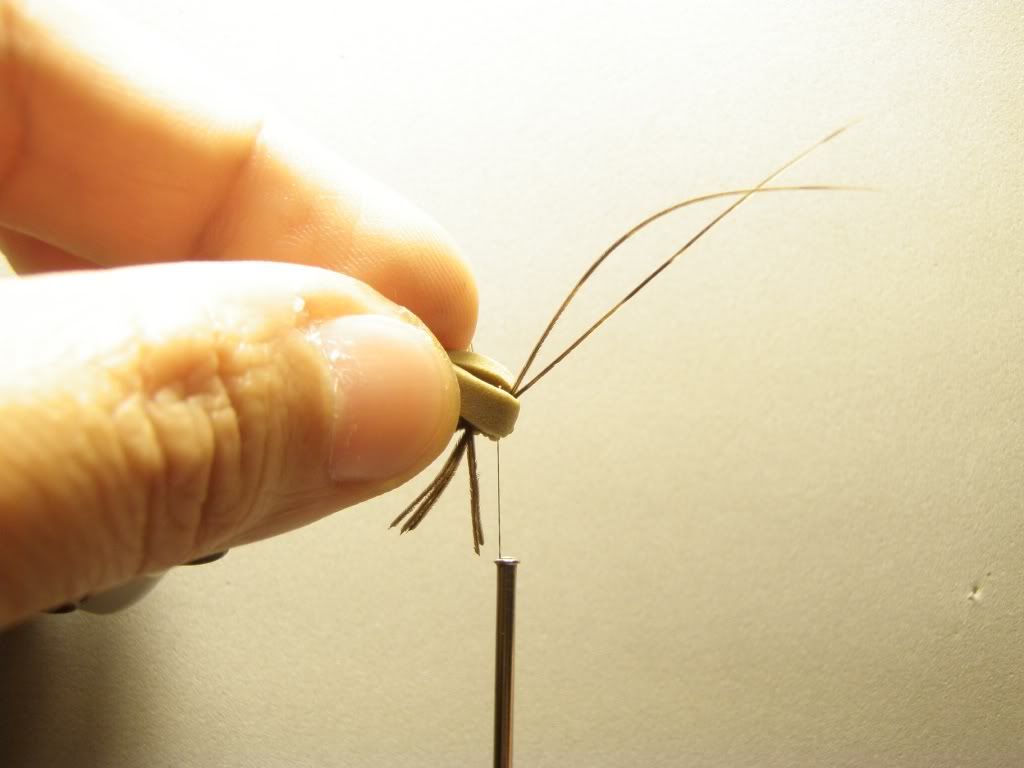
Foam split to half and ready to receive the antenna...
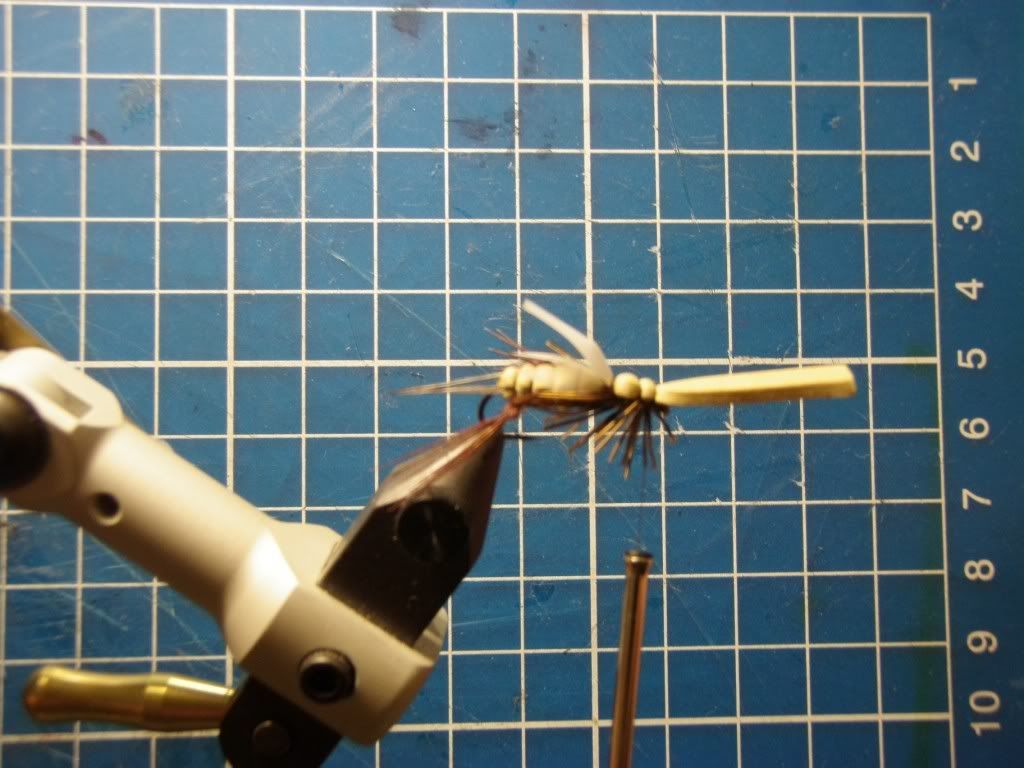
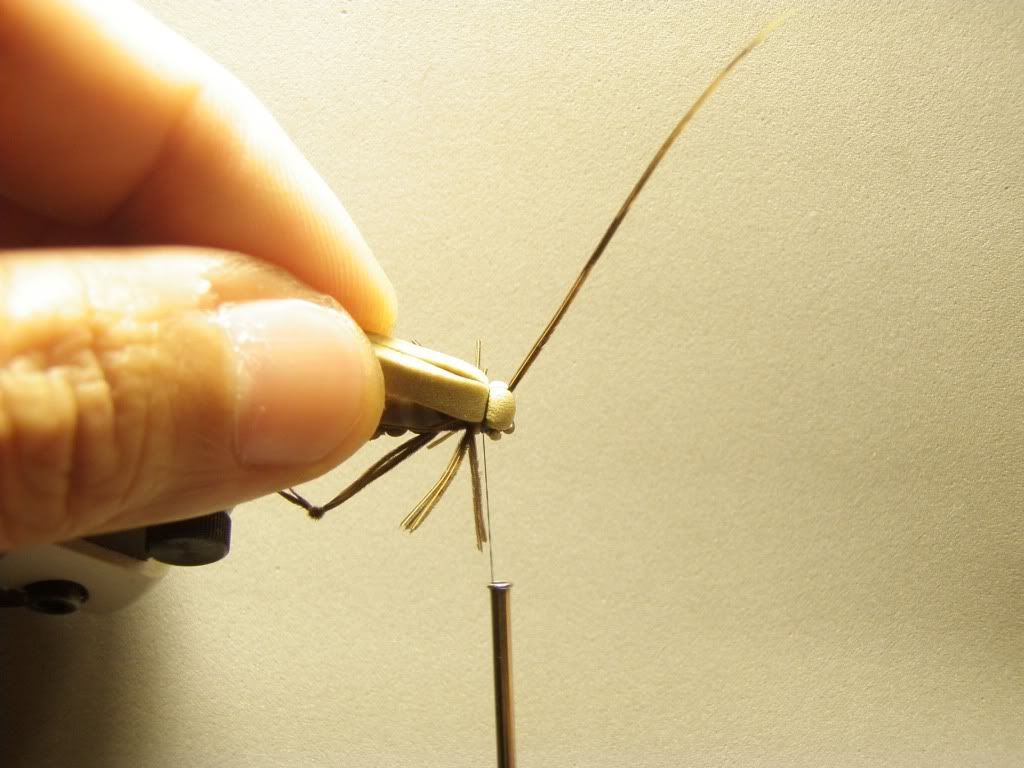
Tie in the antenna...
fold the foam over..
Tie down the foam and form the head of the cricket...
Tie down the foam to create the thorax...
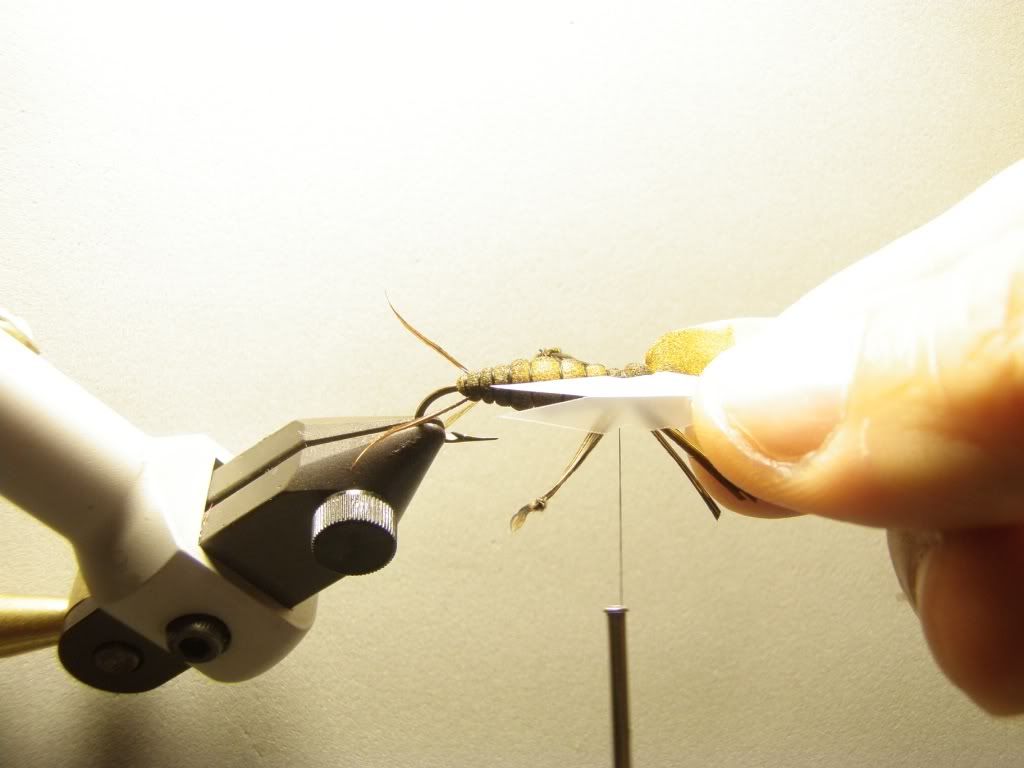
Trim the extra foam...
Colour it...
Dot the eye with Loon outdoor's black hard head cement
Trim the fiber... ( legs )
Cricket V3 is ready...
Cheers.... happy tying....


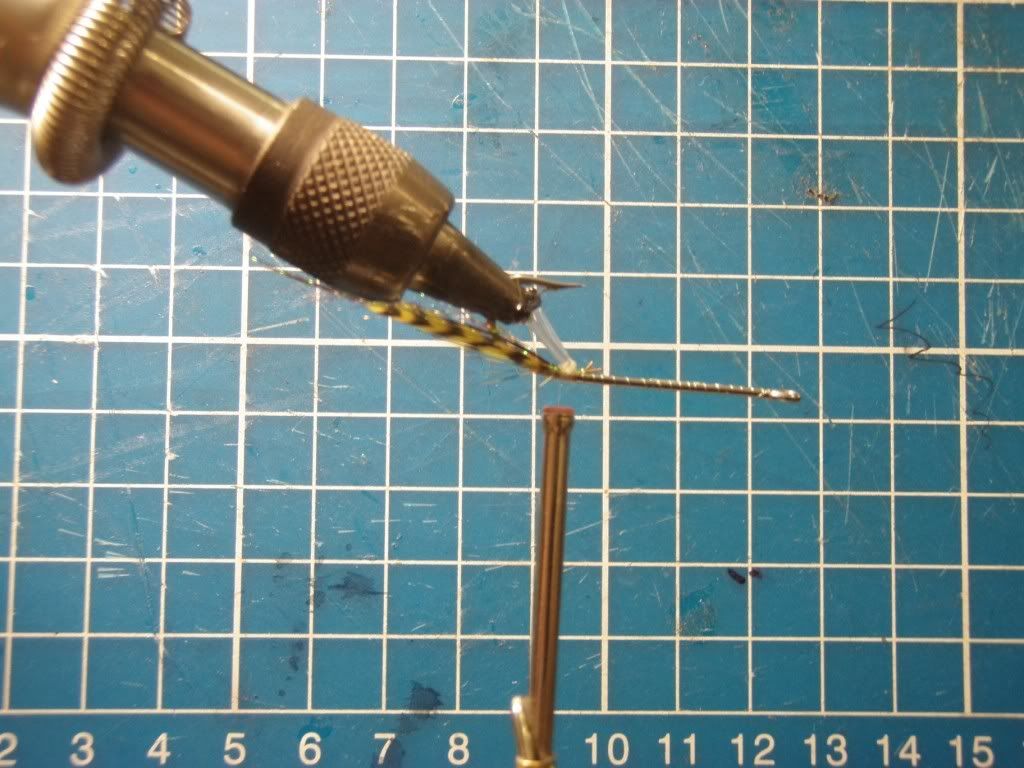
Dron.fly escreveu:The step by step tying instructions for my latest crab fly ( biot legs version )
Material:
Furry foam
Gamakatsu hook size 2/0 - 1/0
Biot legs
Bead mono eye
CDC 2 pcs
Lead base
Zap a gap
Heckle craw - one pair
white colour or matching thread
Cut a pcs of furry foam according to the hook size
Tie down the foam near the hook eye....
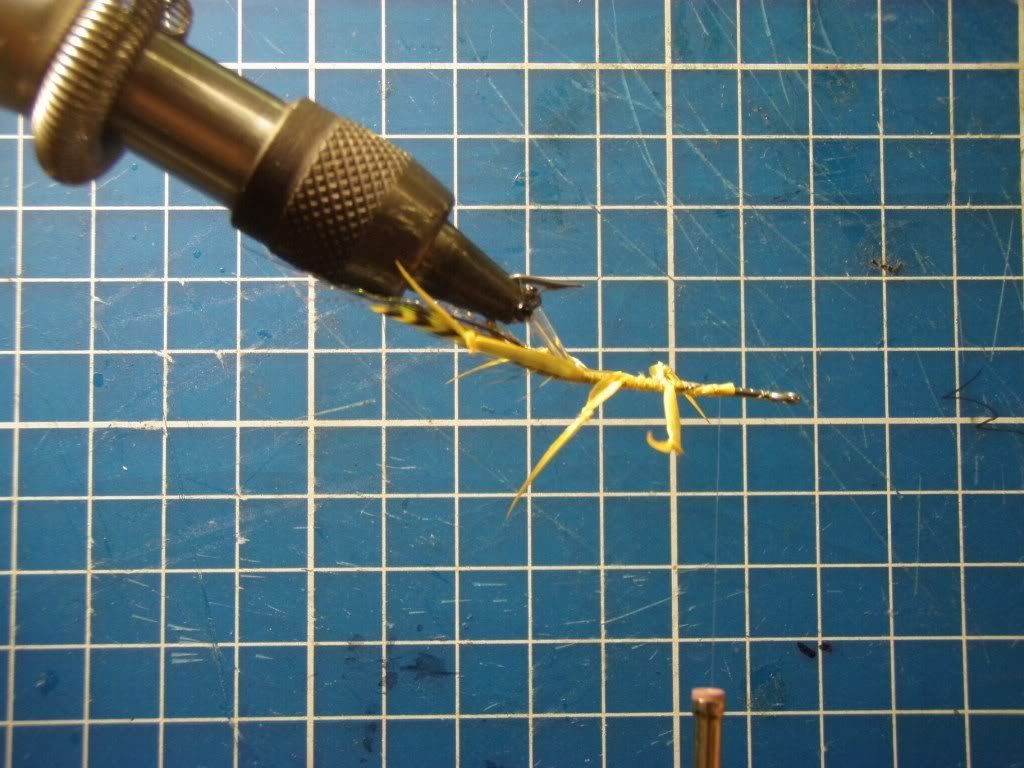
Tie in the biot legs...
Tie in all 8 pcs of biot legs... ideally, where 2 pair point to the back and 2 pair point to the front...
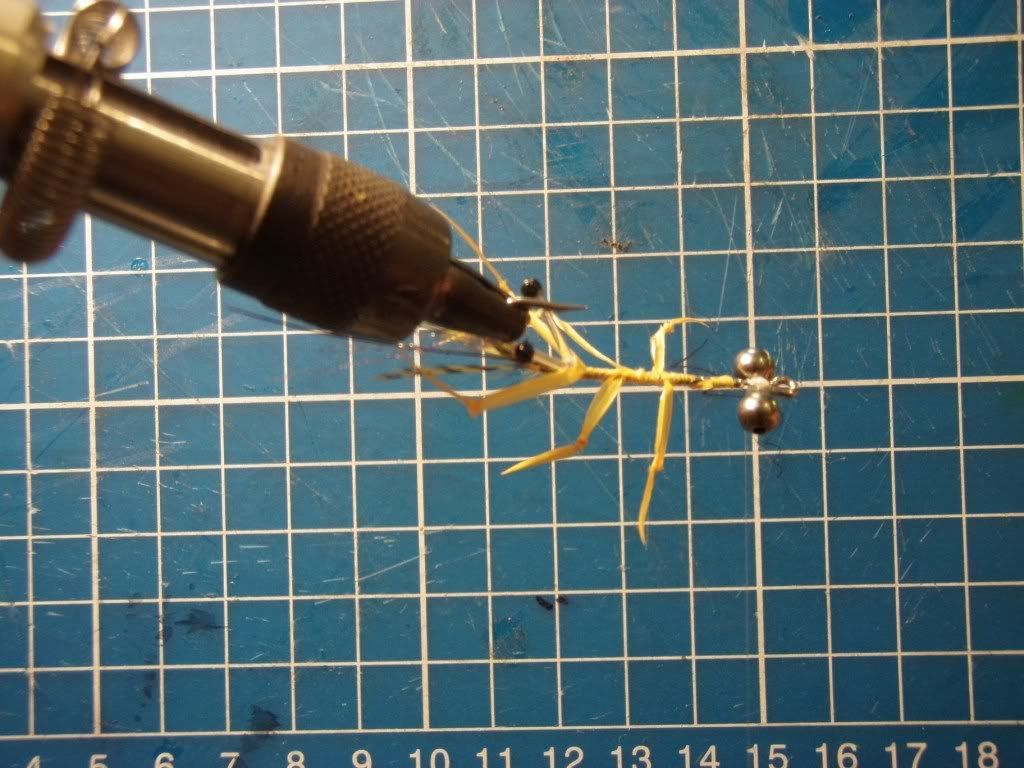
Tie down the beaded mono eye.... then drop a small drop of zap a gap to secure the eye...
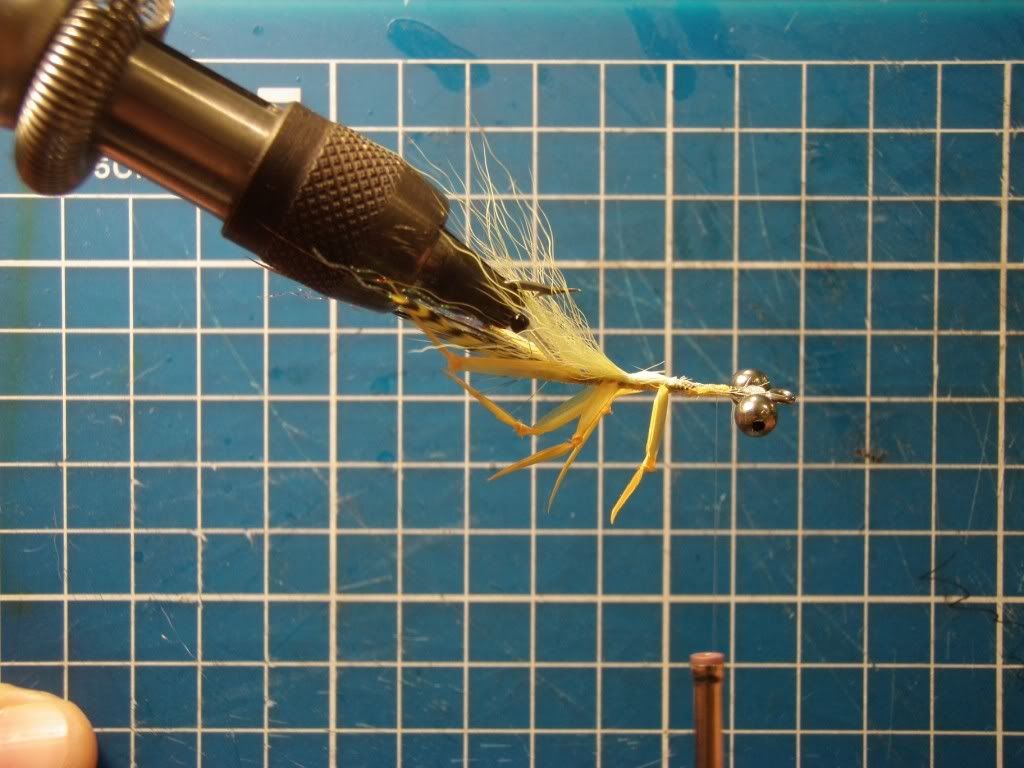
Tie in the CDC... about 2 turns...
Slowly pull the CDC to the length desire... and secure the line..
Secure the thread and trim the extra...
Tie in the heckle craw...
Tie in the second craw... and secure the thread... drop a drop of zap a gap if you wish to buy some insurance...
Roll the line to the side...
Roll over the furry foam and tie it down...
Secure the thread...
This is how the base of the fly should look like... the craw is on top of the legs...
Glue down the lead base...
Your crab fly is ready...
You may wanna colour the legs if you wish...
It's a very simple crab pattern.... ... with the lead base... you will find that the crab circulating.. when the current push on it...
Cheers.... happy tying...


espero que gostem, vou colocar o link do álbum desse cara ele é da tailandia acho...
http://s261.photobucket.com/profile/dronlee
tem muita coisa de FLY, neste álbum....
Um abração do amigo do sul....